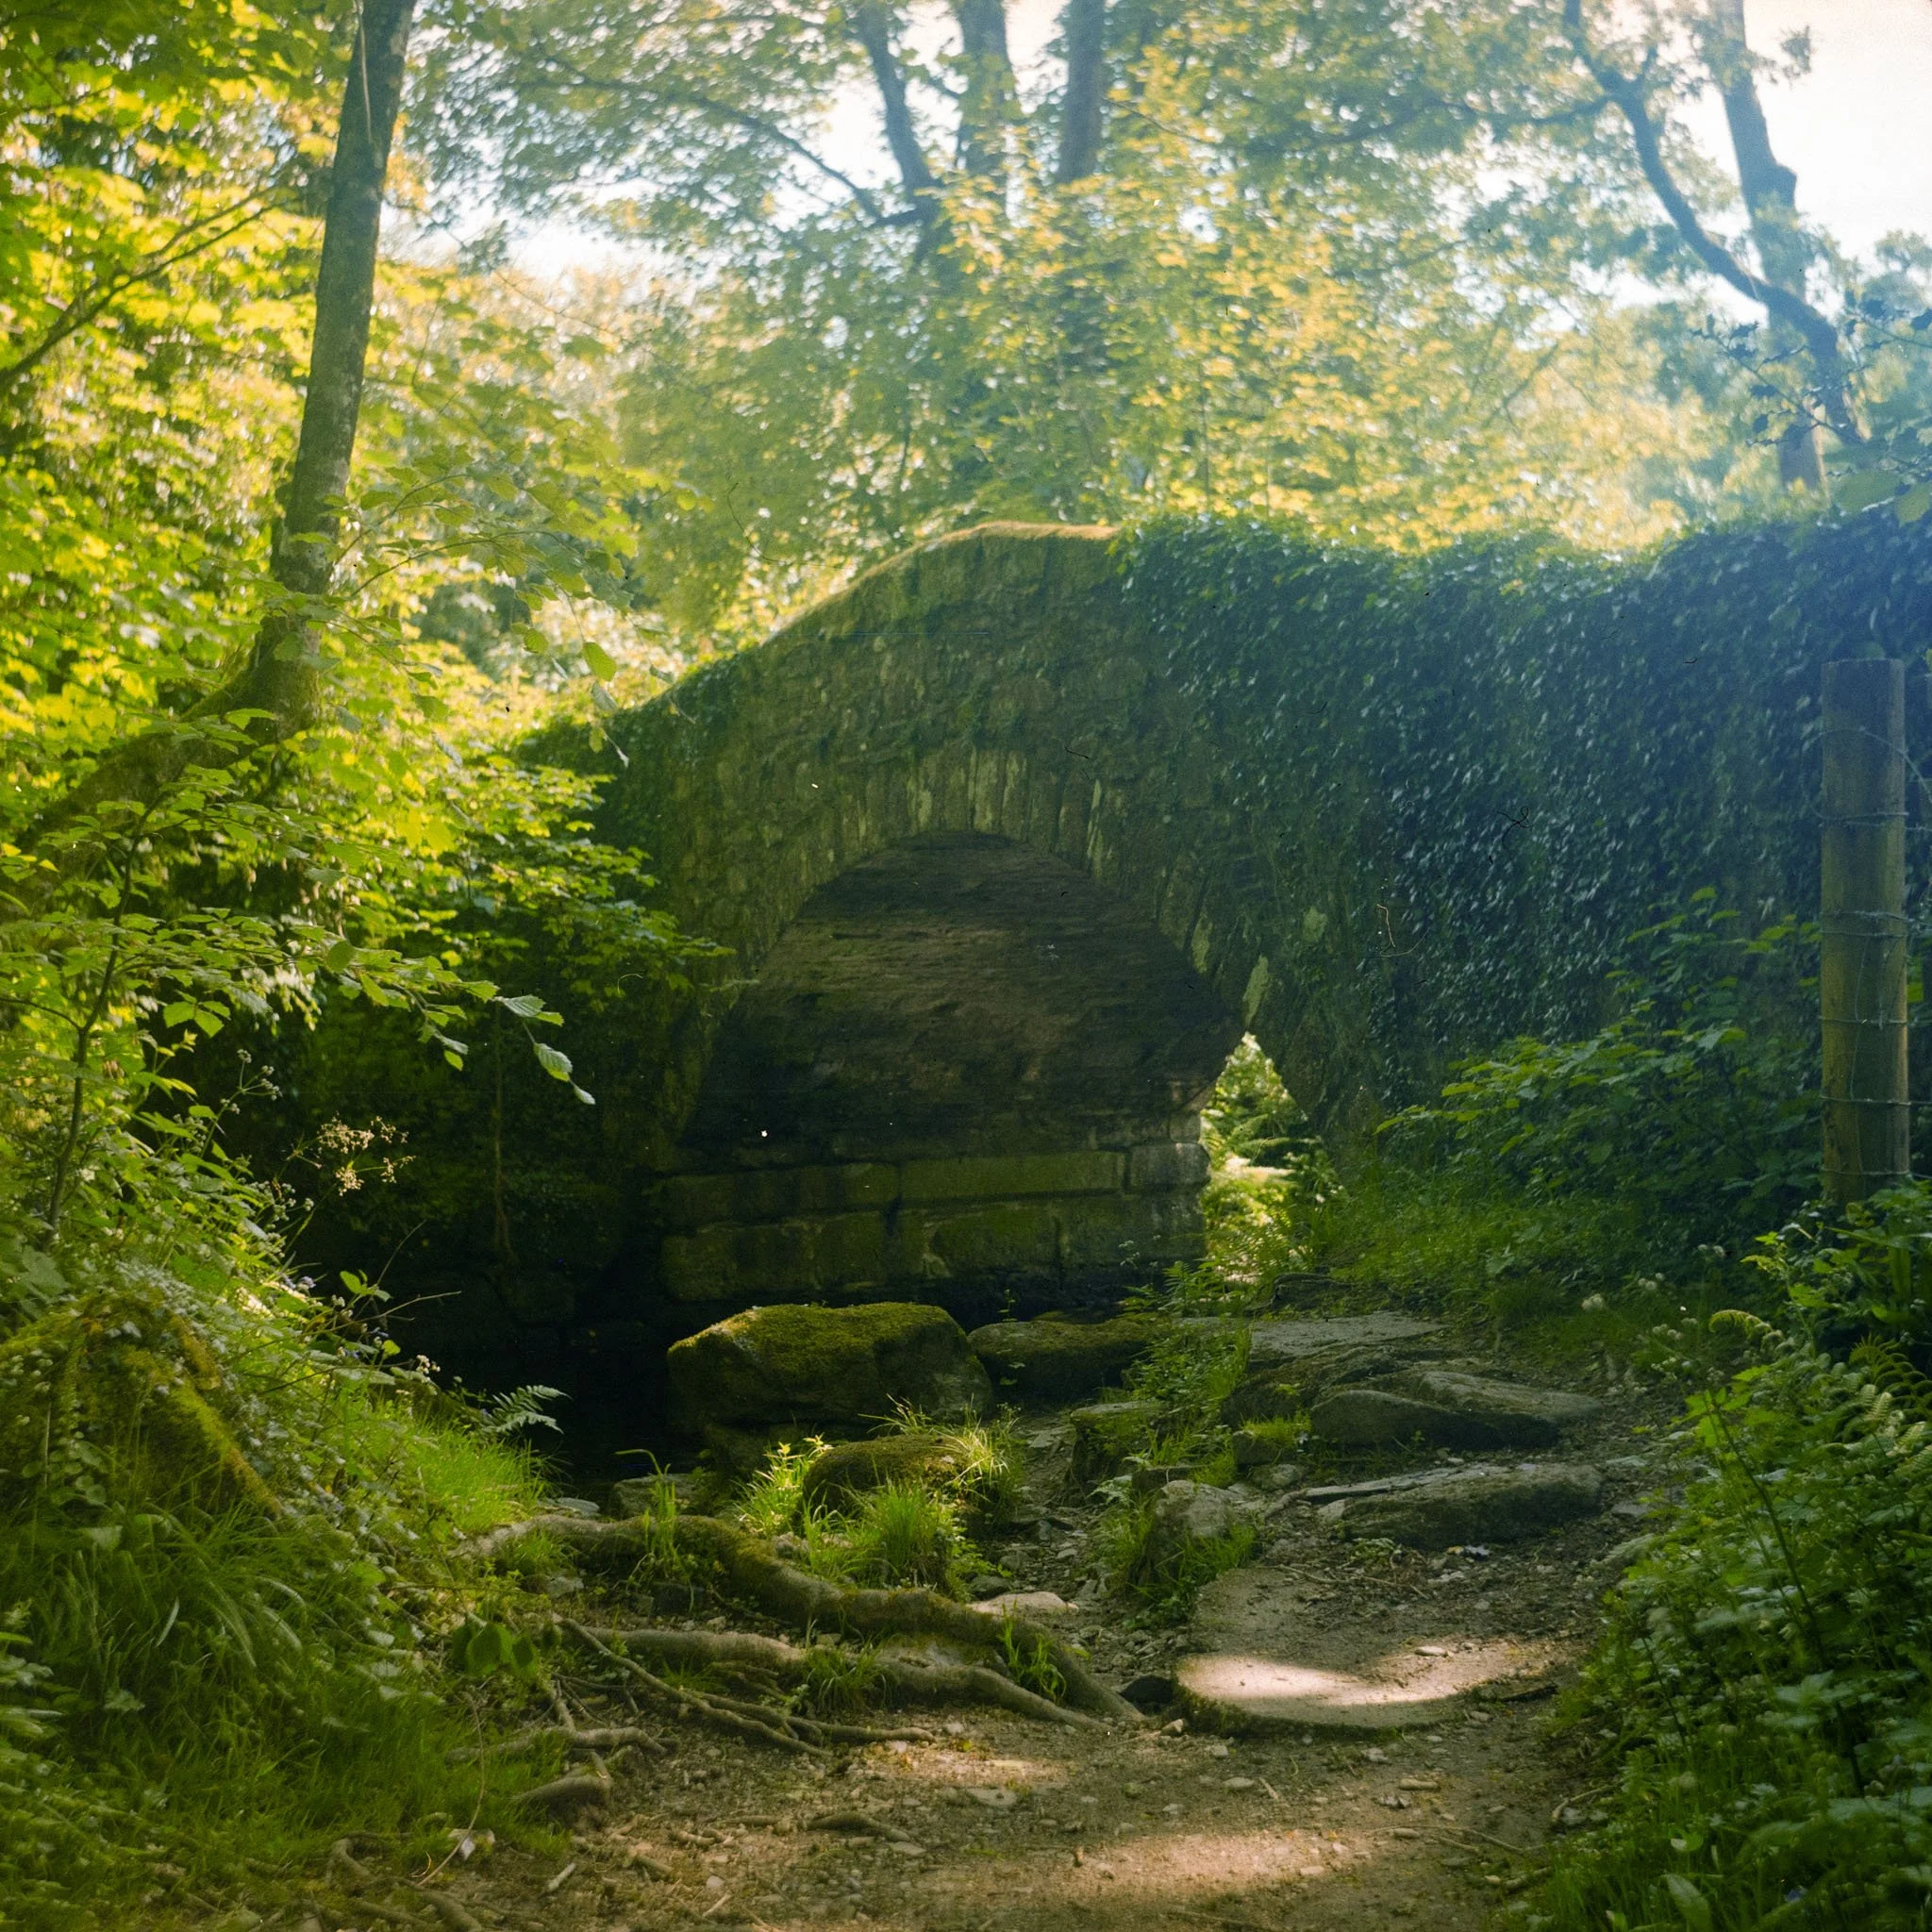
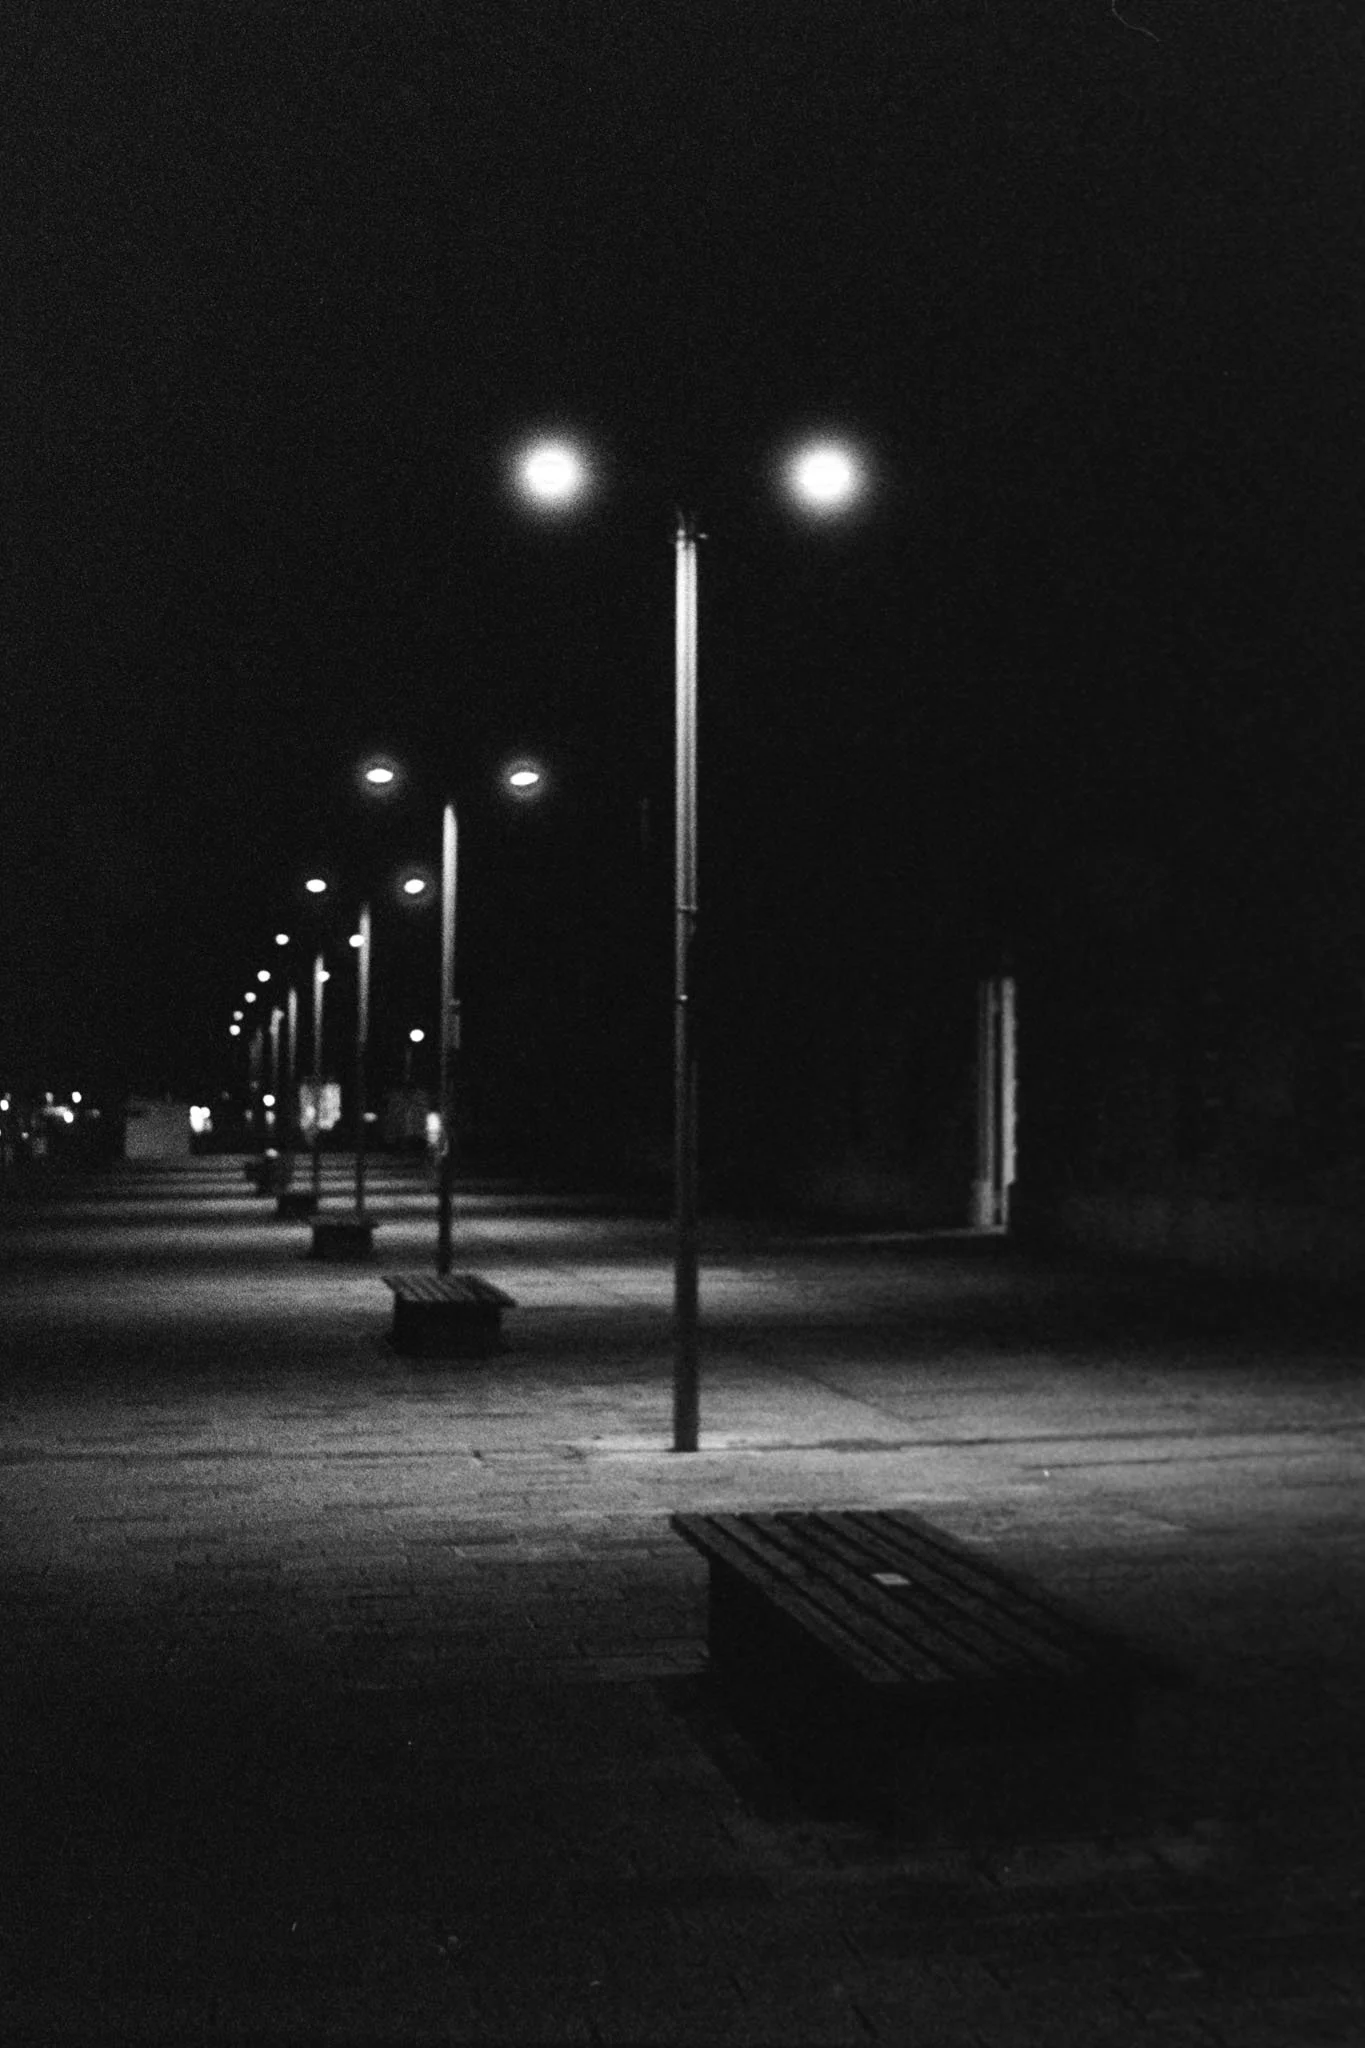
A Beginners Guide to Film Photography

This article is part of the beginner’s guide to film photography, to see the entire guide, please click here: Film Photography Guide
The Basics
To capture an image on film, we load our film into a camera.
Film is a light sensitive material that, when properly exposed to light, “stores” an image. When that film is then properly developed that image is revealed. We capture an image, on the film, using a camera. Once we have taken the shot, we advance the roll of film to the next blank section, so we can take another shot.
Once the roll of film is expended, we safely remove it from the camera and send it to a lab to be developed.
Loading & Unloading Your Camera
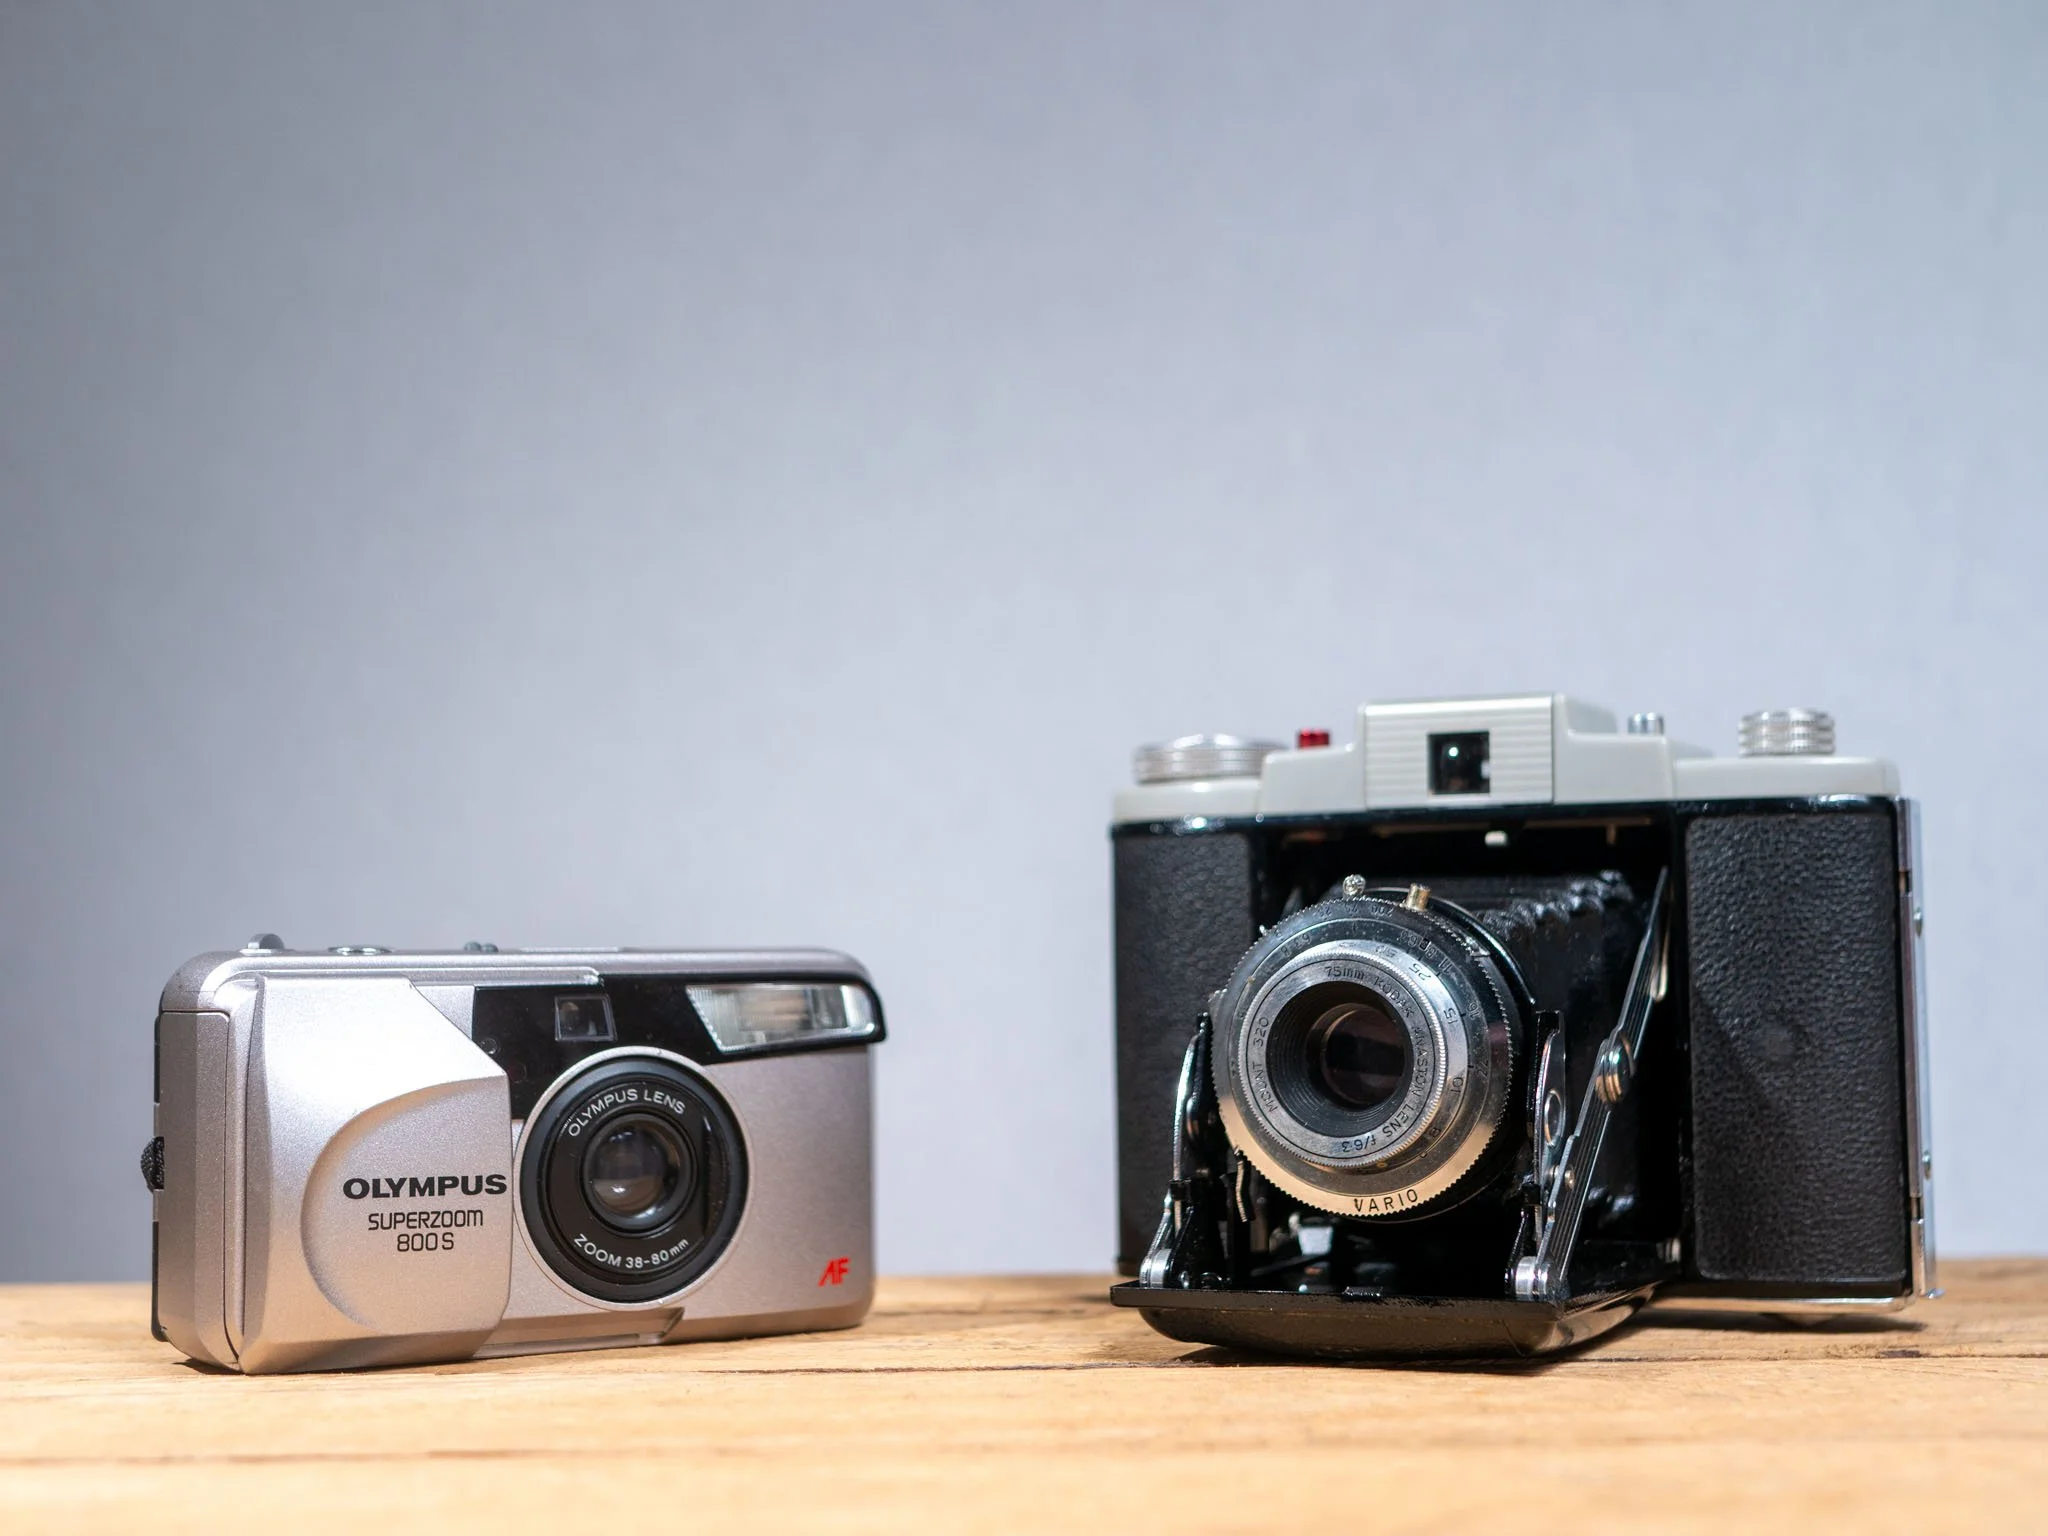
A camera needs film, and it might need batteries, depending on its age. We also need to find out which format film your camera takes and decide what type of film you actually want to use.
It’s also a good idea to understand how to unload your camera, before you put film in it for the first time.
For a full film guide, visit this link: Film Guide
The most common format is 35mm, followed by 120. The loading process differs a little bit between individual cameras, but the basics are as follows:
Please note, loading film should only ever be done in subdued lighting.

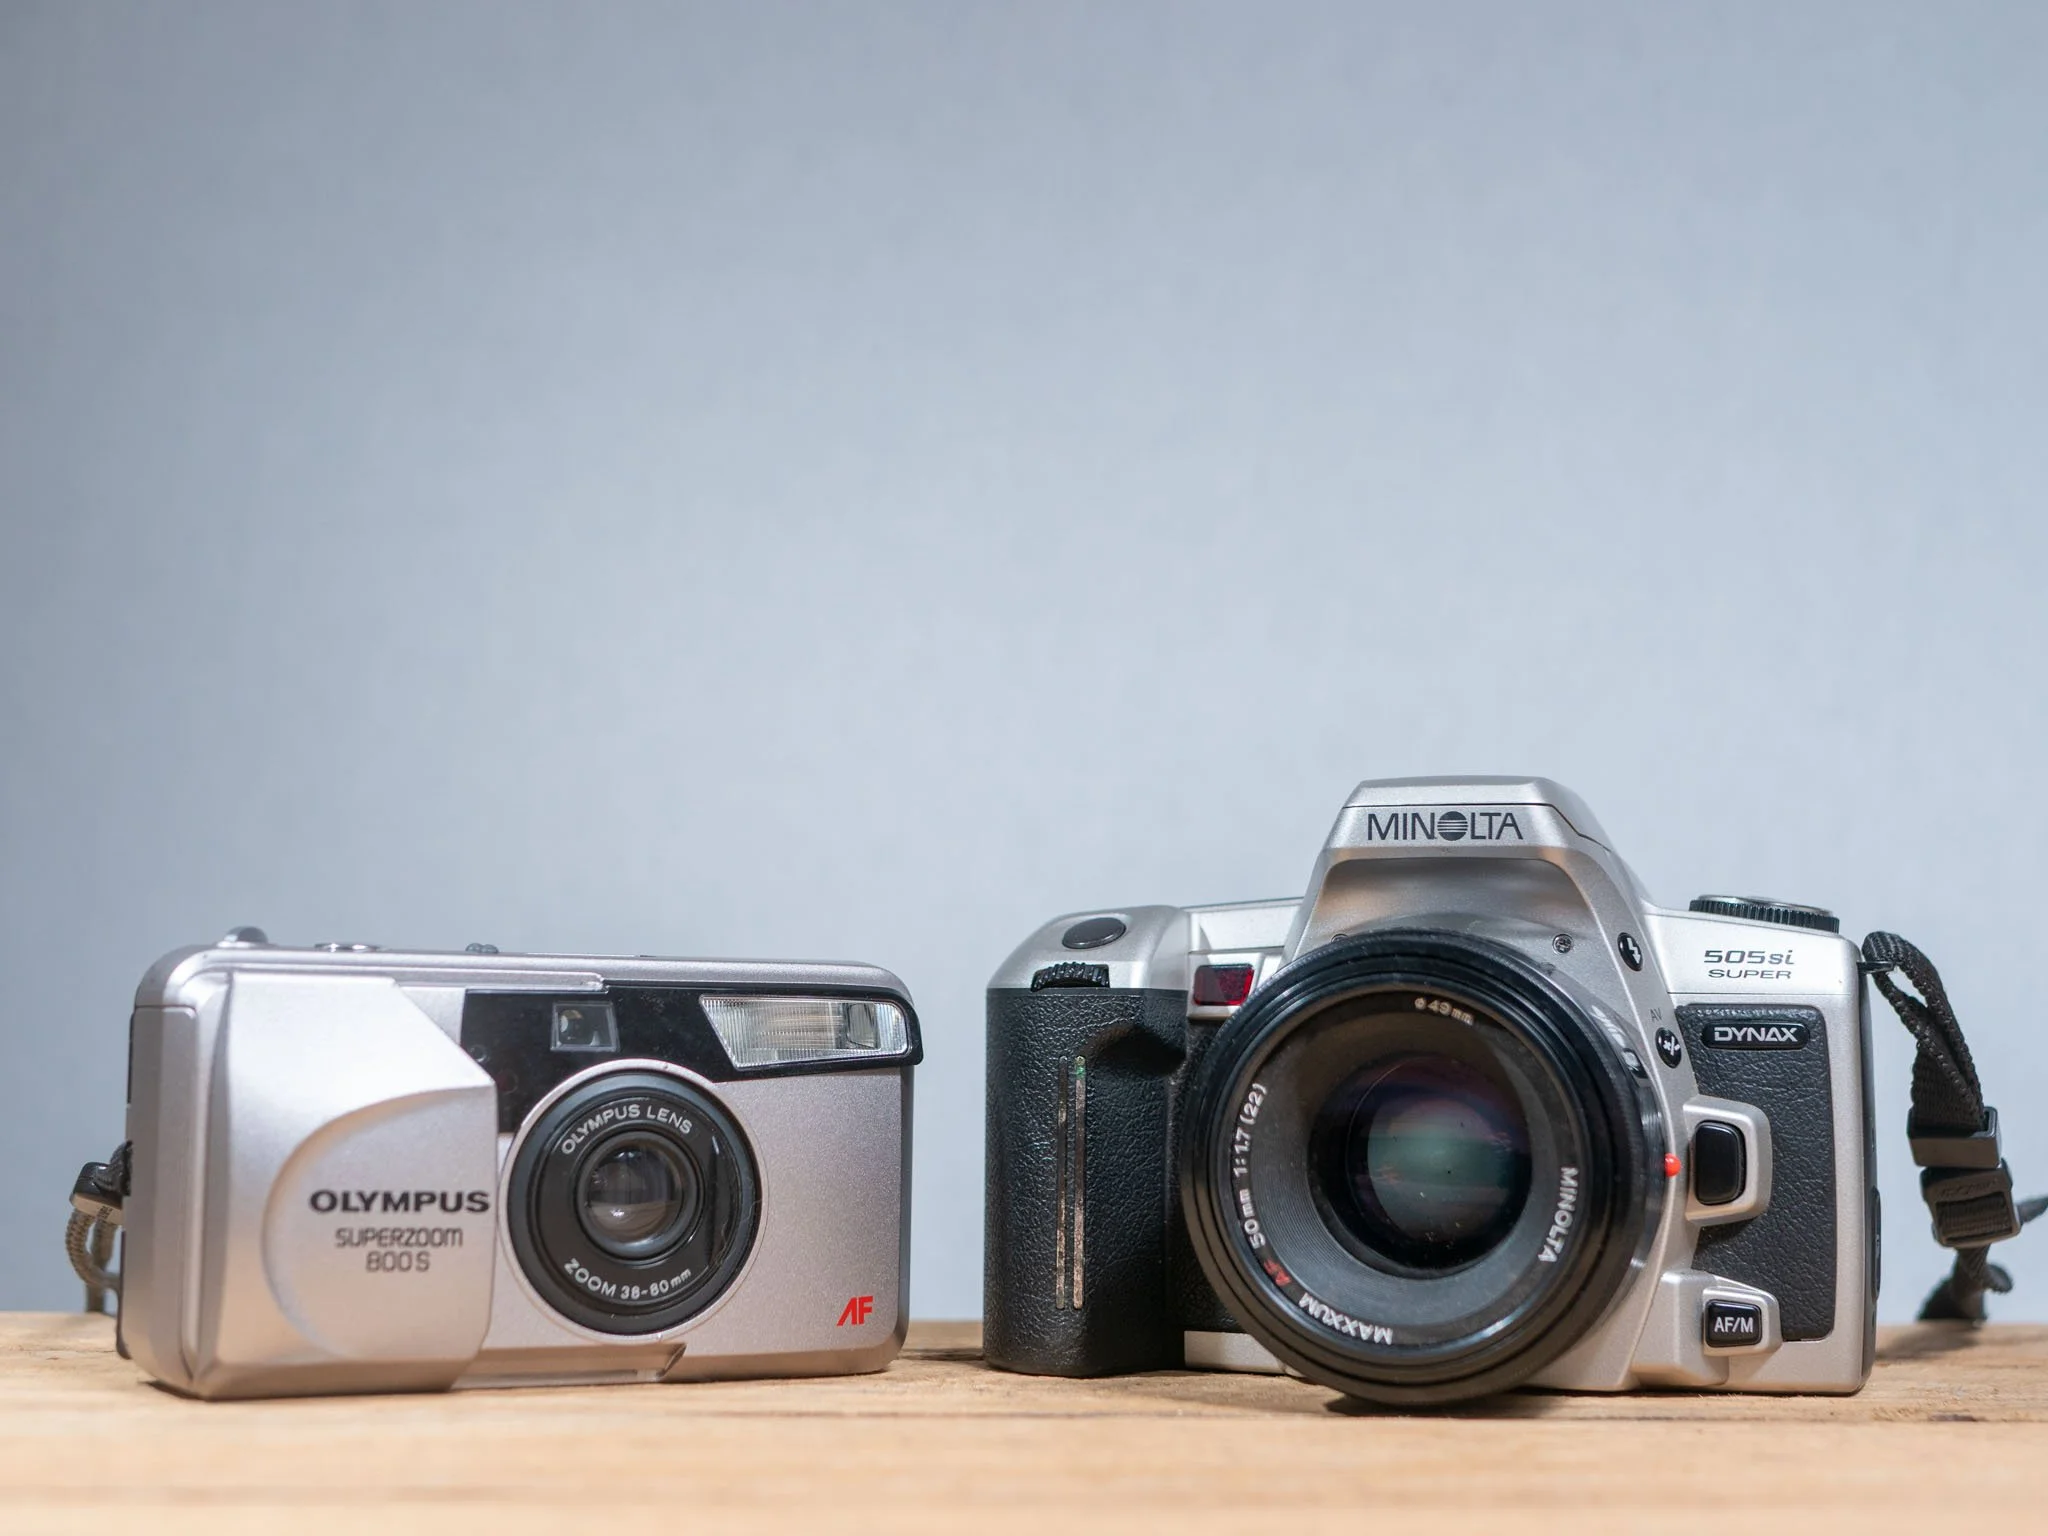
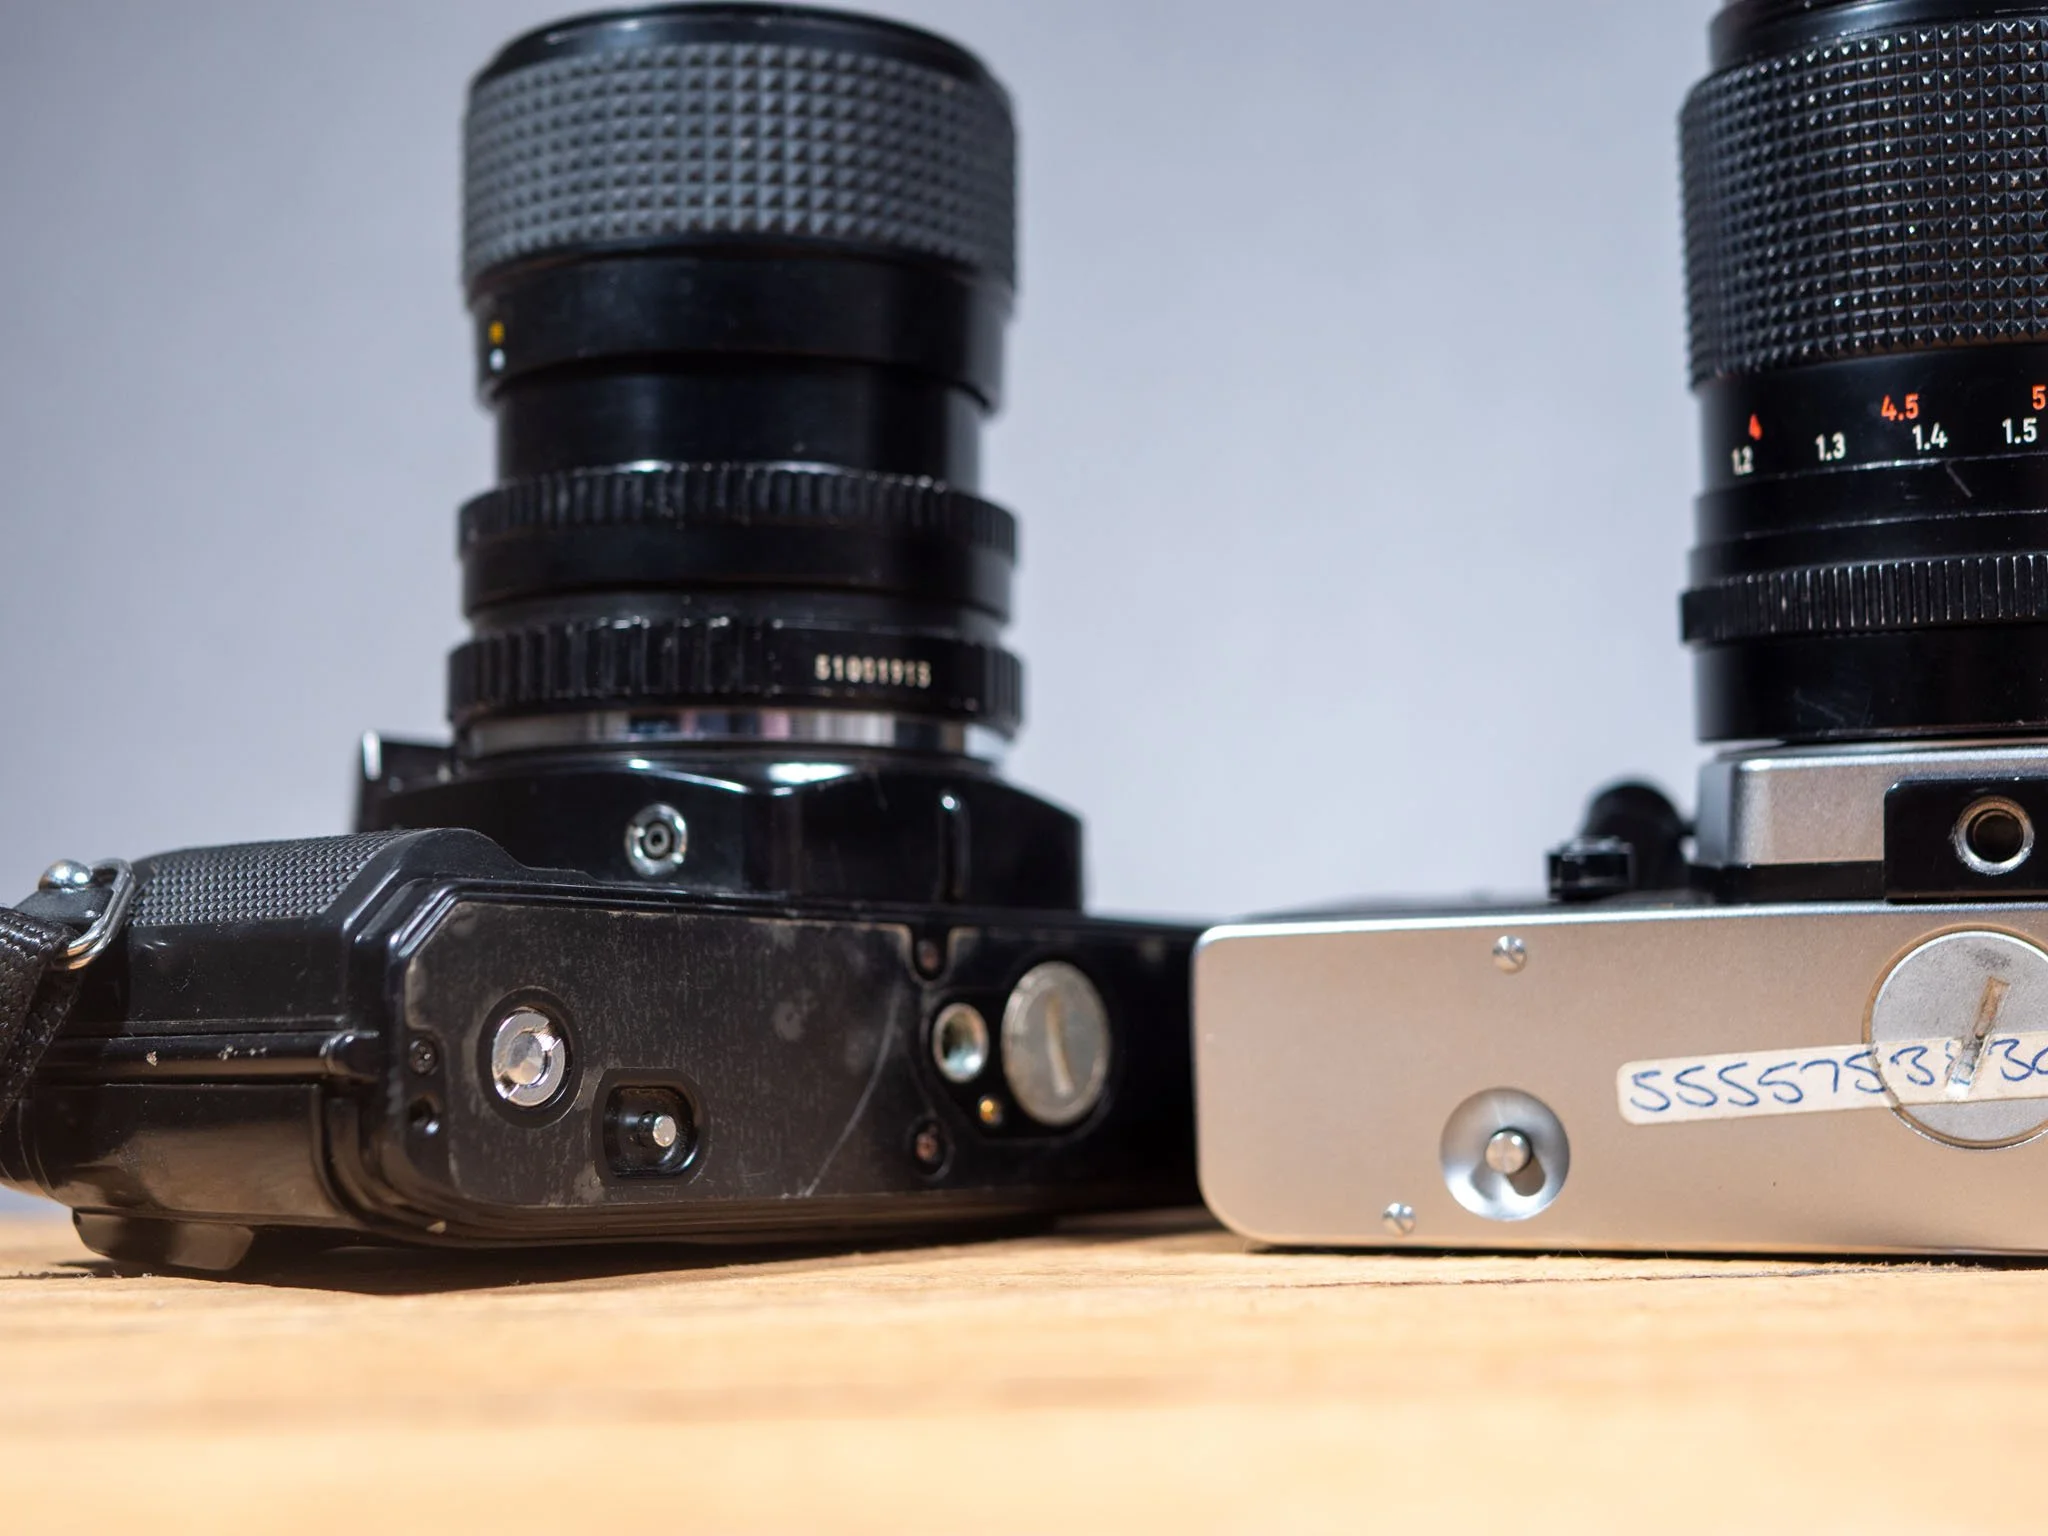
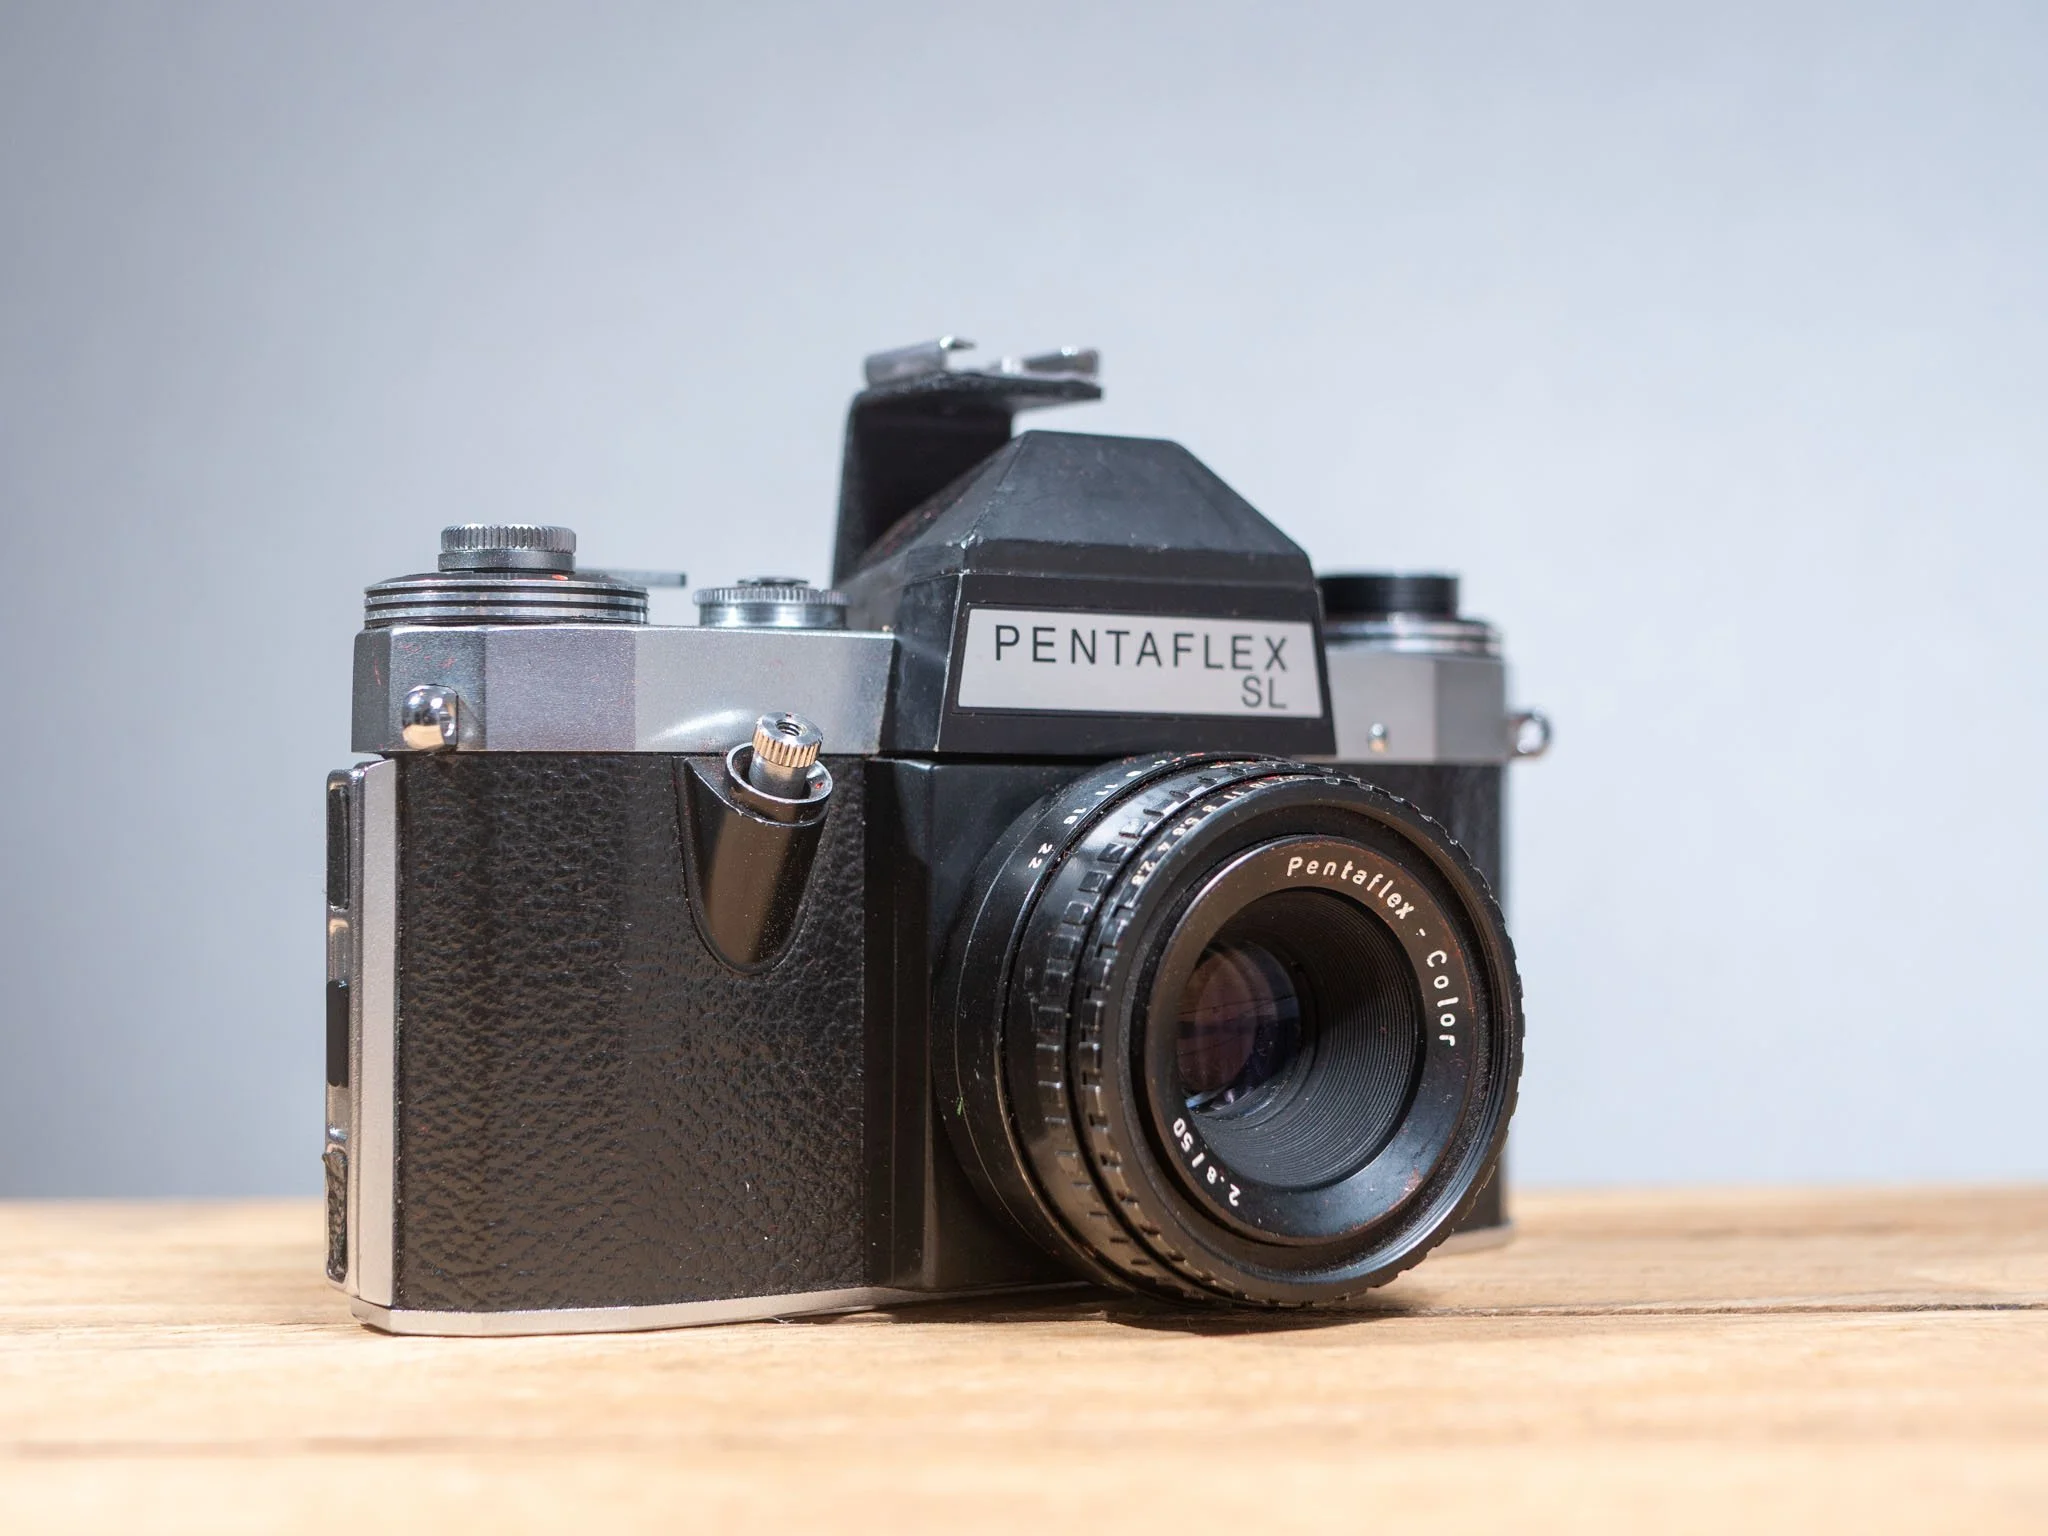
Your Camera
You might have picked yourself up a camera or be looking for the right one to start out with. For a full guide on the common types of film camera, check out this guide:
Film Camera Guide
If you’ve got your camera, you need to understand a few things about it before proceeding. Ideally you’ll be able to find a manual for your specific camera. A simple search on google will bring up the manuals for the vast majority of film cameras, and that as an excellent place to start.


Rewinding 35mm
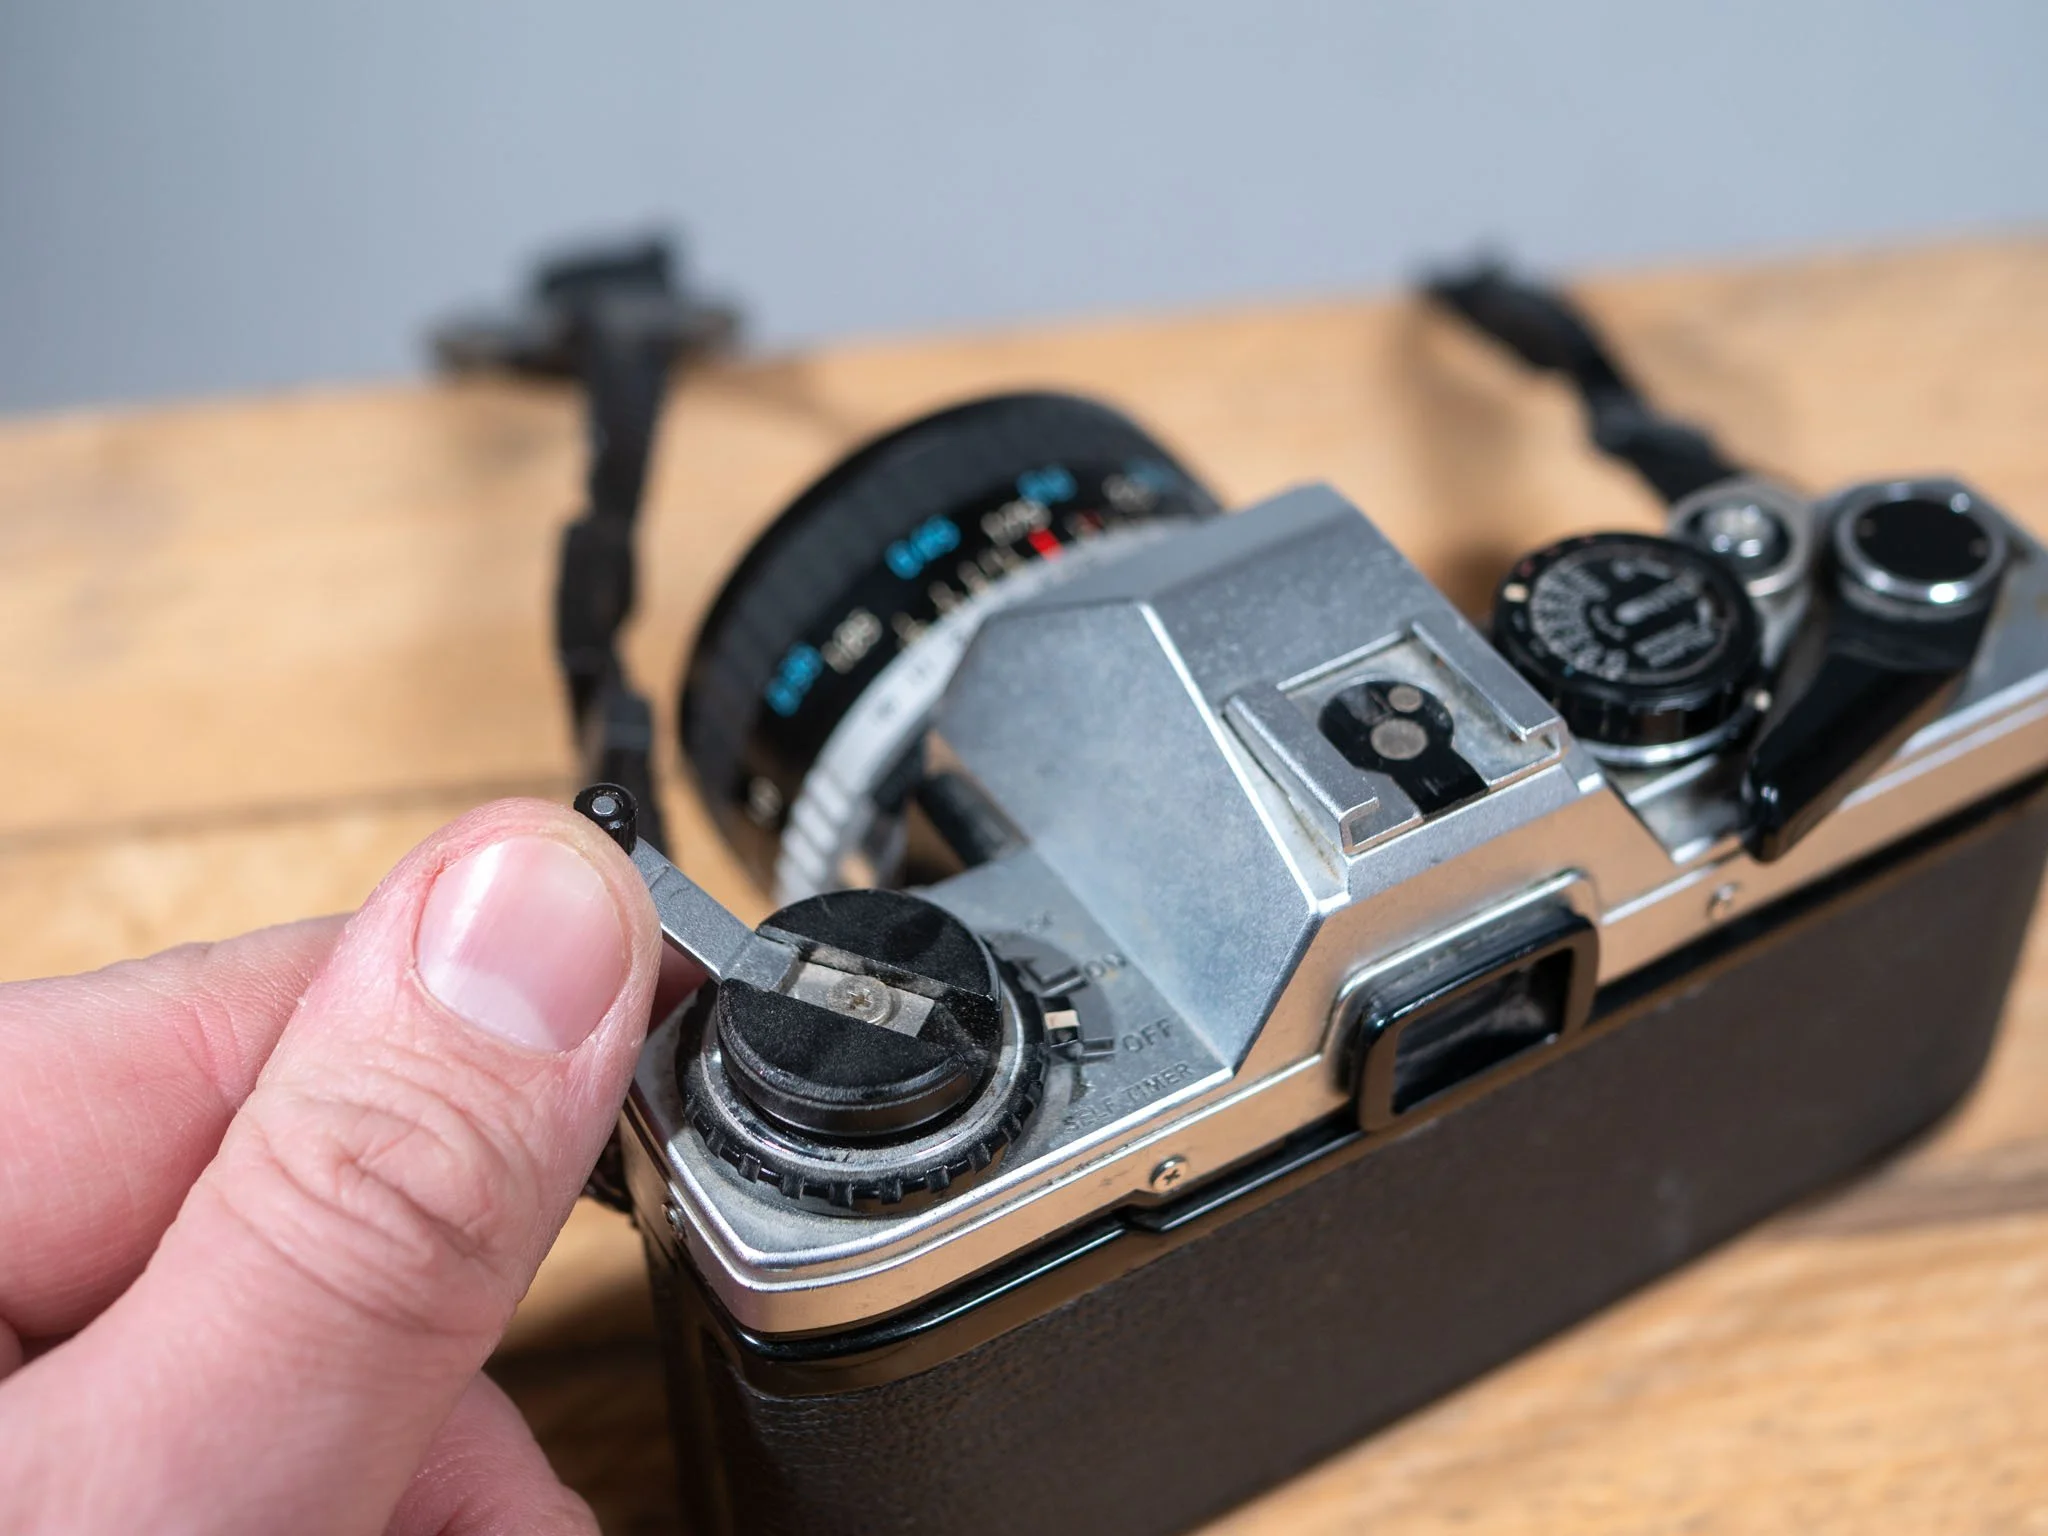
When you get to that stage, you will need to manually rewind the camera. There is usually some kind of rewind lock, that needs to be disengaged, before using the rewind knob or wheel to rewind the film. It will take a surprising amount of time to fully rewind the film, but you’ll know you’ve rewound it when there is a sudden lowering of tension in the rewind knob.
Most cameras will have a rewind disconnector, and require you to manually rewind using a knob on the other side of the camera to the film advance lever. You press the disconnector and rewind until you feel the resistance drop off.
If you are at all unsure at all that you’ve rewound enough, then just keep going. It’s better to over rewind than under rewind. Open the rear of the camera carefully and quickly in a dark environment. If you can see either the cartridge with no film poking out of it, or only an inch or two, you are done. If you can see a lot of film still out of out of the cartridge, quickly shut the door and keep rewinding.
If that has happened, then you will have lost some photos, but if you are quick, you might save some.
It is worth nothing that every camera is a littler different. Rewind disconnectors come in a variety of styles, as do the rewind knobs, so reading your cameras manual is essential.
Once the film is safely back in the cartridge, pop it out, and you are ready for development.
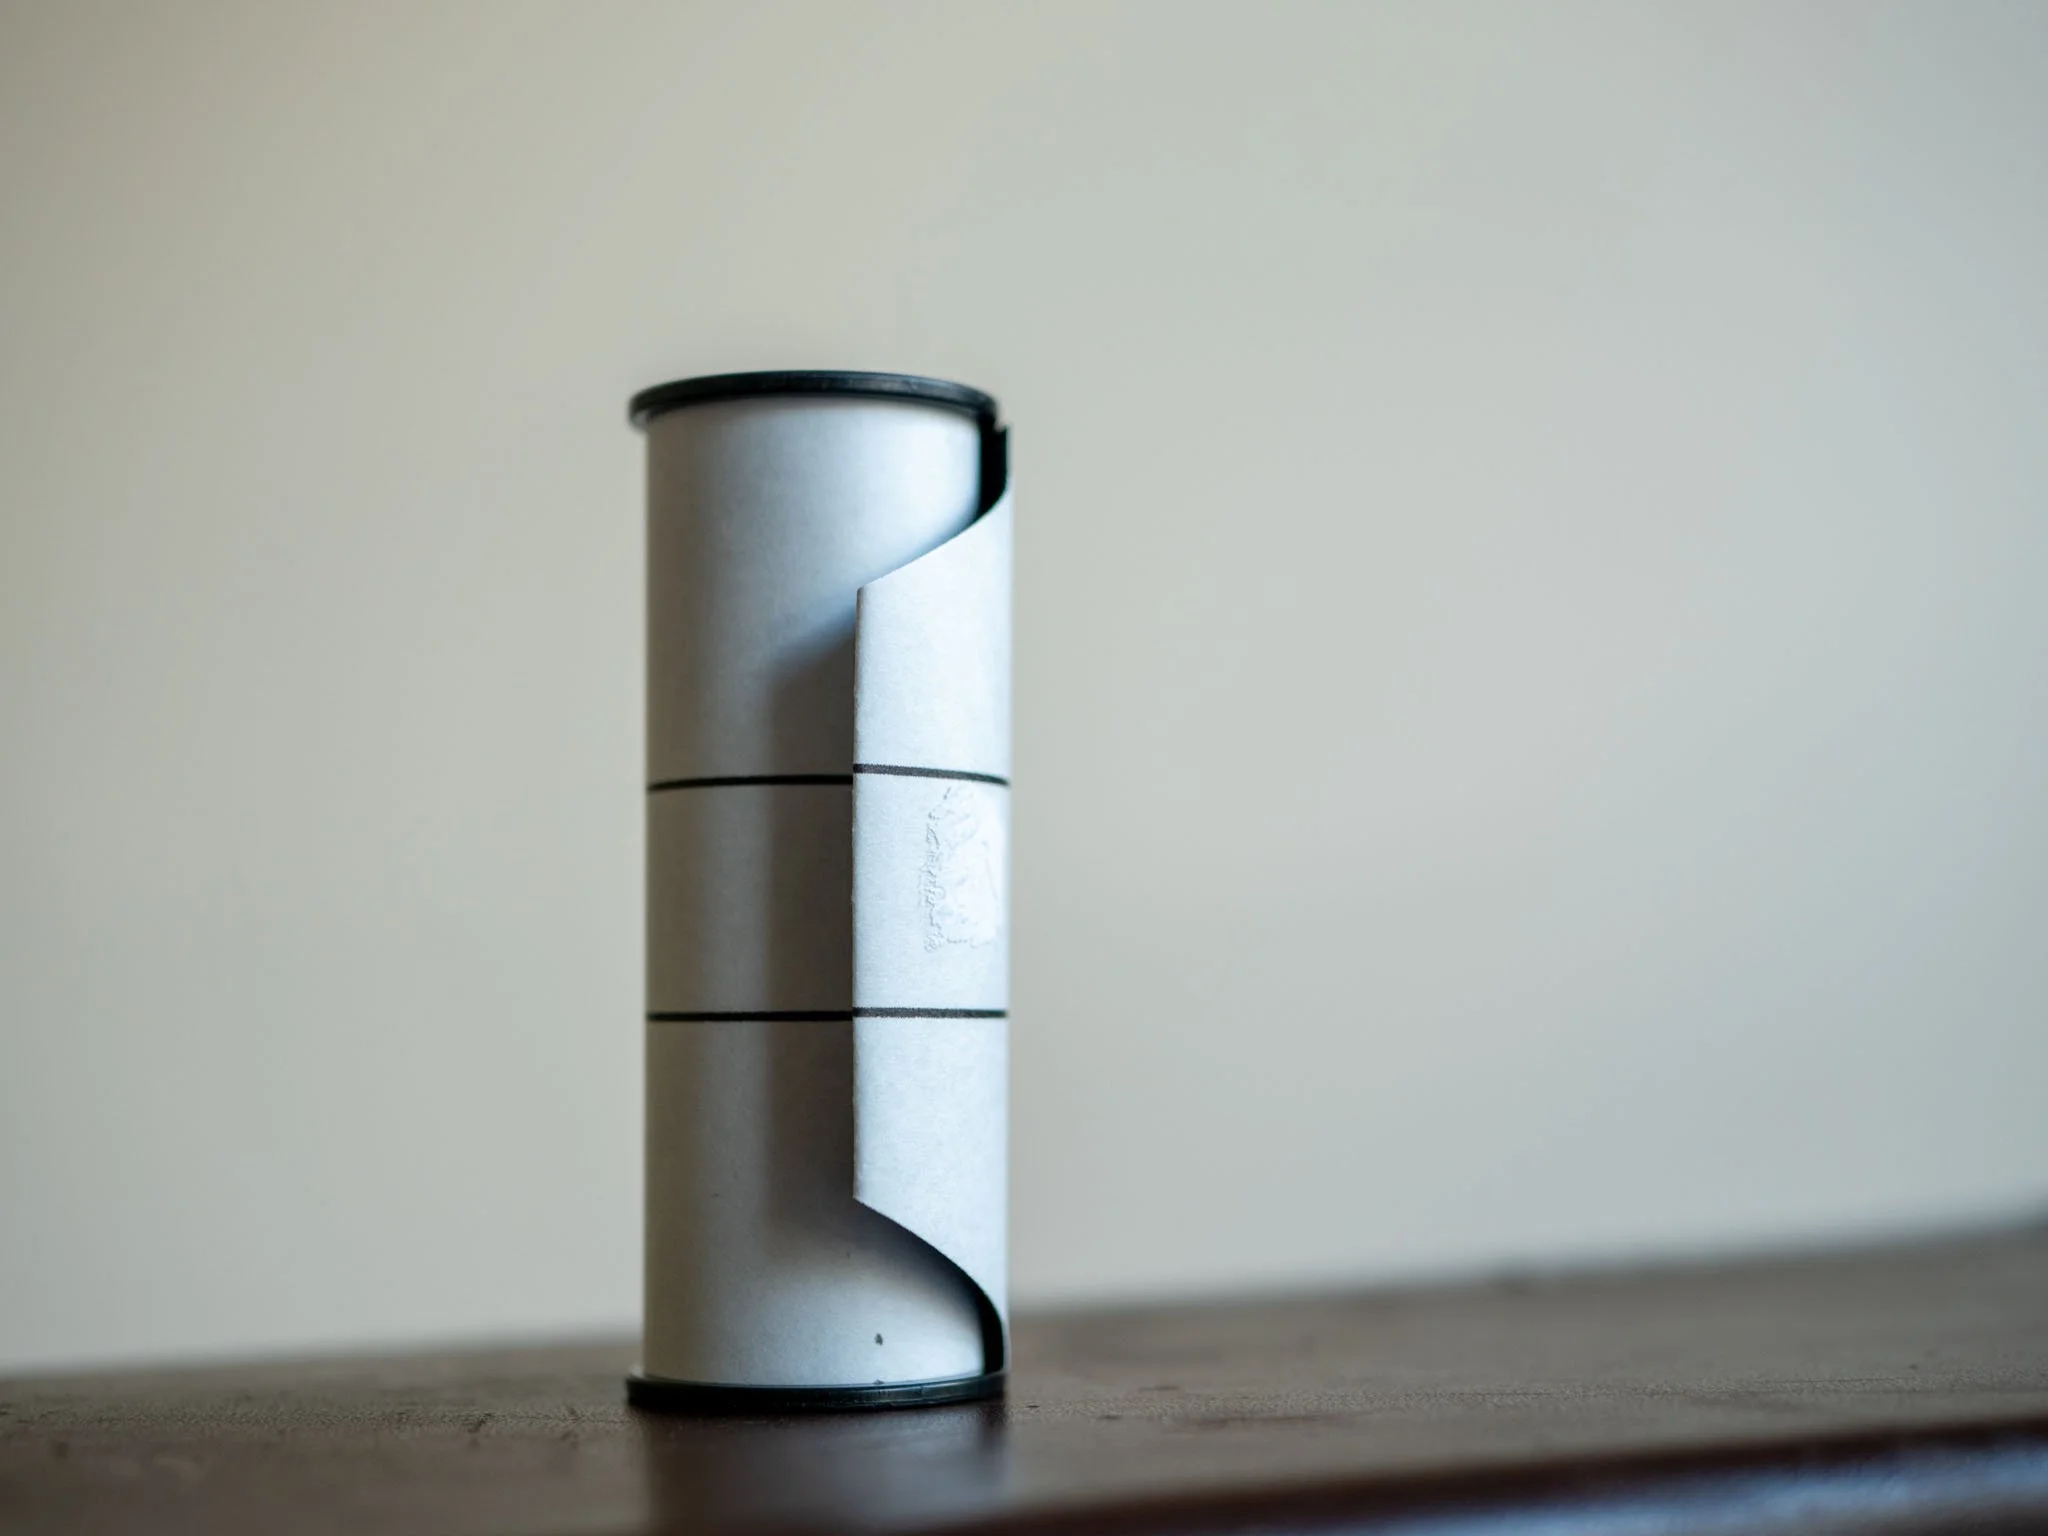
Medium Format
120 film comes on a plastic spool. As you use the film, it is slowly unwound from the supply spool, onto a take up spool. Both spools are removeable. More often than not, the supply spool from the last film will still be in the camera. Move the supply spool to other side of the of the camera. Usually there is some kind of mechanism that locks it in place, sometimes a spring-loaded catch, sometimes a hinged mechanism


Autofocus
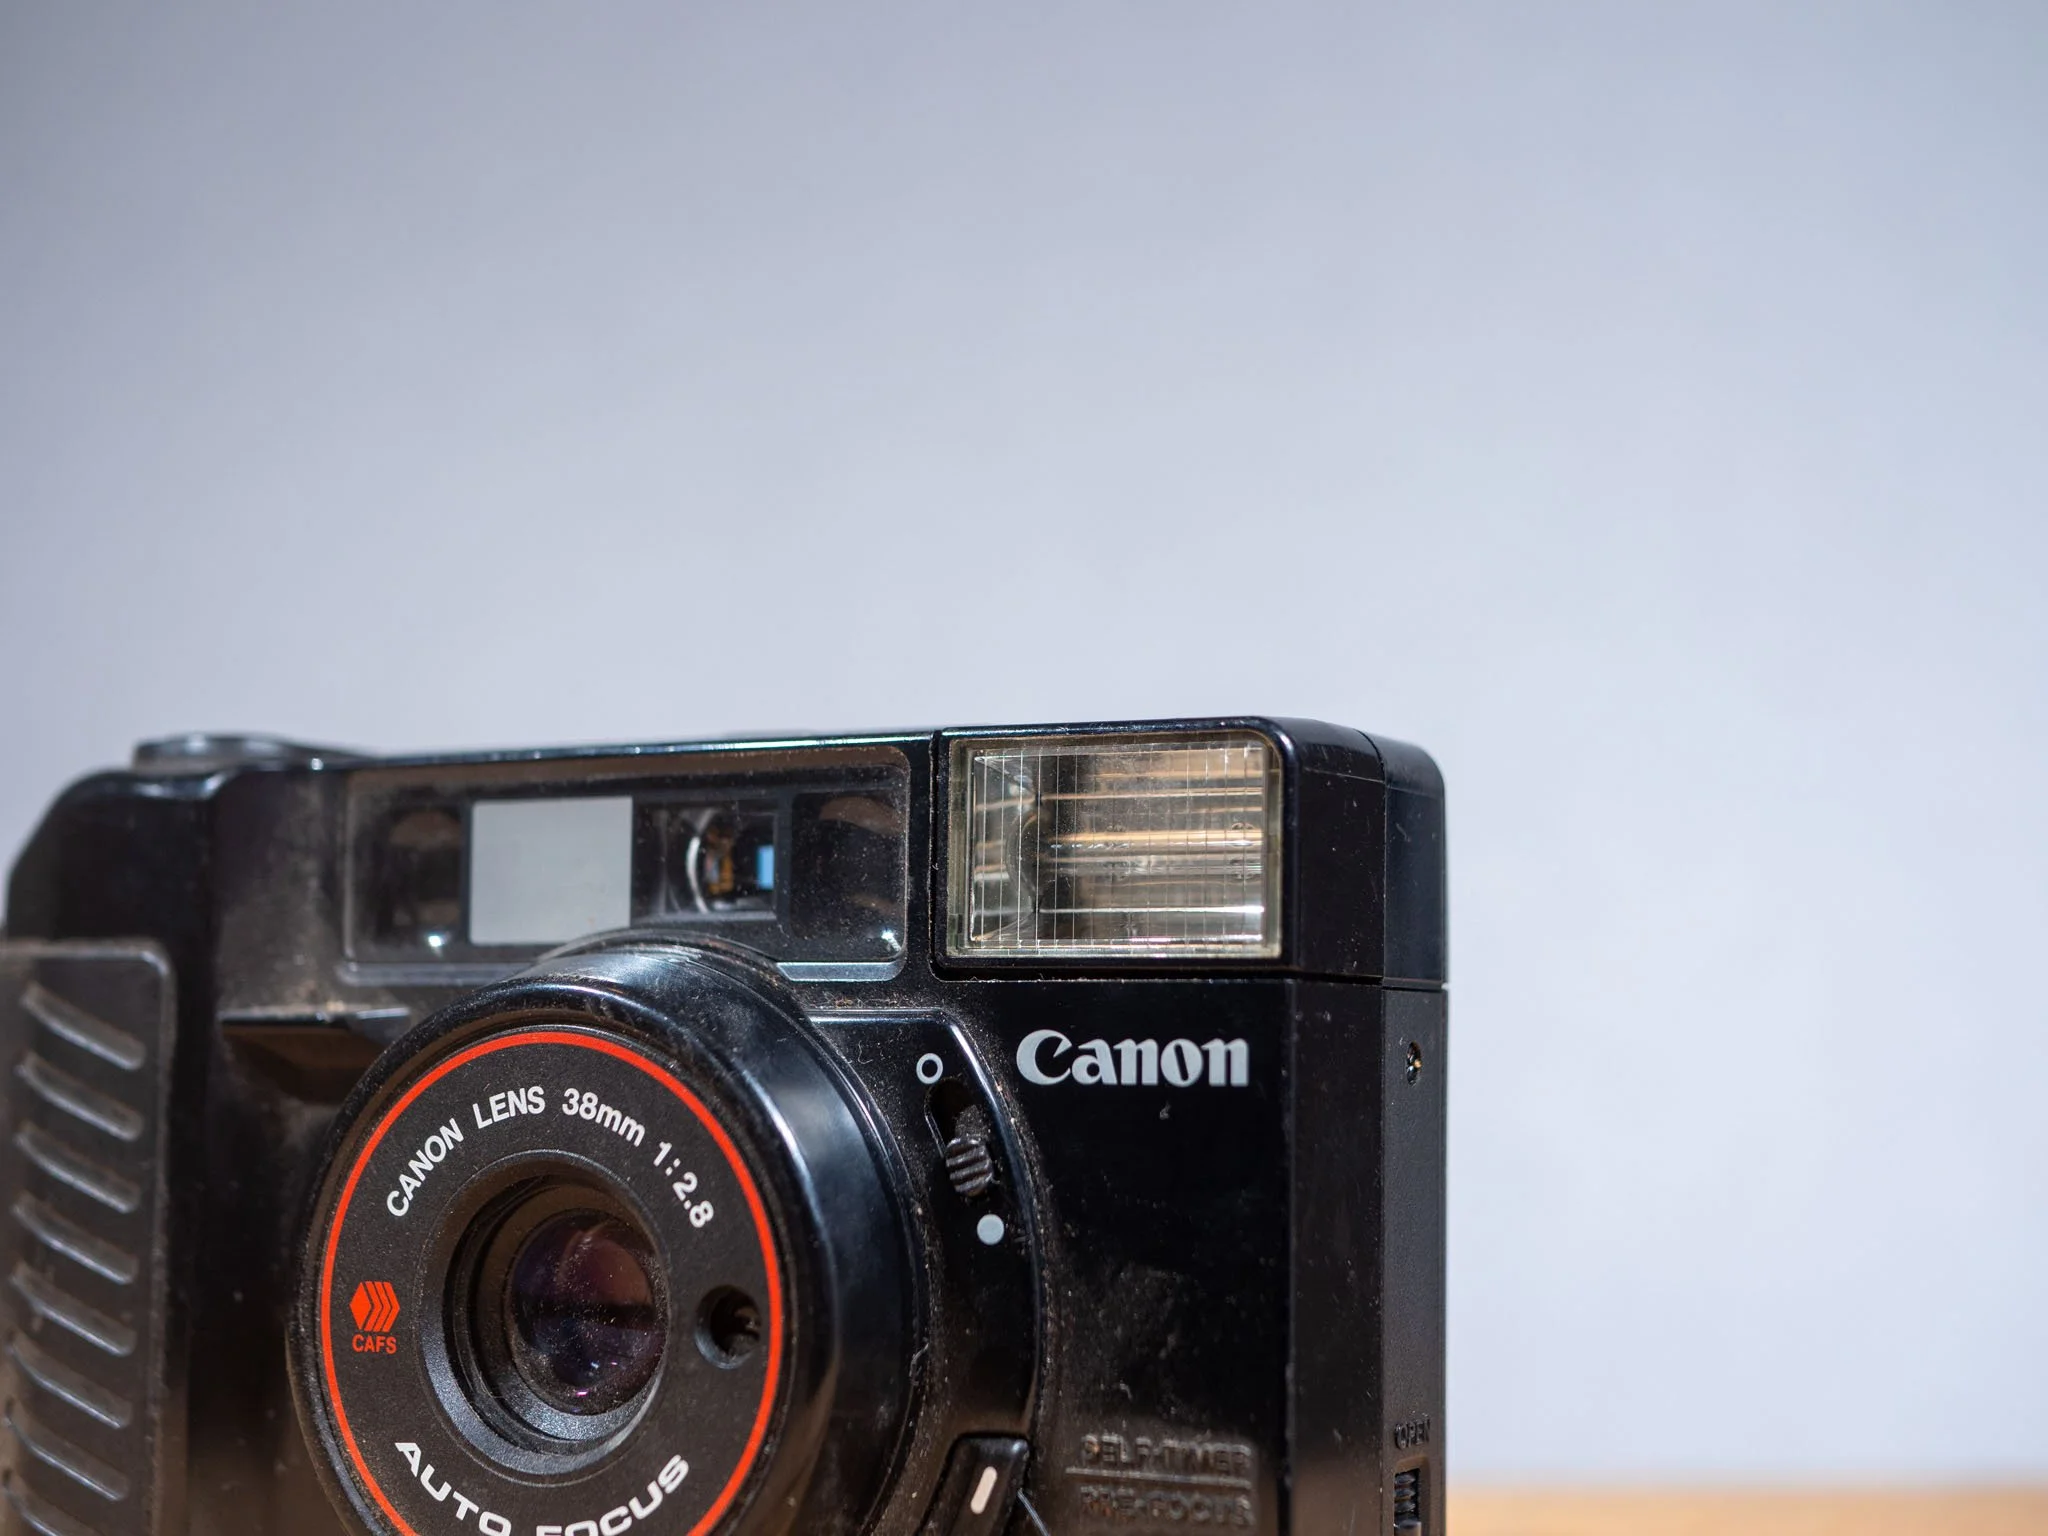
Point and shoot cameras, and later SLR’s will usually have an auto focus capability of some kind, which can make things a lot easier. Generally, you half press the shutter release, the camera focuses, and then you full press.
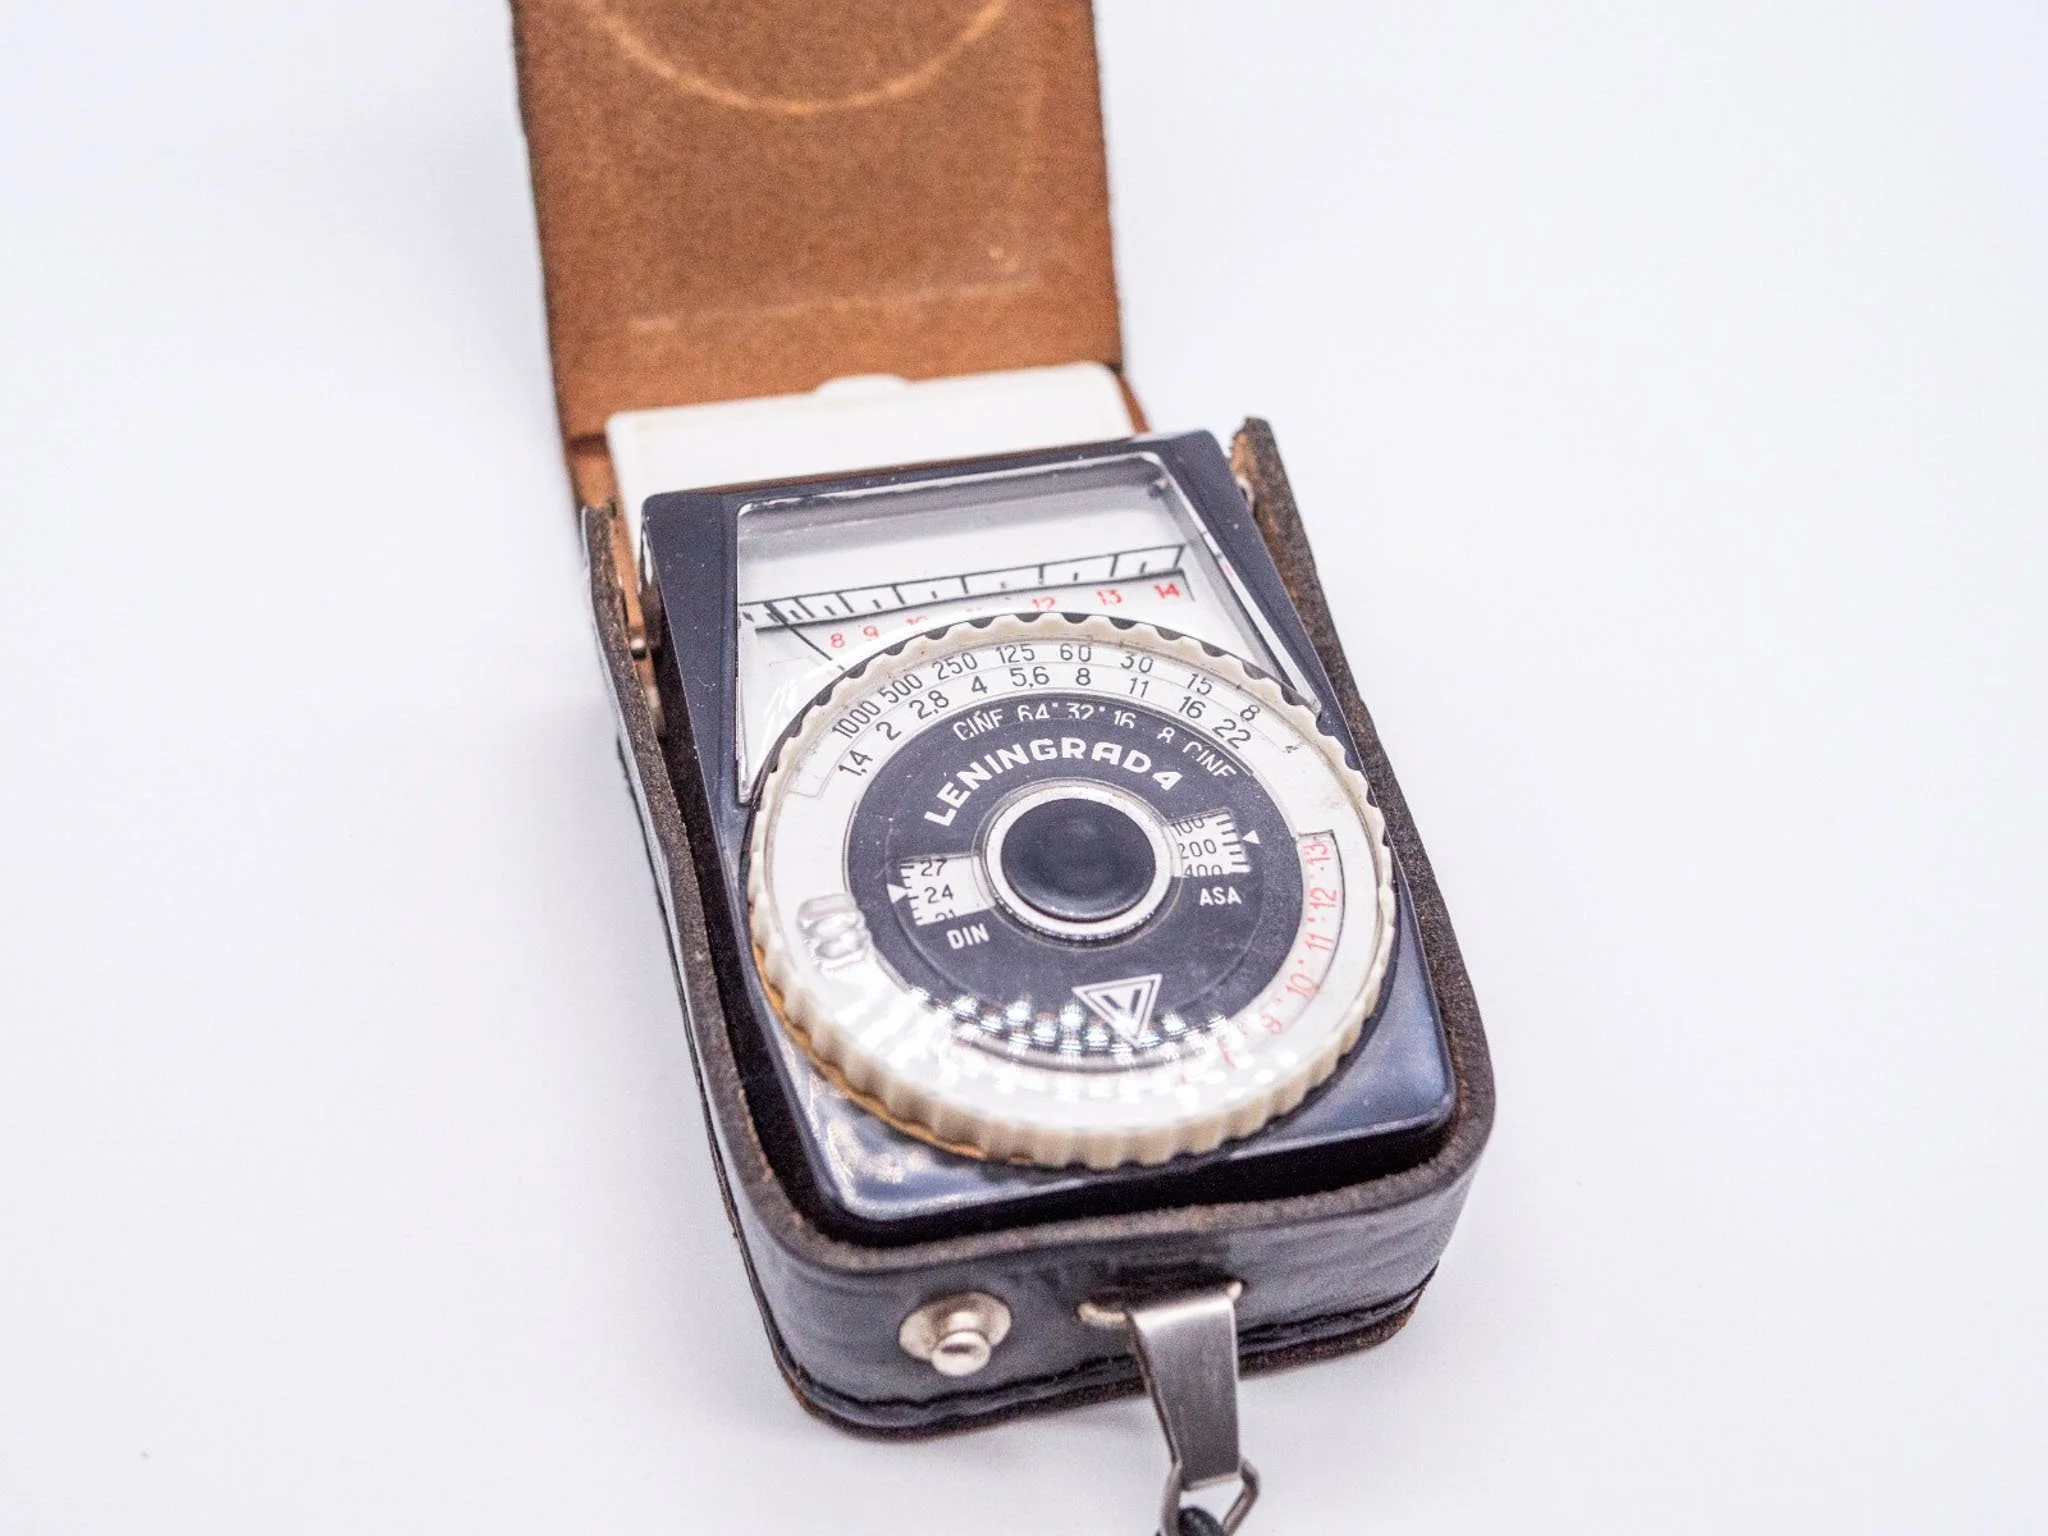
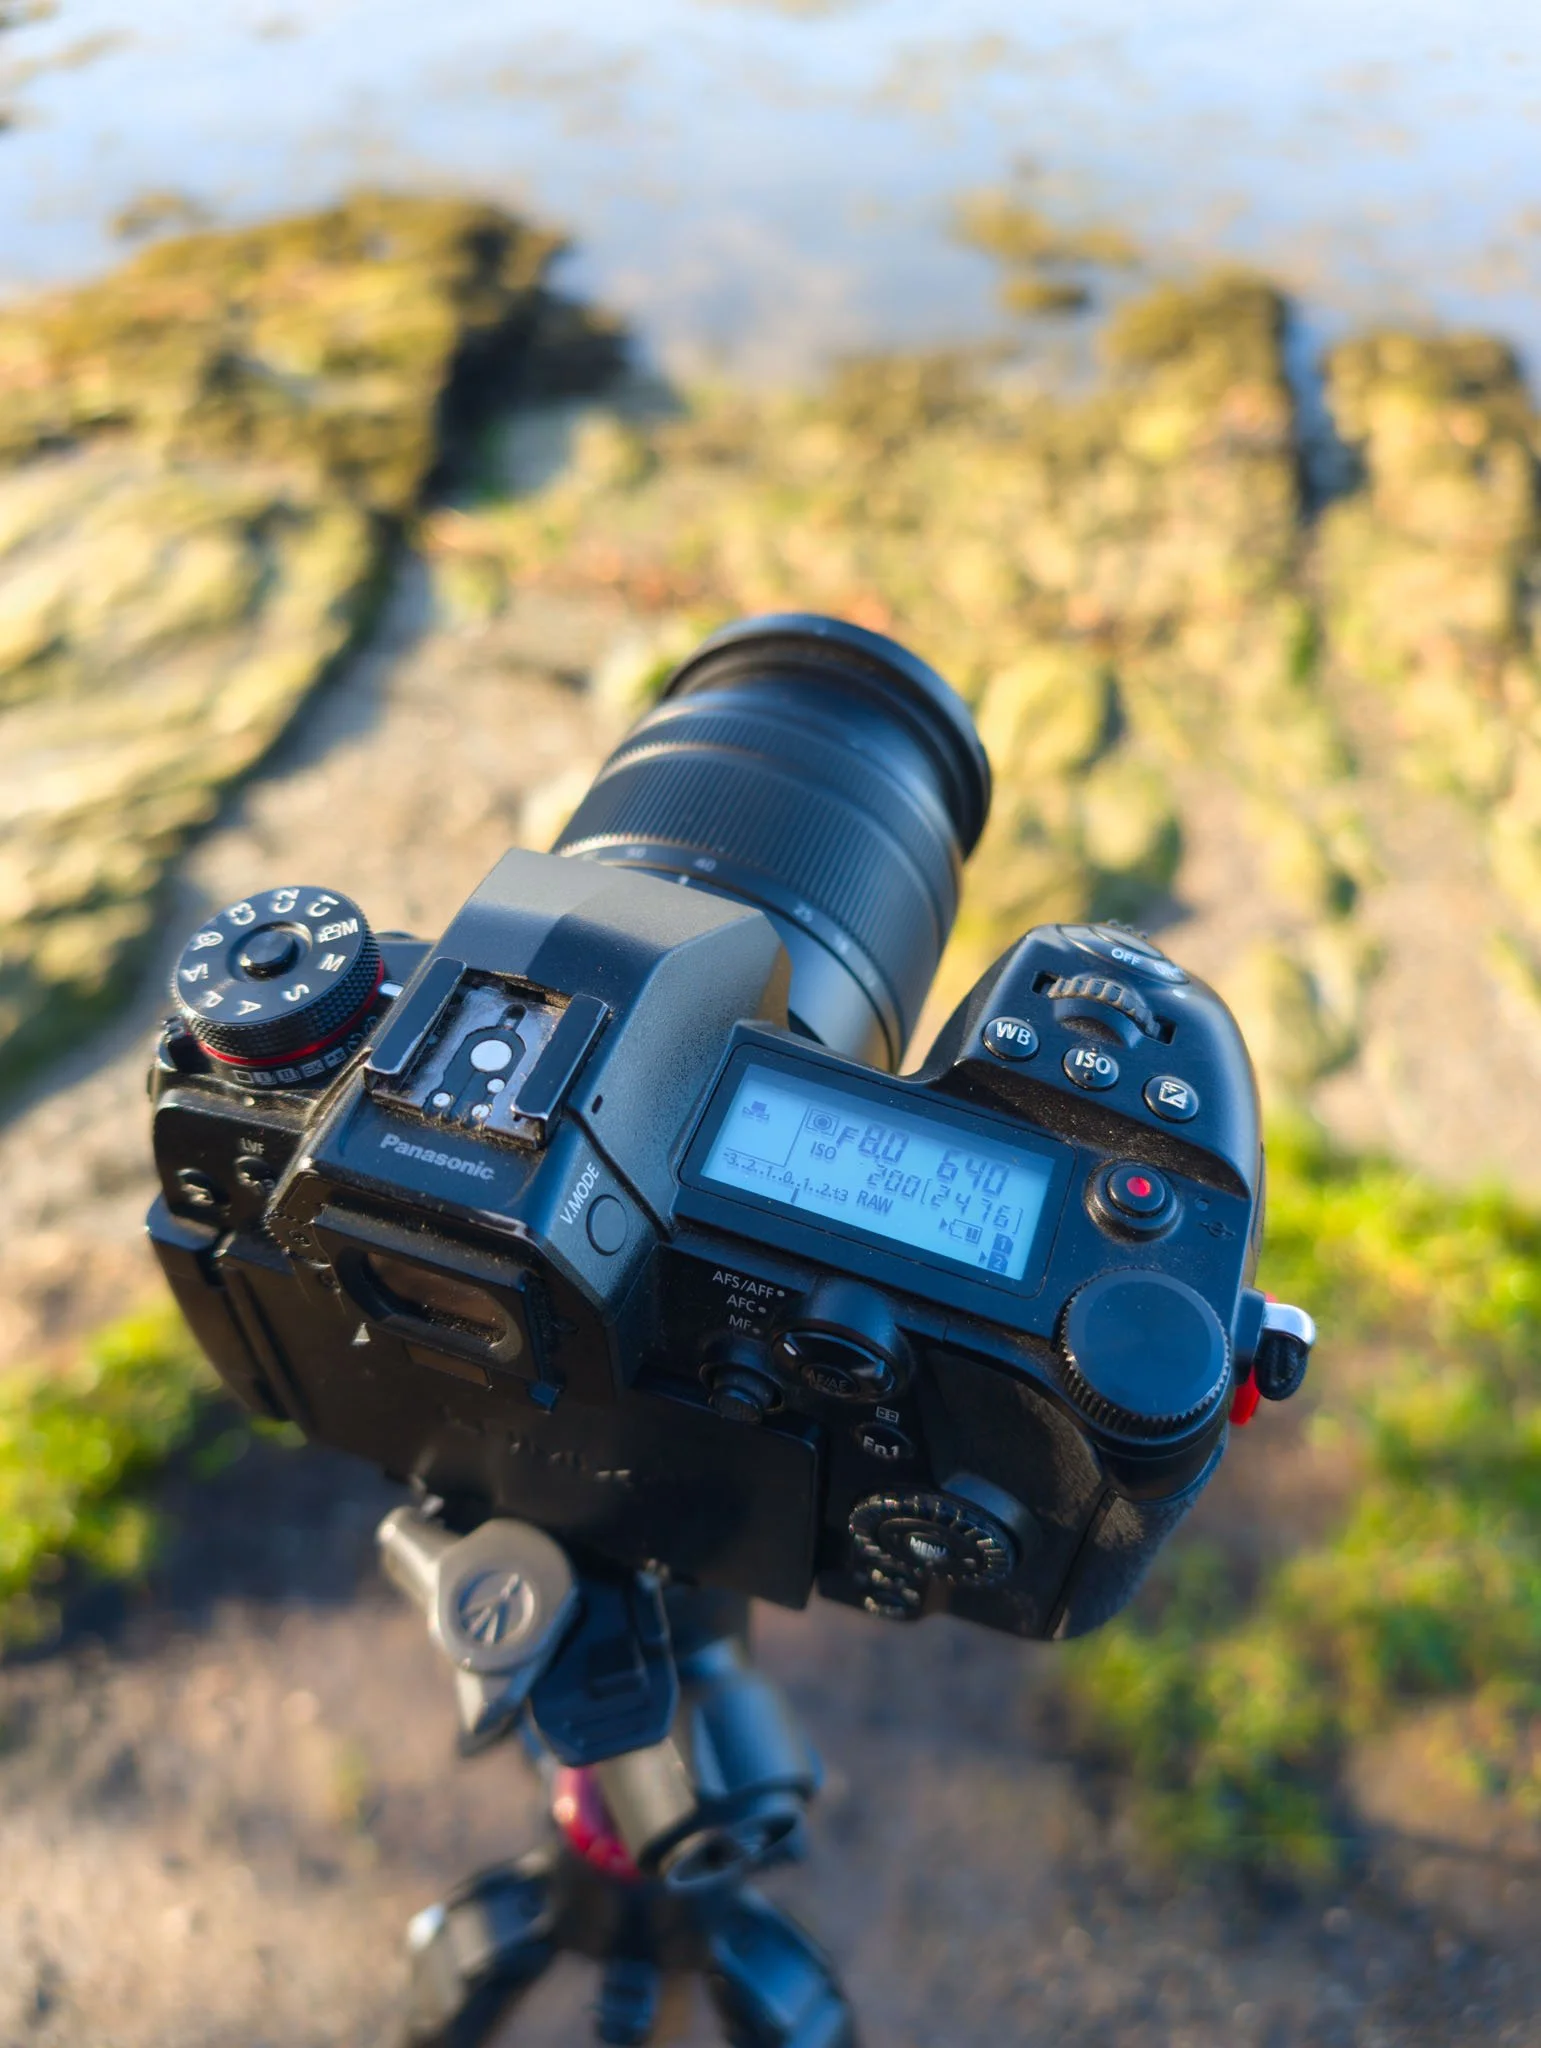
External Light Meters
You can also find yourself an external light meter. These can be mounted to the camera, so they function a lot like the uncoupled light meters detailed above. You can also find handheld ones.
External and uncoupled light meters give a good estimate for exposure but can never be quite as accurate as coupled light meters. Coupled light meters take their exposure from the specific shot you are trying to take; the uncoupled variants give an estimation of the overall light level of what is in front of them.
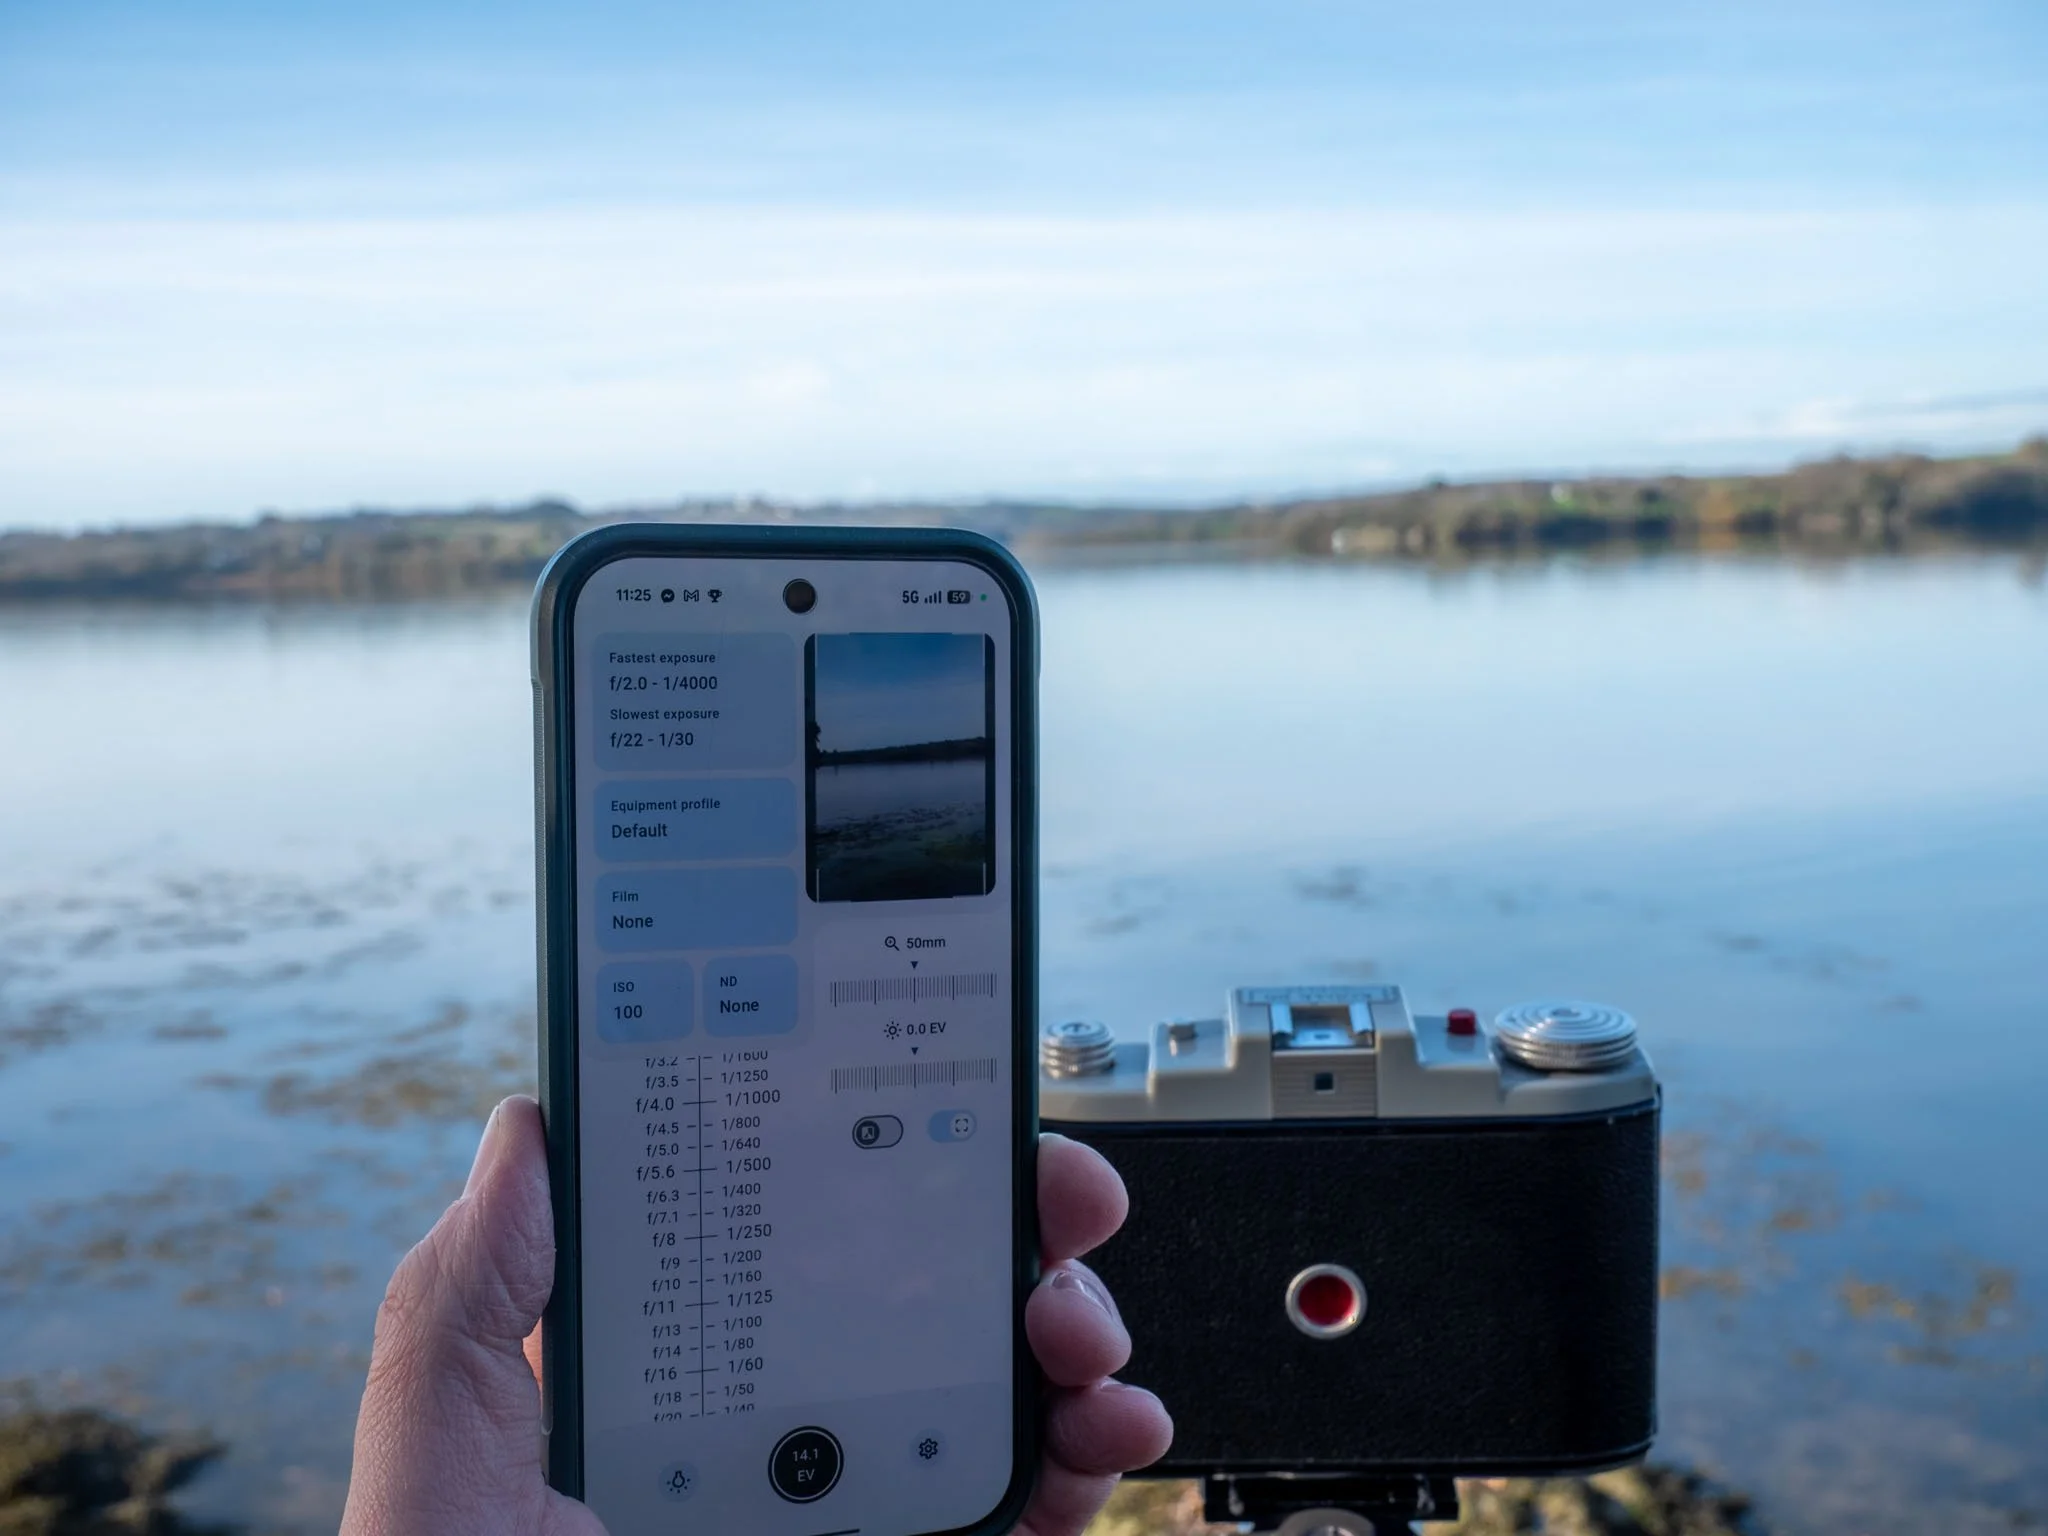
Phone Apps
Your phone provides another option. There are a range of apps that use your phones camera, and the details you enter, to provide exposure tables. I use the Lightmeter app on Android, and it works rather well, but there are many options out there.
The biggest negative to this method of metering, is the workflow. You find a view you want to capture. Get your phone out of your pocket, launch the app, frame up, and then take note of the aperture and shutter speeds you need. Your phone goes back in your pocket, you pull your camera up, transfer the settings, then frame up and focus.
Nothing about that is too taxing, but it takes time, is a bit fiddly, and takes a bit of the joy and elegance out of the whole endeavour.
Digital Cameras
You can substitute the phone app for a modern digital camera as well. Make sure your iso matches your film speed, and rely on the cameras metering to give you the settings you need. You’ll want to er on the side of overexposure, as film tends to be more forgiving of over than under exposure. This works well of course, but it is an even more cumbersome workflow than the phone based solutions.
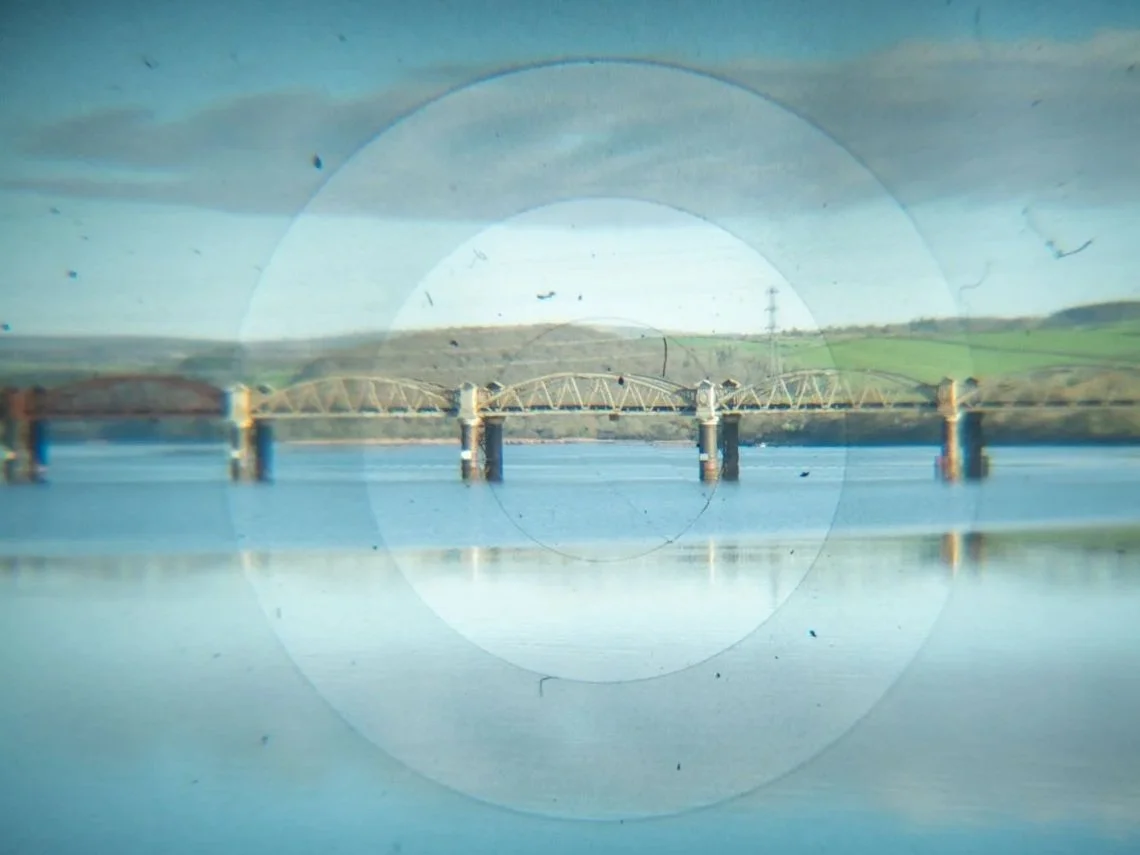
The Finished Product
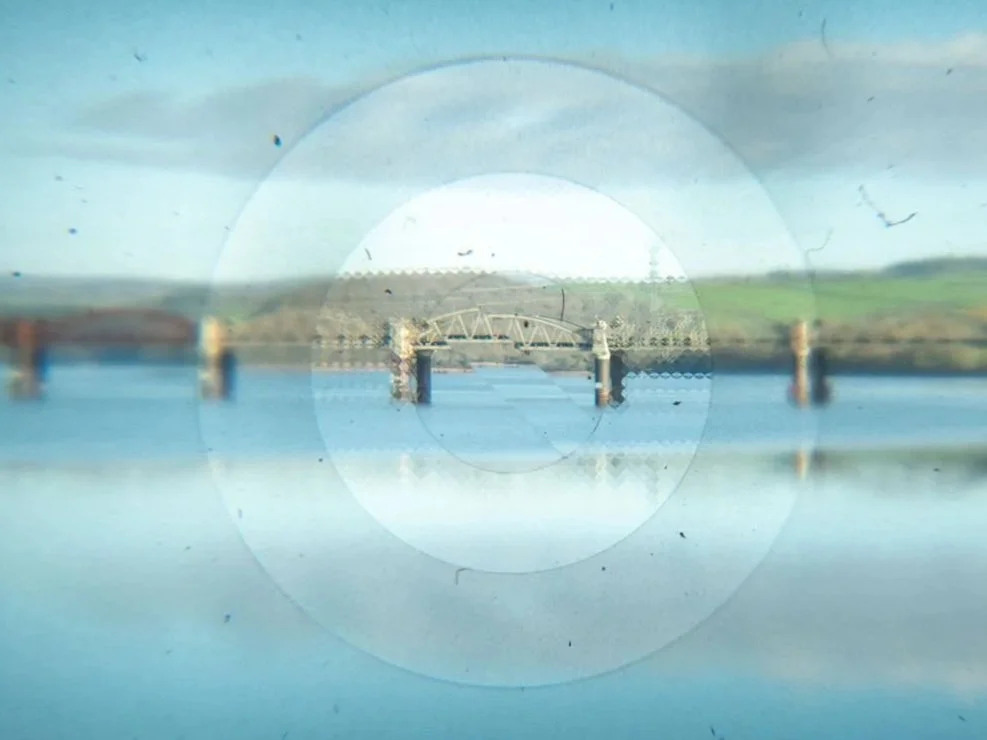
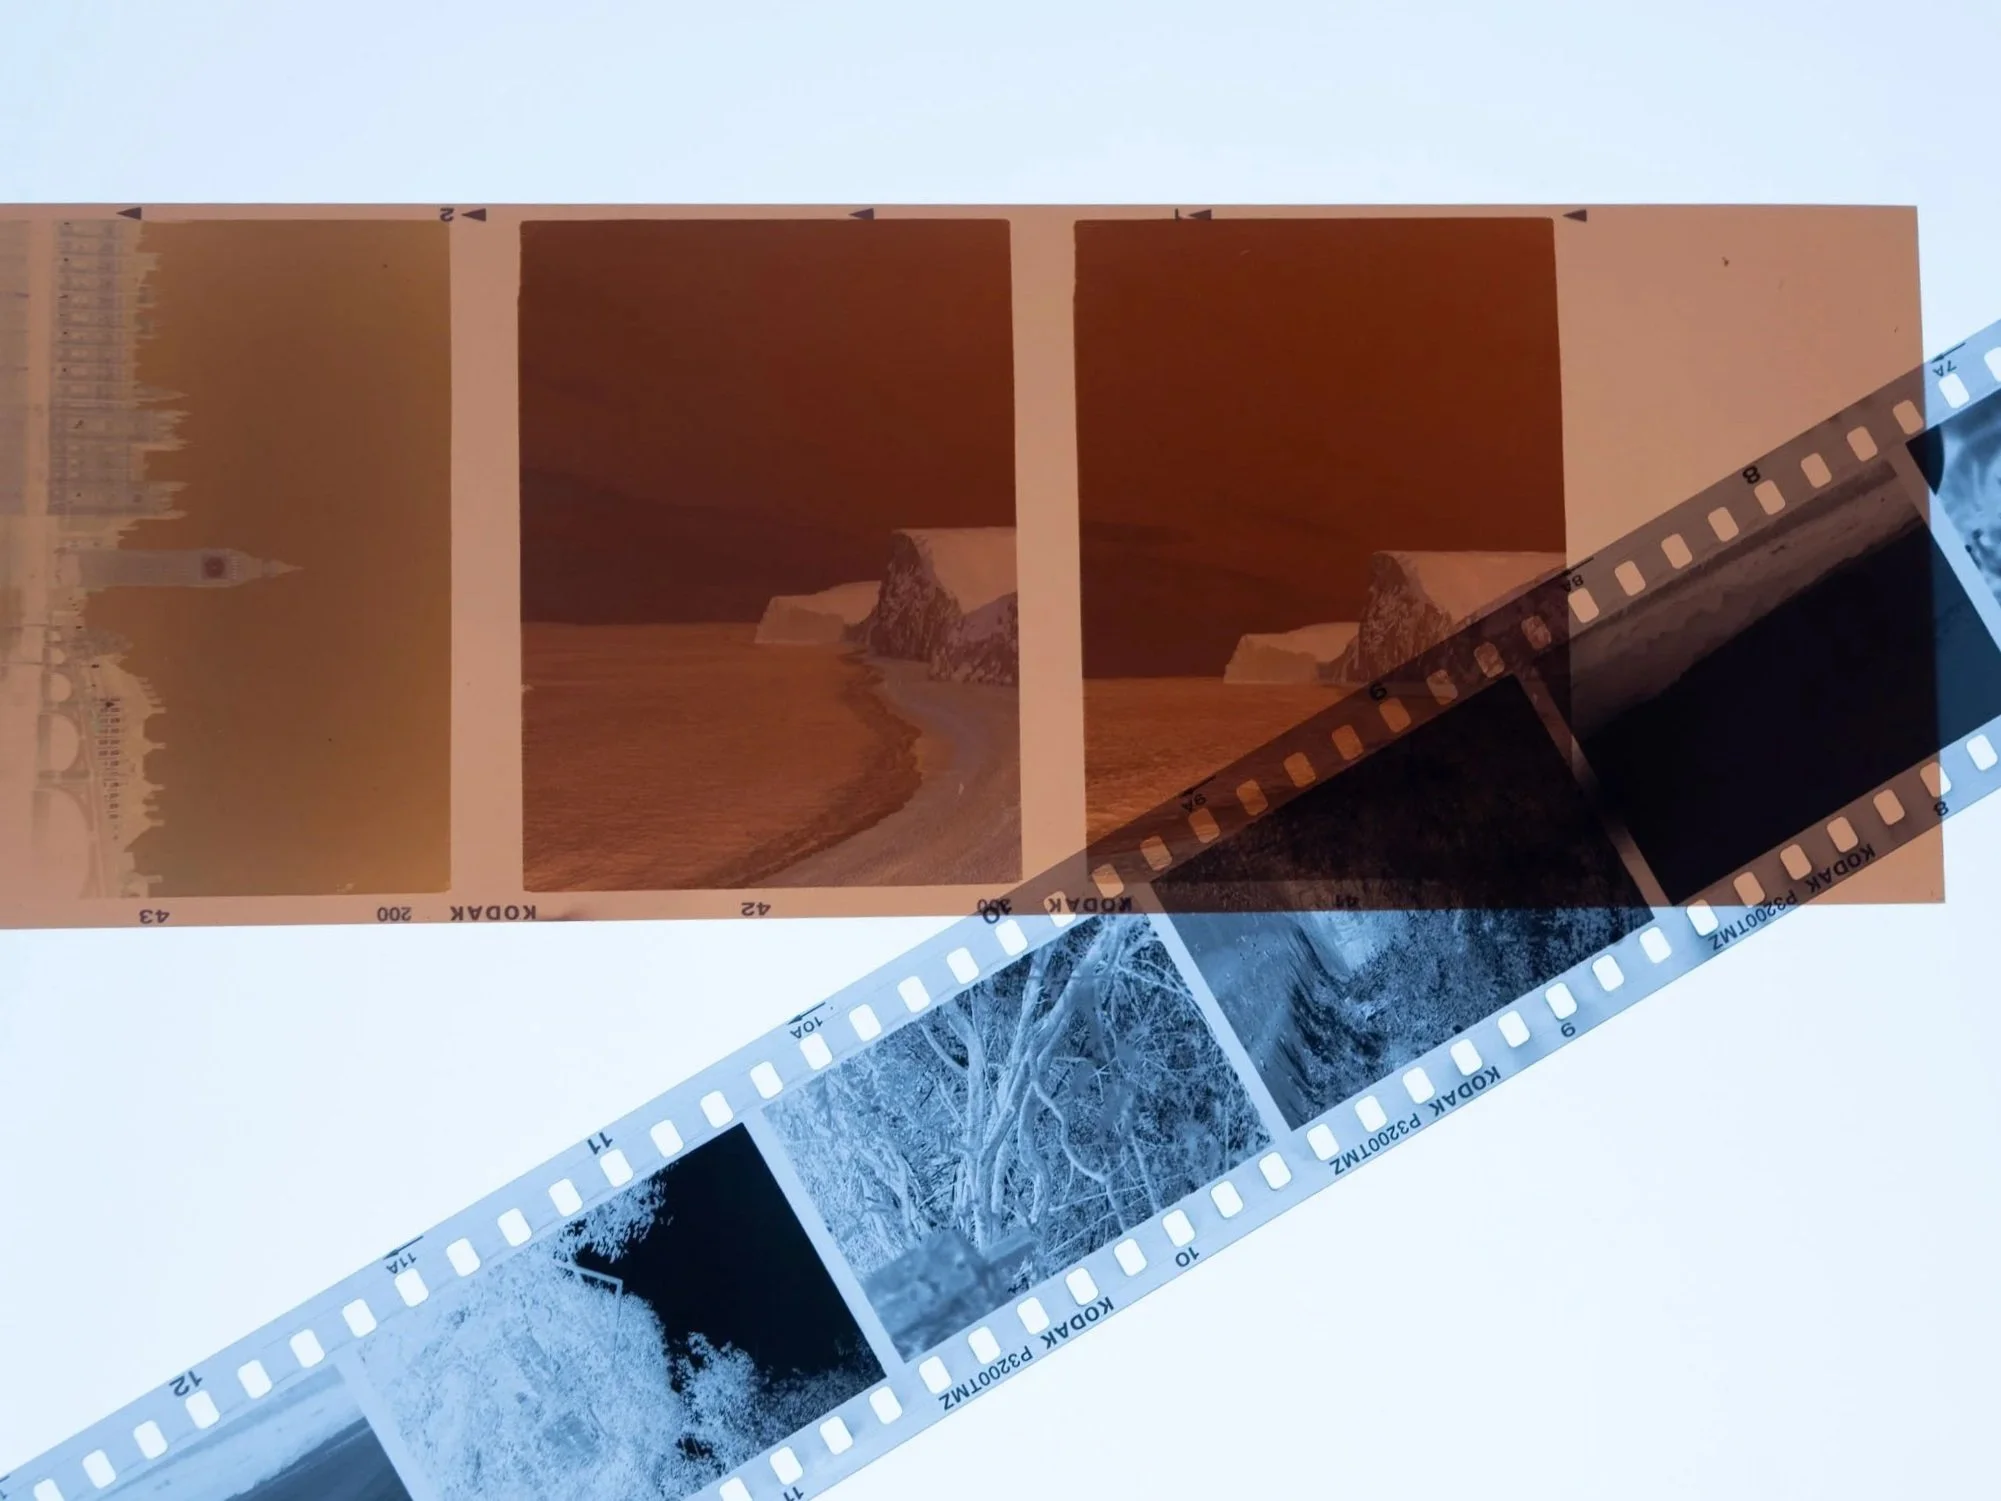
The first shots that I got back were entirely unusable. The camera that I had bought was defective, and at that point, I didn’t know enough to notice that.
The second time around, things were a little different. The exposure was a little off, I had missed focus on a few of them, and they weren’t exactly ground-breaking, but I was hooked.
You’ll find some people who only shoot on film, and whilst I can understand why, I am not one of those people. For the first 6 months or so after picking up film photography, it’s all I shot when I wasn’t on the clock. Slowly but surely, that has fallen away, and film photography has become another tool in my photography toolbox.


Focus
That’s the start to finish process of loading using and unloading your film, but we’ve not really talked about the fun part yet, taking the shots.
We’ll start with discussing focusing, the way that you ensure your image is nice and sharp. The way that you focus your camera, changes with the kind of camera you are using.
For a full camera guide, click the link below
Camera guide
Rangefinders
The operate in a similar fashion to SLRs, you look through the viewfinder, and twist the focus ring, the difference is in how you confirm focus. There will be a section of your view, often a small diamond in the centre, that will show a double image. As you rotate the focus ring, the two images will get further apart, or closer together. When they appear as one consistent image, your camera is focused. This is similar to a lot of SLRs, the difference being SLRs will also show the full image coming in and out of focus, and a rangefinder will only have the small portion of the viewfinder showing the true focus.
Exposure
Exposing correctly is just as important as focus. If you let too much light onto the film, overexposing it, then your image will be far to bright, and you’ll lose a lot of quality.
If you don’t let enough light through, the image will be too dark. A very common issue that you’ll see is people underexposing their shots, sending the film off to a lab, and getting poor quality images back. When the lab scans the very underexposed images, they often try and salvage the image, but there’s only so much that can be done, so you end up with ugly colour shifts, and terrible quality.
Underexposure
If you don’t let enough light through, the image will be too dark. A very common issue that you’ll see is people underexposing their shots, sending the film off to a lab, and getting poor quality images back. When the lab scans the very underexposed images, they often try and salvage the image, but there’s only so much that can be done, so you end up with ugly colour shifts, and terrible quality.
Auto Exposure
Exposing correctly differs depending on the camera that you are using. Point and shoots, and more modern SLRs in auto modes for the most part, look after themselves. That is not to say that they are miracle workers. If you are using slow film, inside or in anything other bright sunlight, you may to struggle to get enough light onto the film.
Most cameras with auto focus tend to have a flash, which can help with low light conditions, but once again, only to a certain degree. If you are hoping to shoot in low light conditions, getting the right film is essential. Check out the film guide for more information:
Film Guide
Modern 35mm Cameras
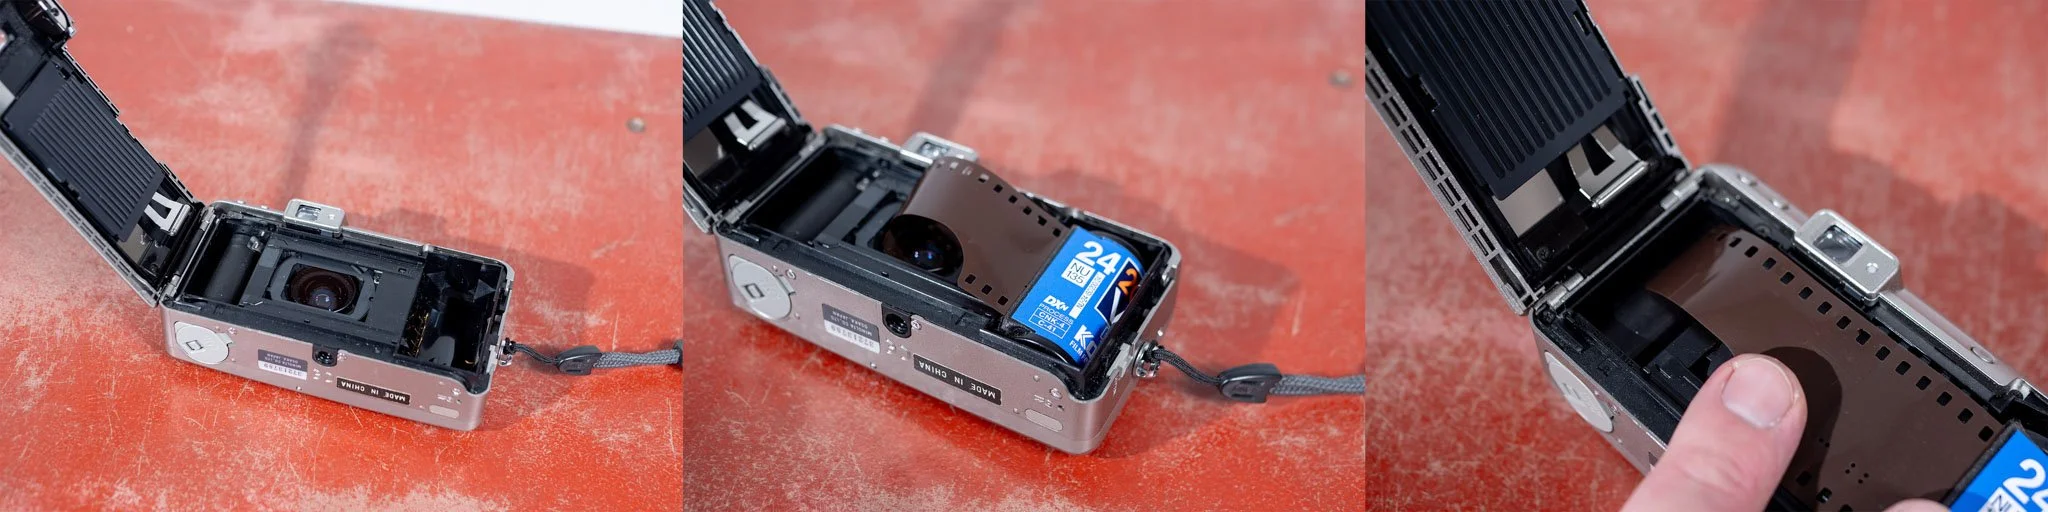
Open the back of your camera, this is usually a hinged door on the back.
Drop the 35mm cassette into the slot and pull the film leader out a little.
With more modern 35mm film cameras, you pull the leader, and rest it in line with an indicated line. Then you close the back.

Older 35mm Cameras
With older 35mm cameras, you slot the end of the film into the film take up spool, and make sure the sprocket holes line up with sprocket wheels.
Keeping the back open, advance the film using the film advance lever or knob, and make sure that the film is pulled into the take up spool. Then close the back of the camera, and fire the shutter. Advance the film and fire the shutter a couple of times more, and you should be good to go.
Now for the fun part, go and use your camera! Take your shots, enjoy not knowing whether the shots are masterpieces or blurred rubbish, until you get to the end of your film roll.
More modern auto winding cameras will at this point automatically rewind the film, back into the cartridge. With cameras that you manually advance the film, you’ll instead know that your end at the end of your film when there is a lot more resistance when you try to advance a to the next frame. Do not try and push through that resistance or you’ll be in for a rough time, and potentially lose all of your hard work.
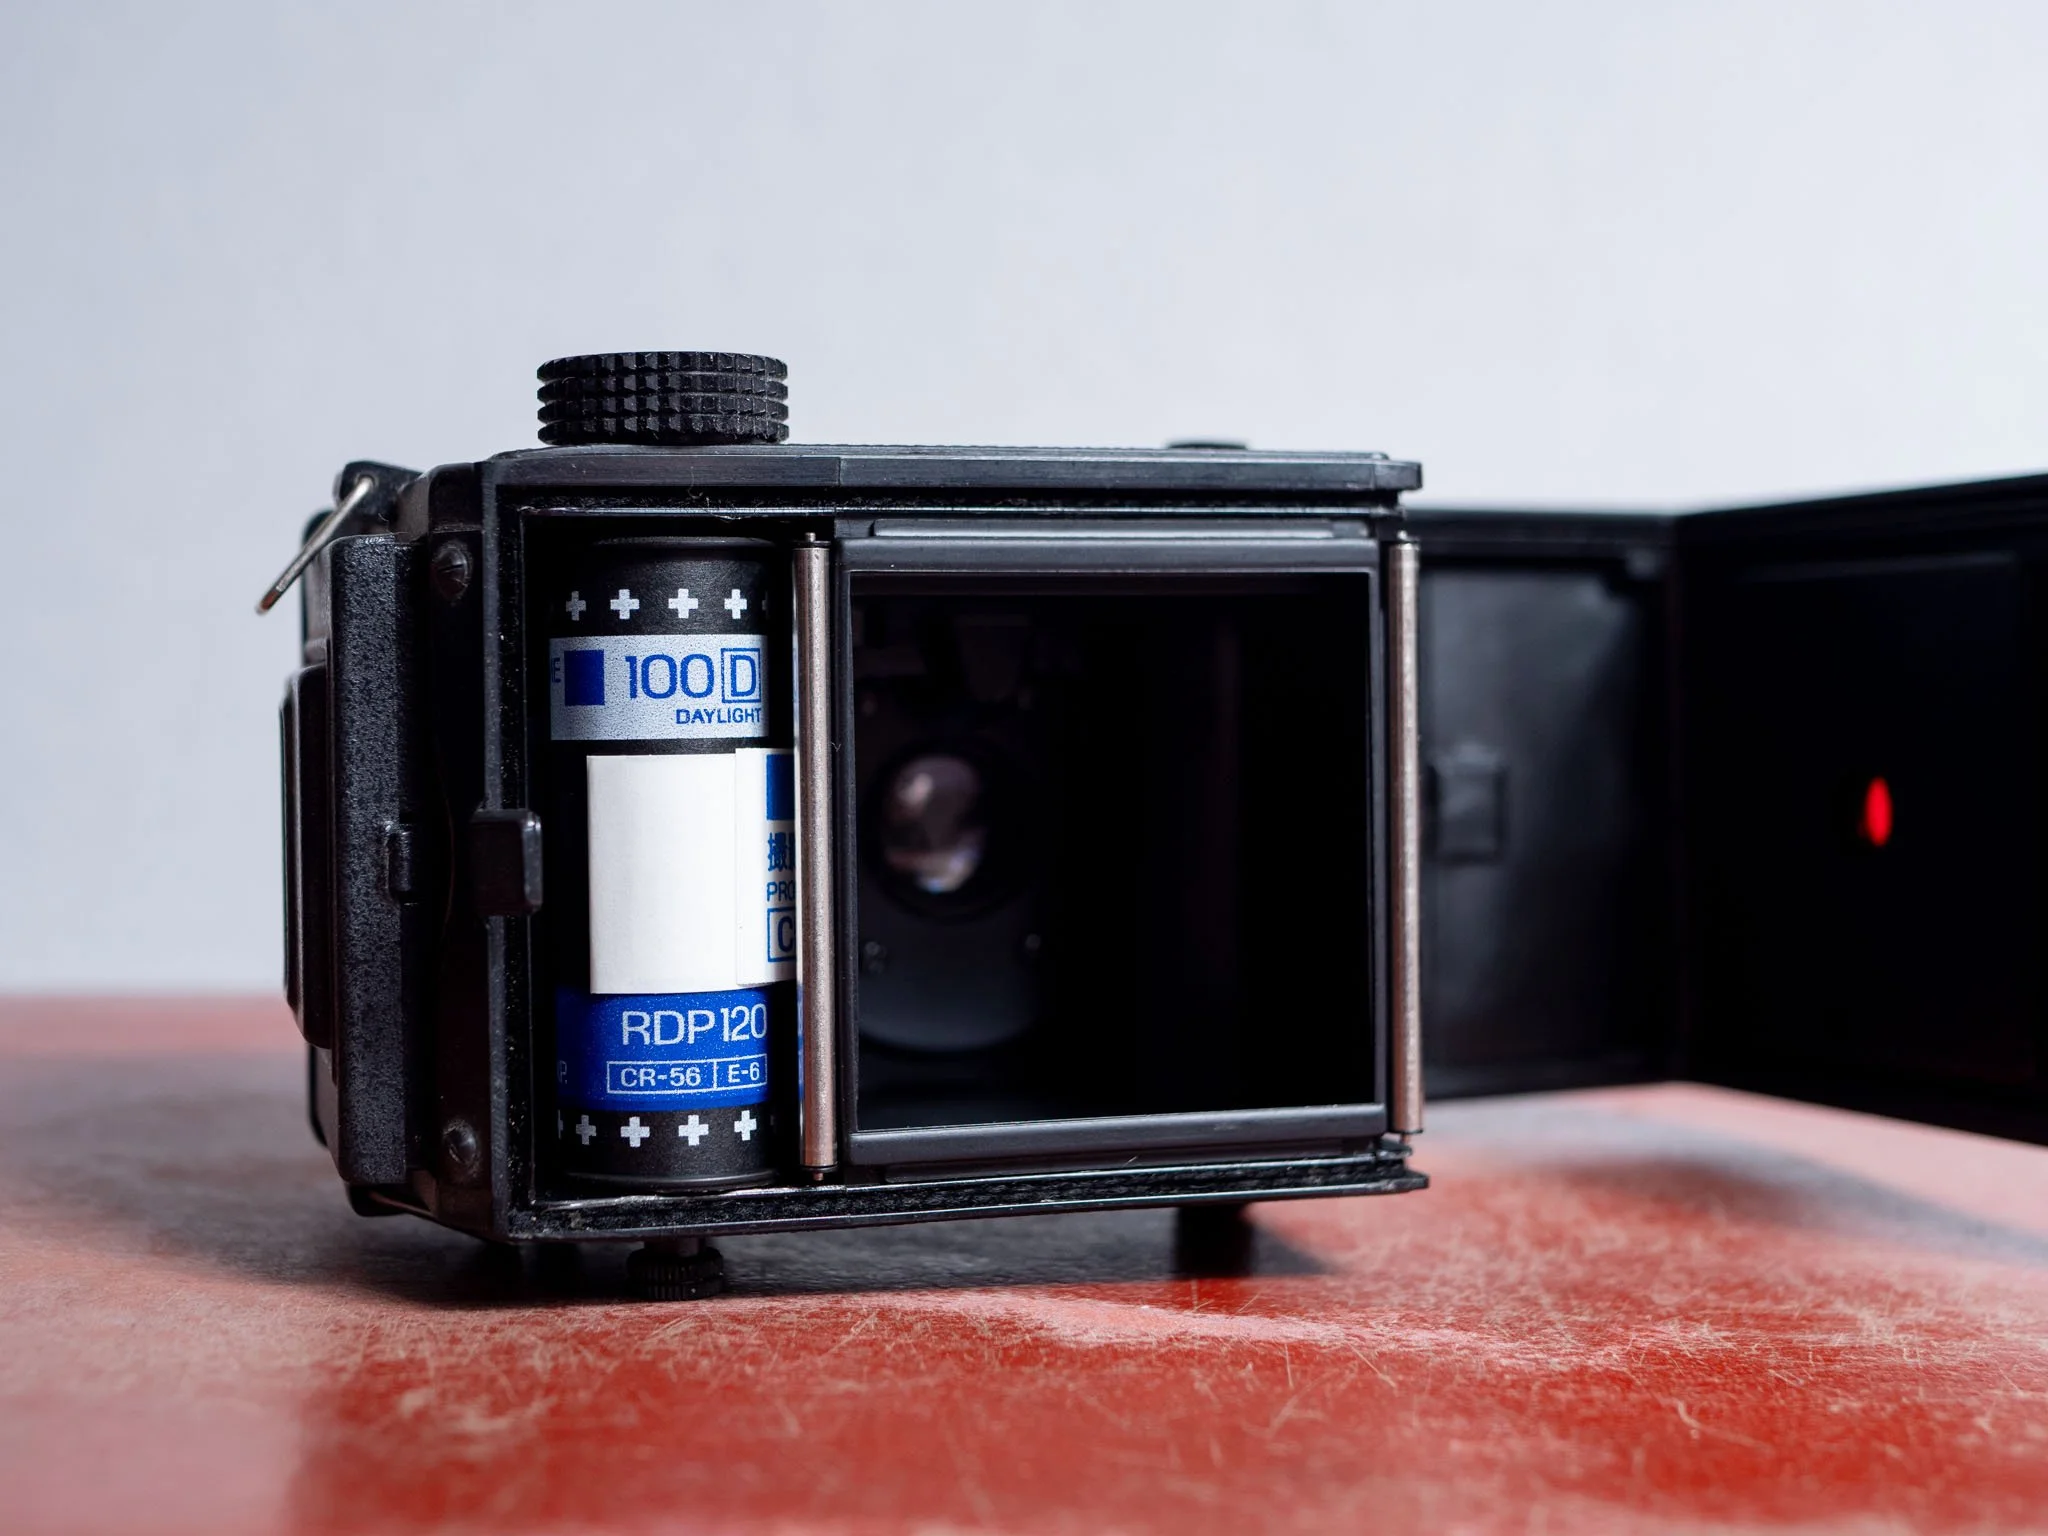
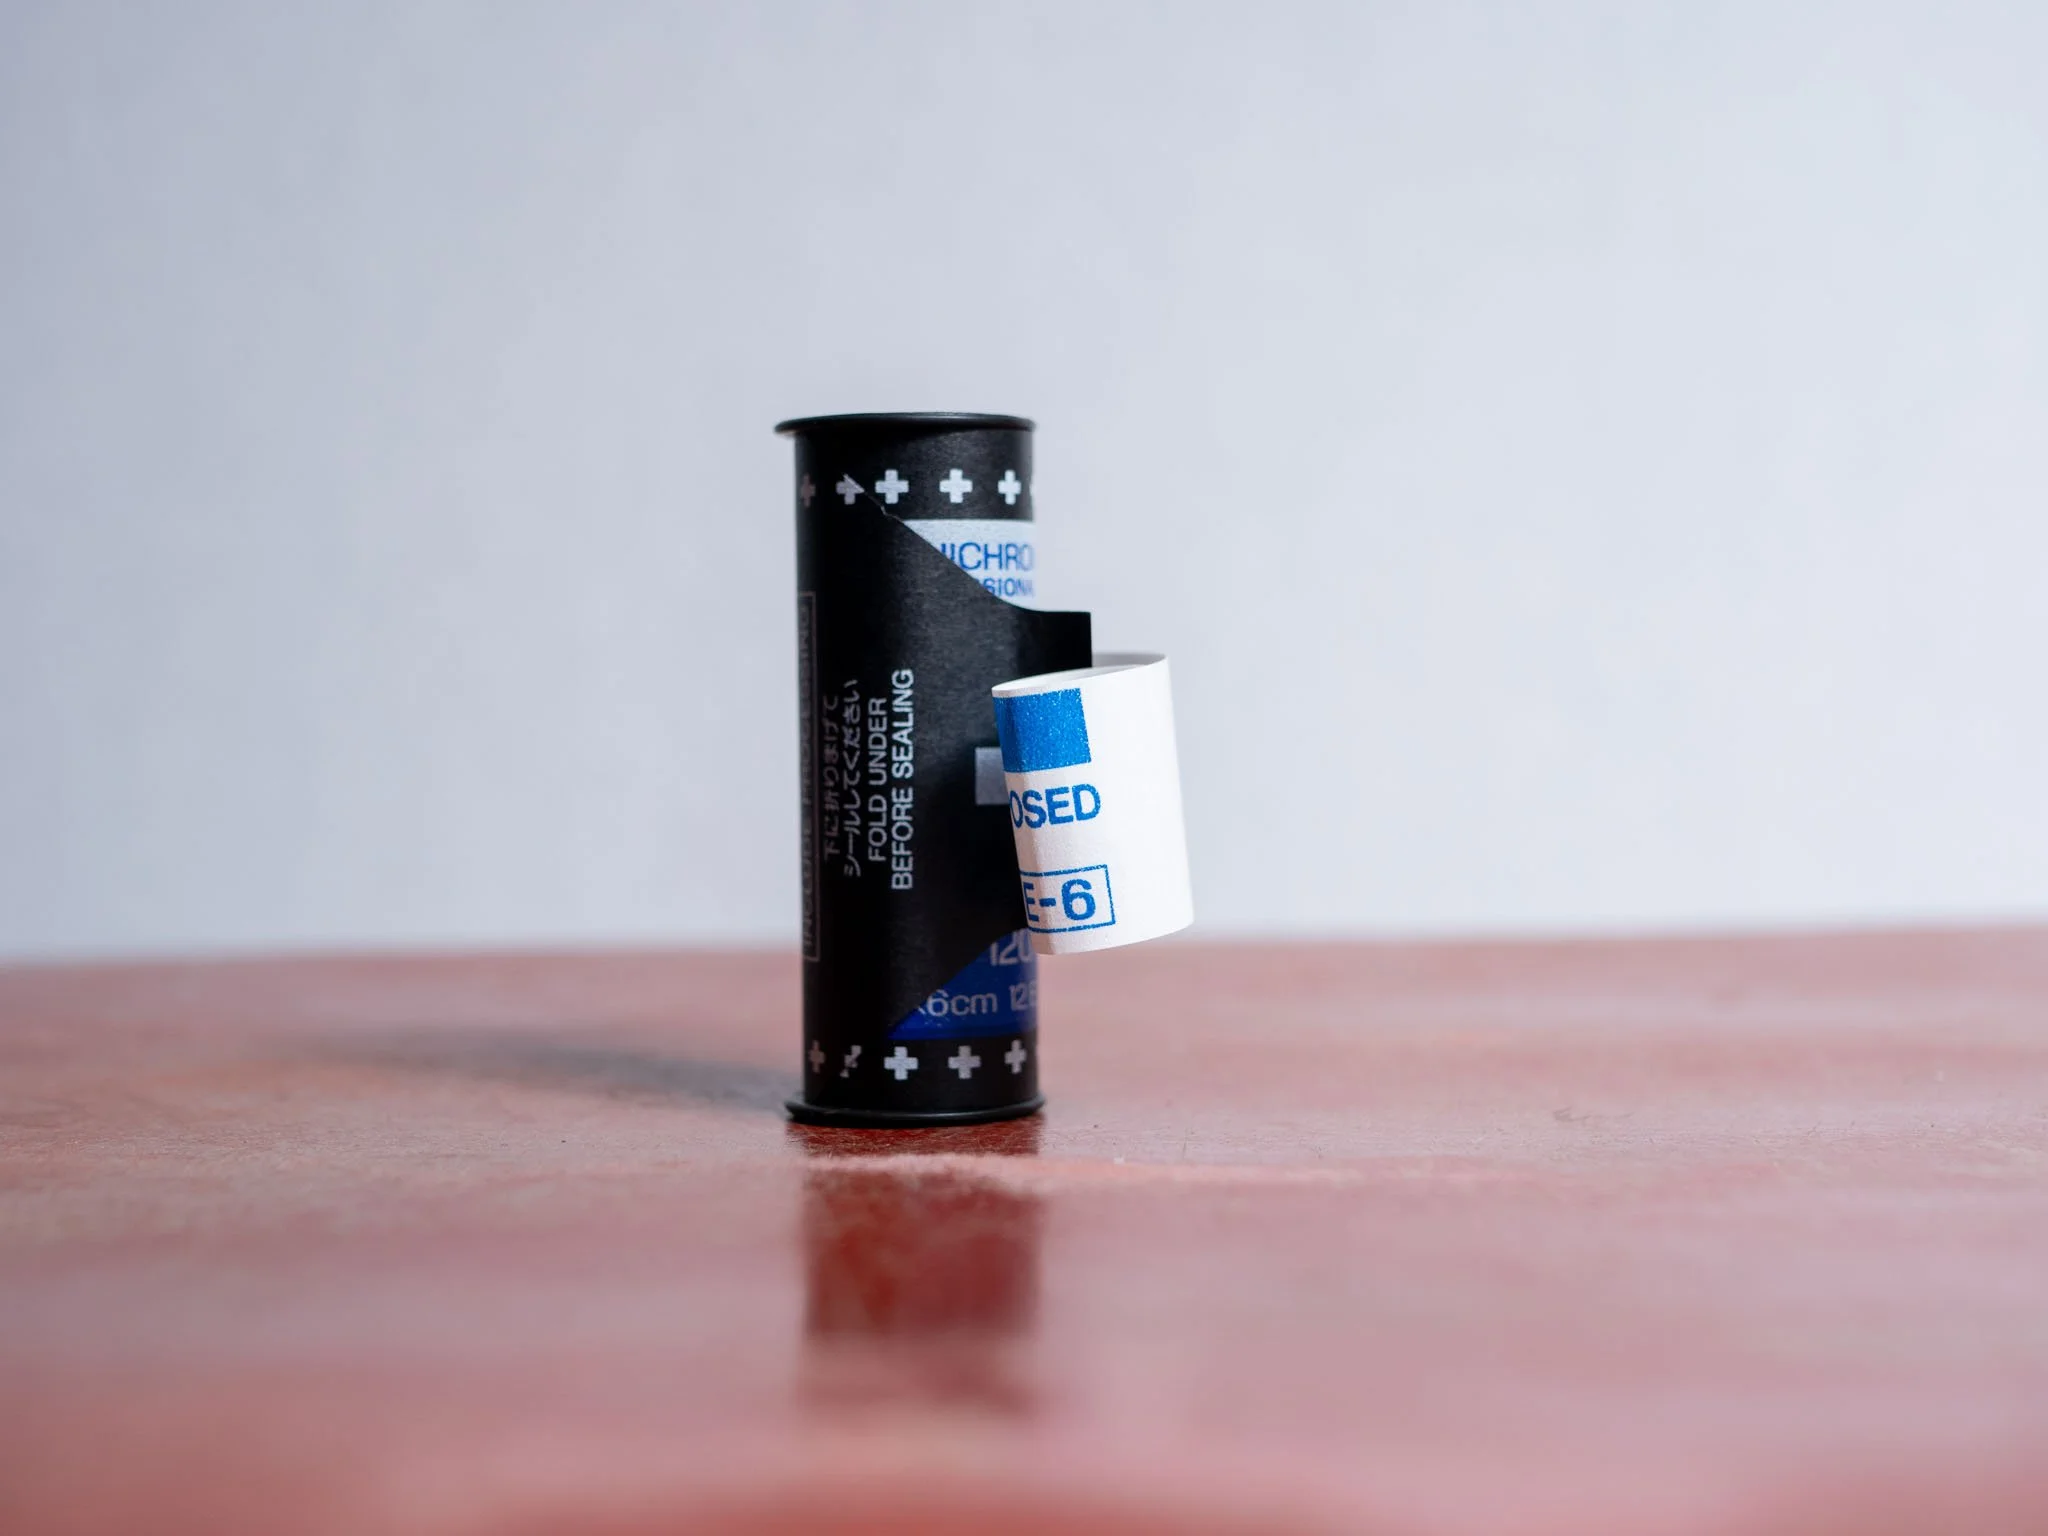
Loading 120
Now it’s time to load the new film into your camera. Tear open the foil wrapped and remove the spooled film inside. Peel off the tape that keeps the film wrapped, and then carefully slot it into the spool holder in the camera, with the open end of the film pointed towards the uptake spool.
You then need to thread the open end of the film into the take up the spool. Once the film is threaded through, you can turn the film advance knob on top of the camera and advance the film. If the film slips free from the spindle, you can reinsert it, help it along for a turn or so manually until it catches, or even put a little tape on the end.
Once the film uptake spool is reliably advancing the film when you spin it, close the back of the back camera. Your camera should have a red tinted viewing window where you can see the paper backing of the film.
Advance the film until you start seeing markings passing by the viewing window. Different films have different markings, but solid black lines and arrows followed by the film makers name, or dots increasing in size tend to be the norm.
Slowly advance the film past these markings, until you see a number 1 in the window. Slowly advance the film until the number 1 is in the middle of the window. The camera is now loaded with film, and ready for you to think about taking a photo. Some 120 cameras need to have their shutter armed separately, so find a manual for your camera, and read it cover to cover. Once you have taken your shot, simply advance the film until the 2 is in the middle of the window.
Keep doing this until you have finished your roll of 120 film. Depending on your camera, this can be anywhere for around 8 to 16 shots, but you’ll know when you’re out when the numbers stop showing as you advance the film. Keep winding the film until you can see nothing moving past the window anymore.
At that point, carefully open the rear of your camera, in a dark environment. You should have a well rolled film on the uptake spool, with a small amount of loose paper.
Either using tape, or the built in adhesive tab, seal the rolled film tightly onto the spool. Your film is now ready for development.

Manual Focus
With older SLRs and TLRs, you manually twist the focusing ring on the lens, and can see the results through the viewfinder. You can then adjust that as required and take your shot. Most will have some sort of split screen allowing for finer tuning. A segment of the view will shift as you focus, and when the two views line up, you are in focus.


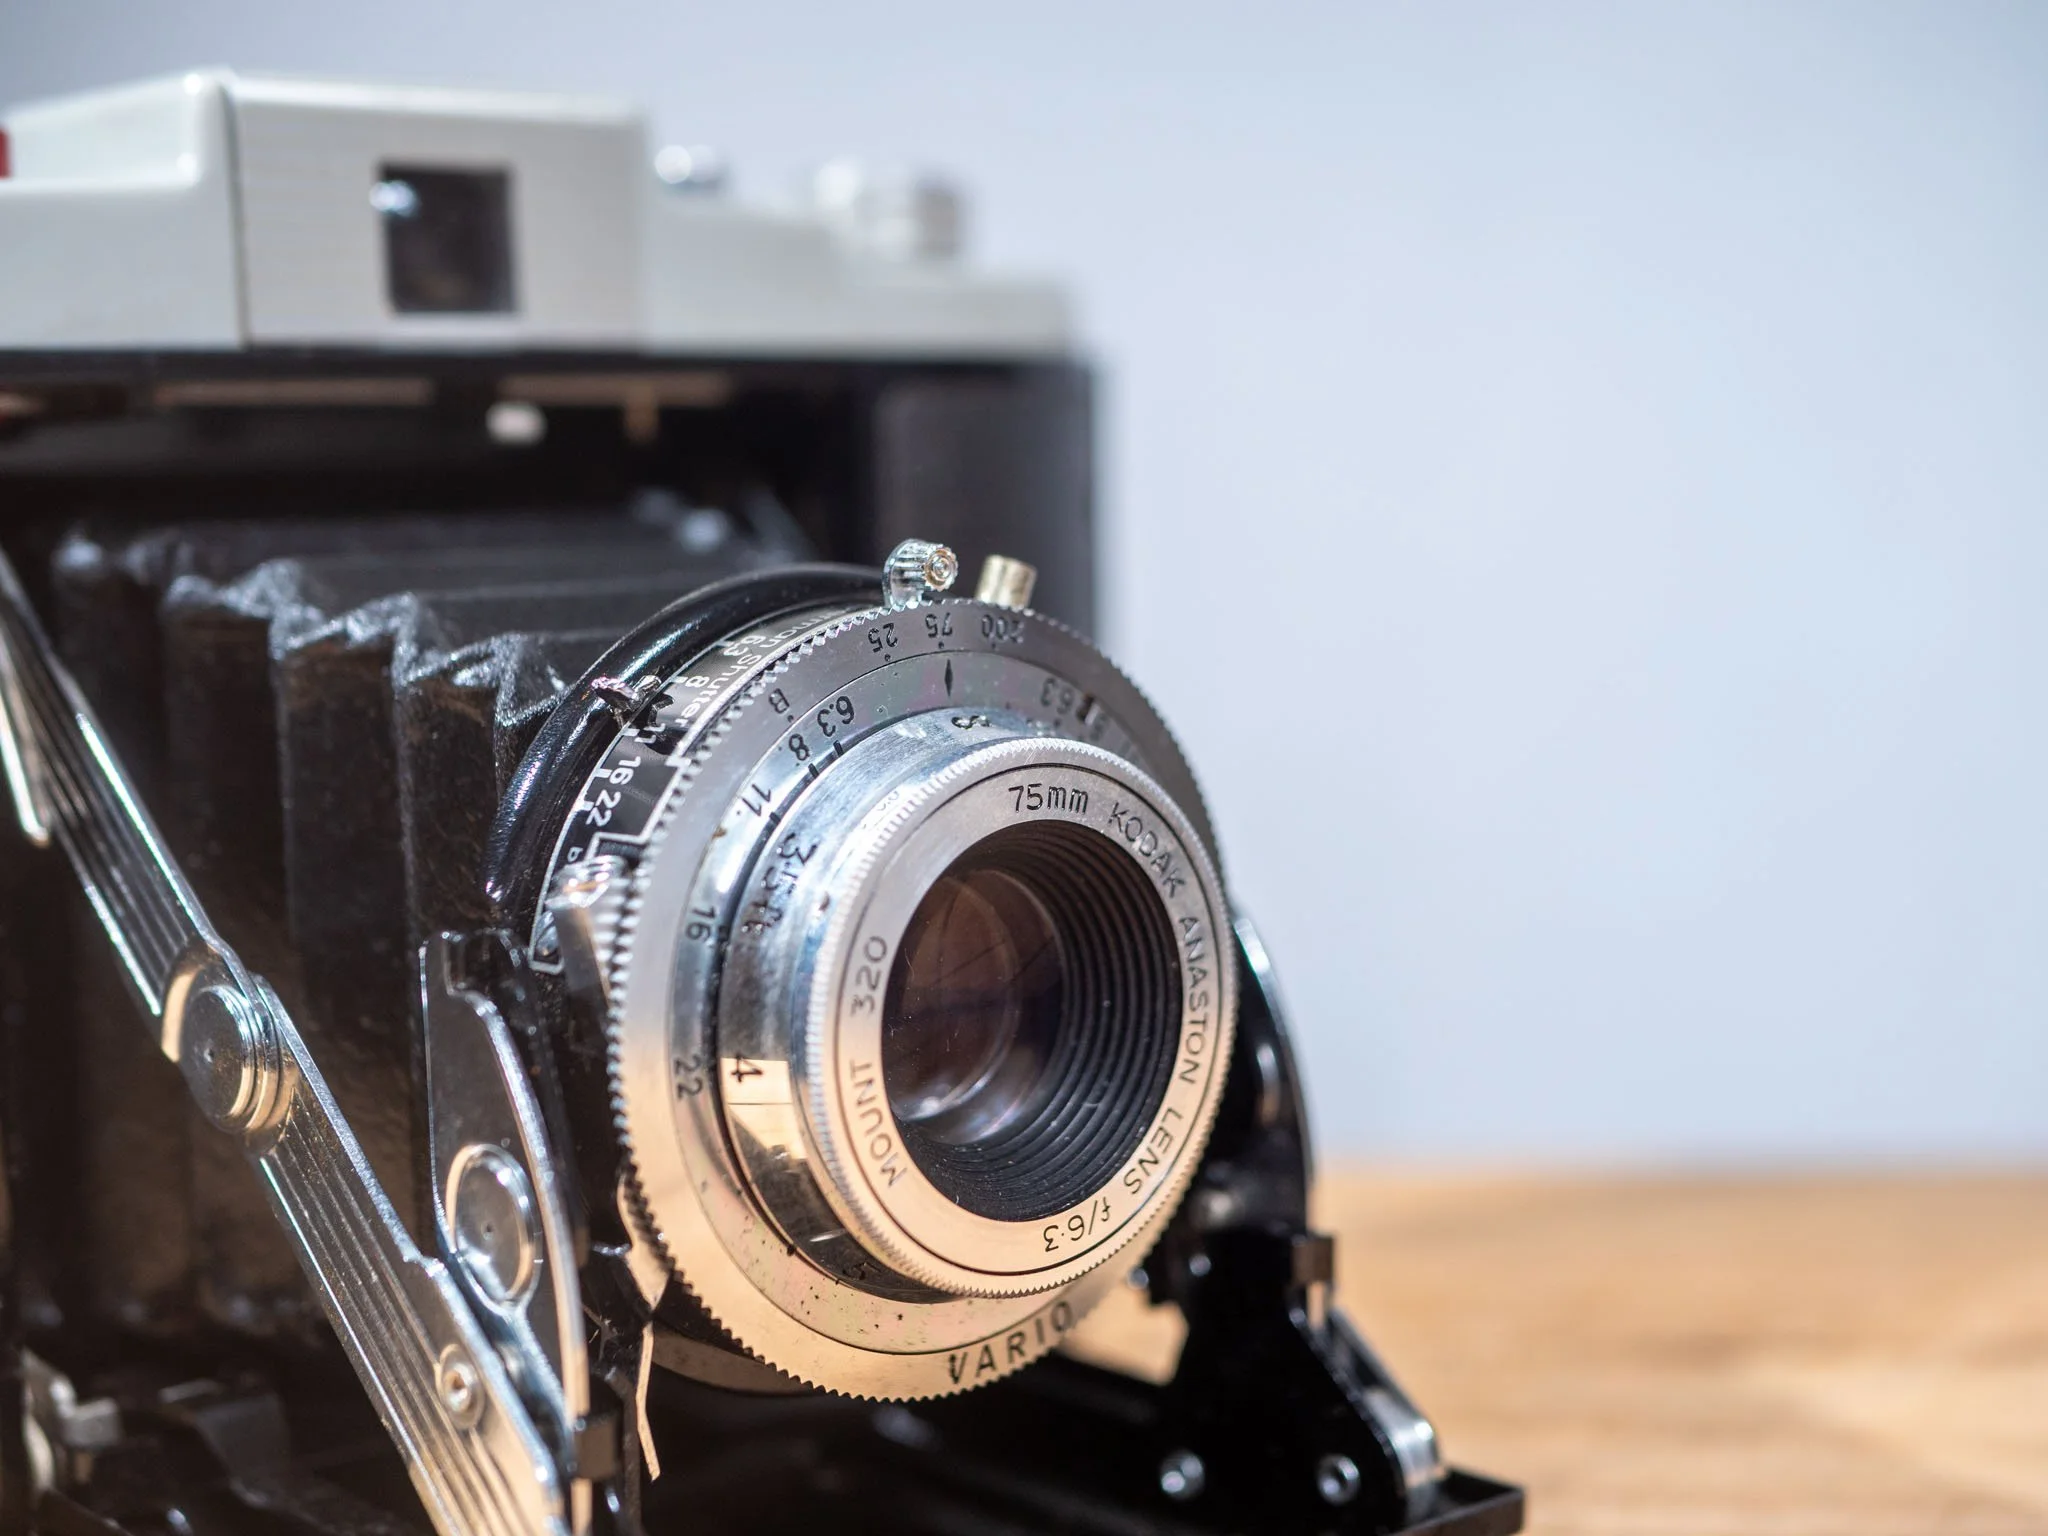
Scale Focus
There are another category of cameras, scale focus, or guess focusing. With these cameras you estimate the distance between the camera, and your subject. Some cameras have markings for portrait, group shots, and landscapes, top aid you in your estimation, others use actual distances.
You make your estimate and then spin the focus ring until your chosen distance is in line with an arrow, or other marker of some kind. Then your camera is (hopefully) in focus.

Manual Exposure
At the other end of the scale are cameras with no in-built light meters, or auto exposure. There are a few ways to use these cameras. You can get external light meters, that will allow you work out a reasonable estimation for the exposure. There are plenty of apps that you can use that offer similar, and surprisingly accurate estimations.
Then we have the famous sunny 16 rule. It is a very simple rule for estimating exposure without a lightmeter. If you are shooting on a sunny day, set your aperture to f/16, and your shutter speed to roughly match your film speed, you should get a reasonable exposure.
You can extrapolate for different lighting environments by adjusting the aperture, partly cloudy calls for f/11, cloudy is f/8. For a more in depth run down of the sunny 16 rule, check out this guide
Light Meters
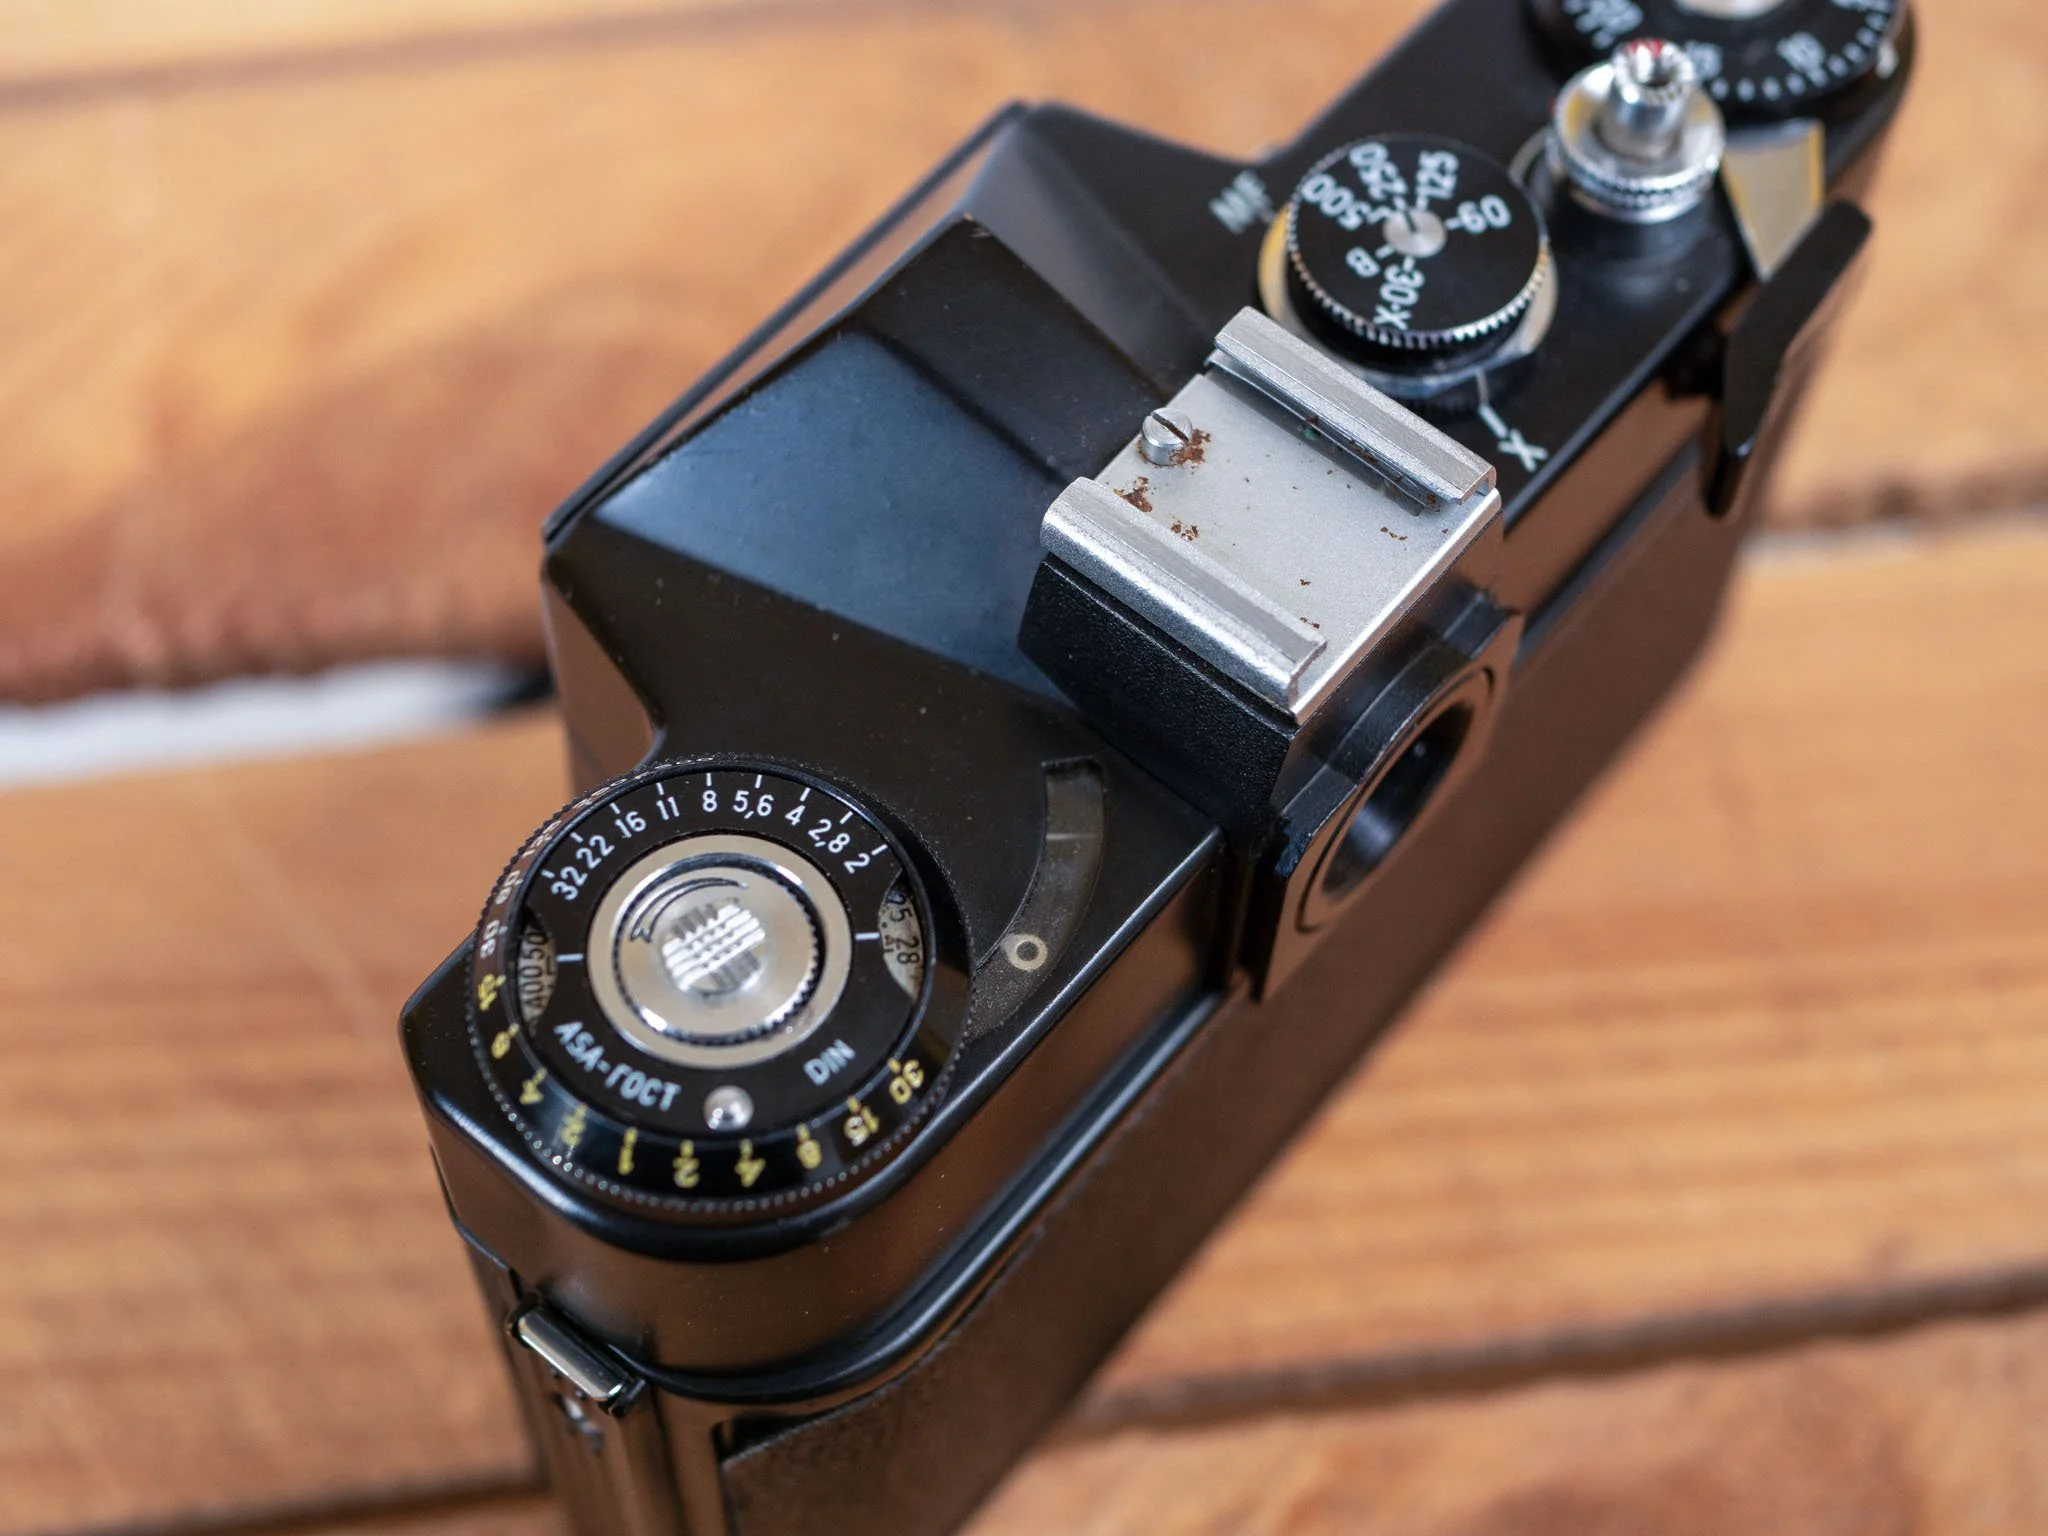
A good proportion of cameras will have a built-in light meter. There are a huge variety of designs, but they can generally be split into two main groups, coupled and uncoupled.
Coupled Light Meters
Coupled light meters will take a reading directly through the lens, as you zoom, or focus on a lighter or darker part of a scene, the meter will change. As you adjust your shutter speed and aperture, the reading adjusts as well. You frame up your shot, and you alter your settings until the light meter shows that your image will properly exposed.
The specifics of the light meter design vary, but most follow the theme of a needle which moves up and down with exposure, and a middle section which corresponds to a proper exposure level. Change your settings until the needle is in that middle section.
Uncoupled Light Meters
Uncoupled light meters do not take there reading through there lens, instead they take a reading via a dedicated window in the front of the camera. Sometimes encircling the lens, sometimes mirroring the viewfinder window. As light hits this window, a needle will move.
Sometimes your adjustments of the shutter speed and aperture will adjust this needles movement, and sometimes it will adjust the target that you need to hit with the needle. Often there is some form of data wheel that you need to turn to show you what settings will work for a given light level. Every camera is a little different.
Development
You’ve picked your camera and film stock, learnt how to expose and focus properly, and taken your shots. Now what?
Now we need to develop our film. Either at home, or by taking it to a lab.
You can find a full development guide below. This covers the consideration for choosing a professional lab and has some links to home developing as well.
Film Development Guide
To summarise, home development is nothing to be scared of, but probably not worth it until you know that you enjoy film photography. Lab development is the way to go until that point.
Choosing a good lab is a lot like choosing any business. Good reviews, and personal recommendations are always a great starting point.
The services a lab will offer are generally broken down into development, scanning and prints. Development only means you will get back your film, developed, but nothing else. If you want to get your film back, and images back as digital files, you’ll need to get them to scan your film. Prints are pretty self-explanatory.
There is really only one golden rule, do not go for a lab that does not return your film.