
Choosing Your Film

This article is part of the beginner’s guide to film photography, to see the entire guide, please click here: Film Photography Guide

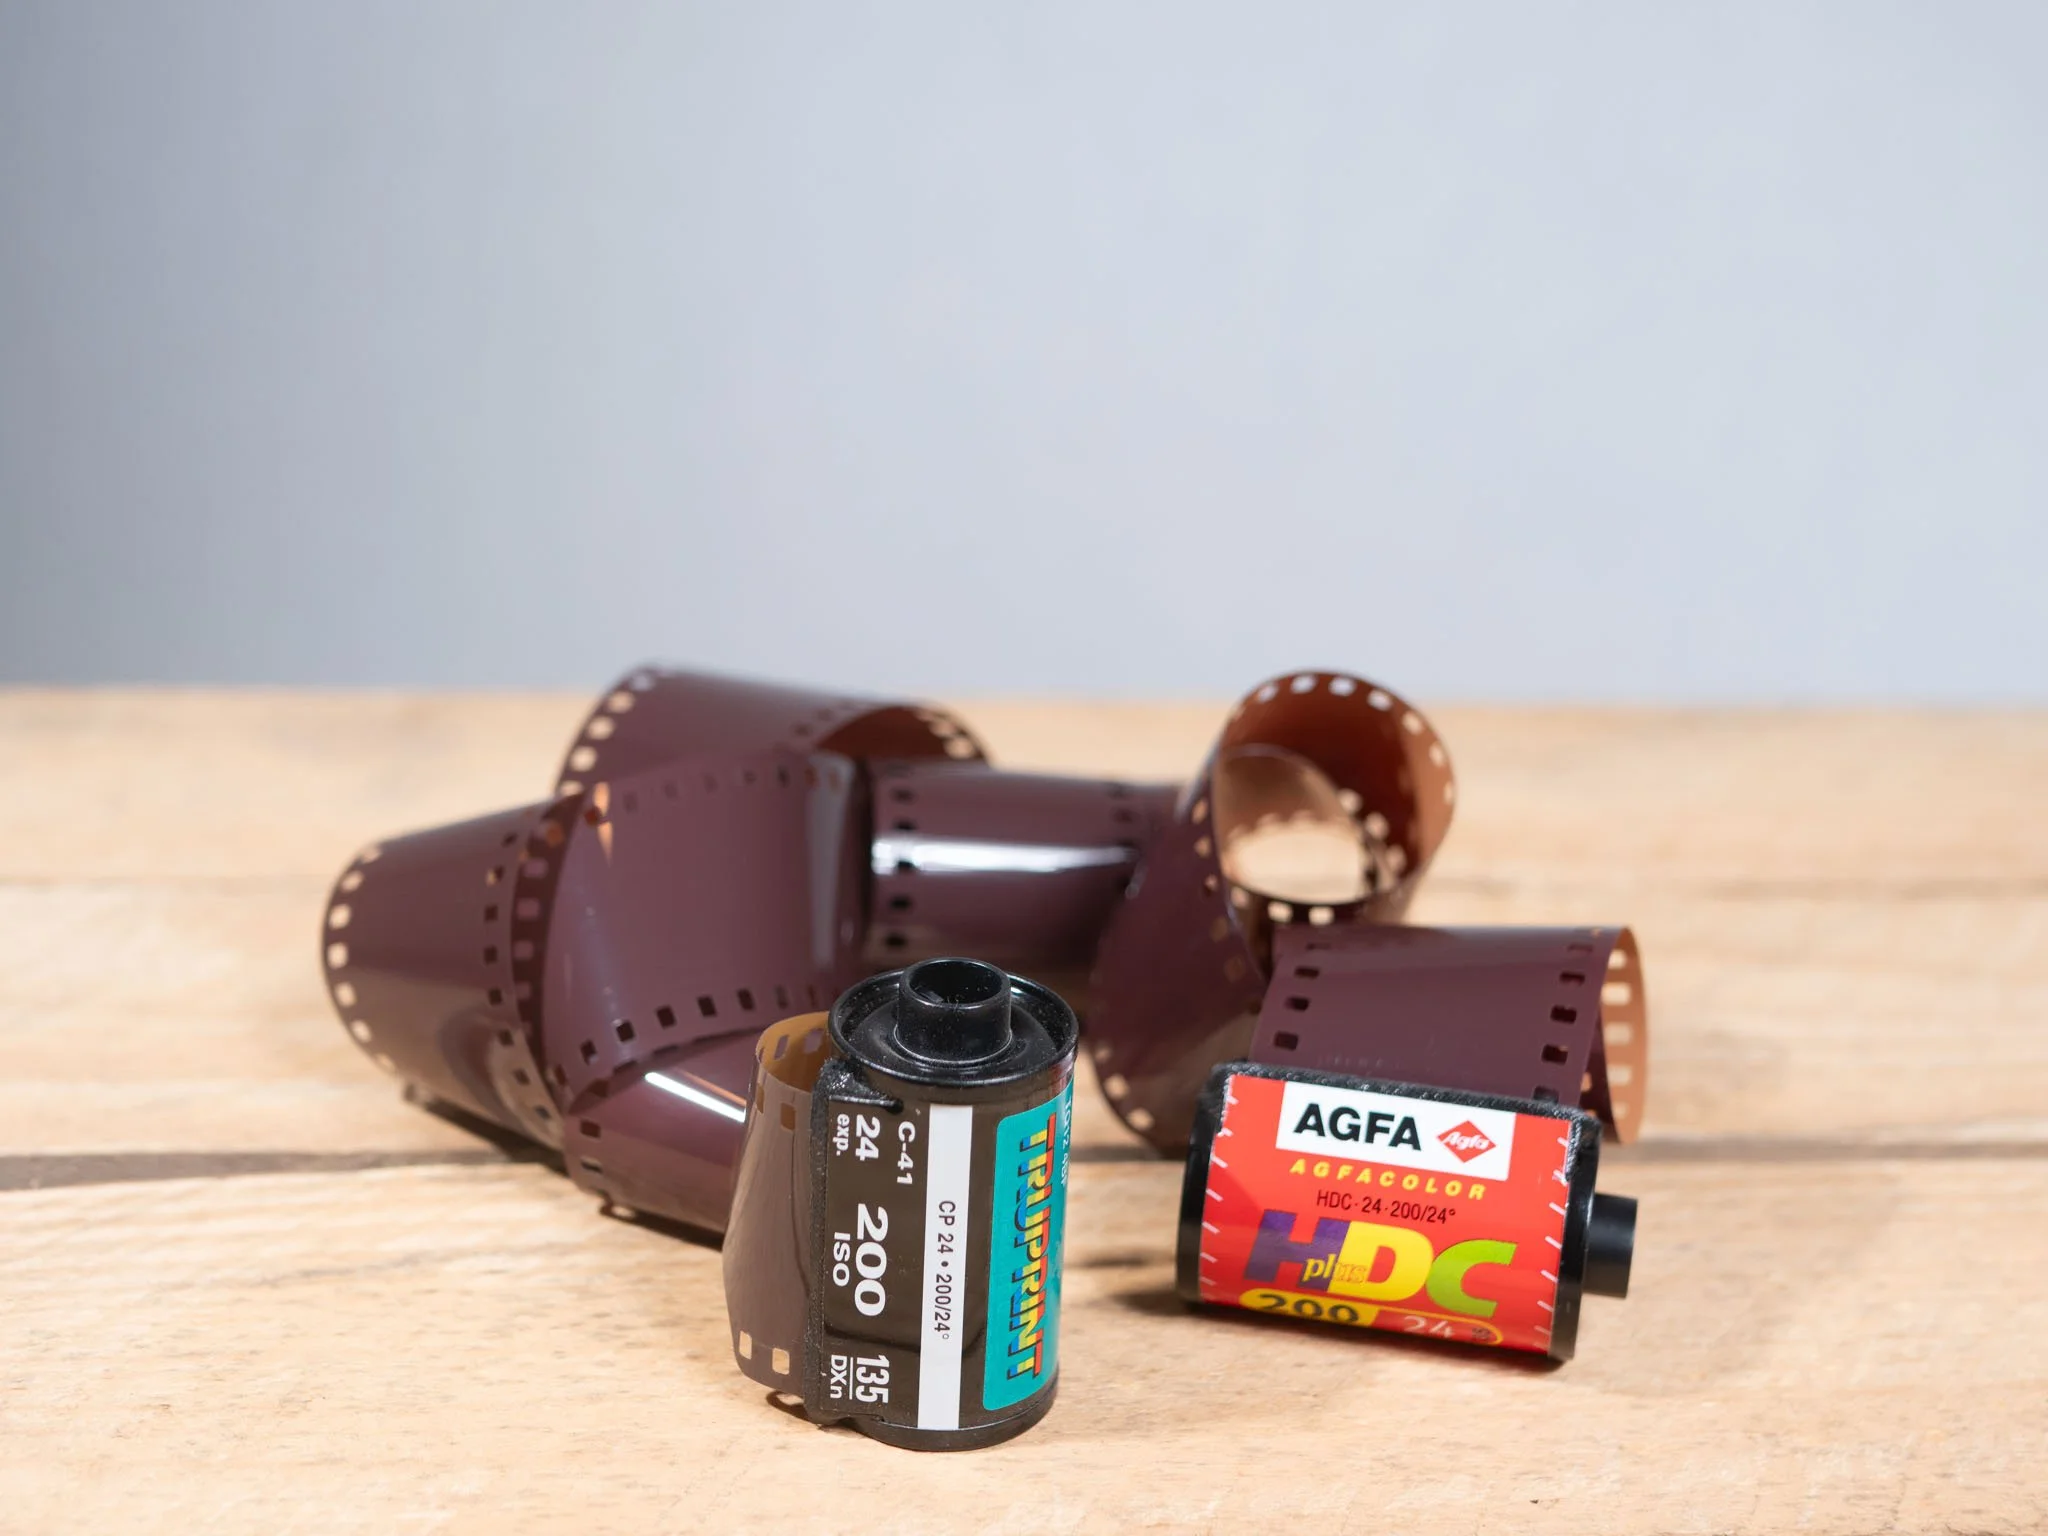
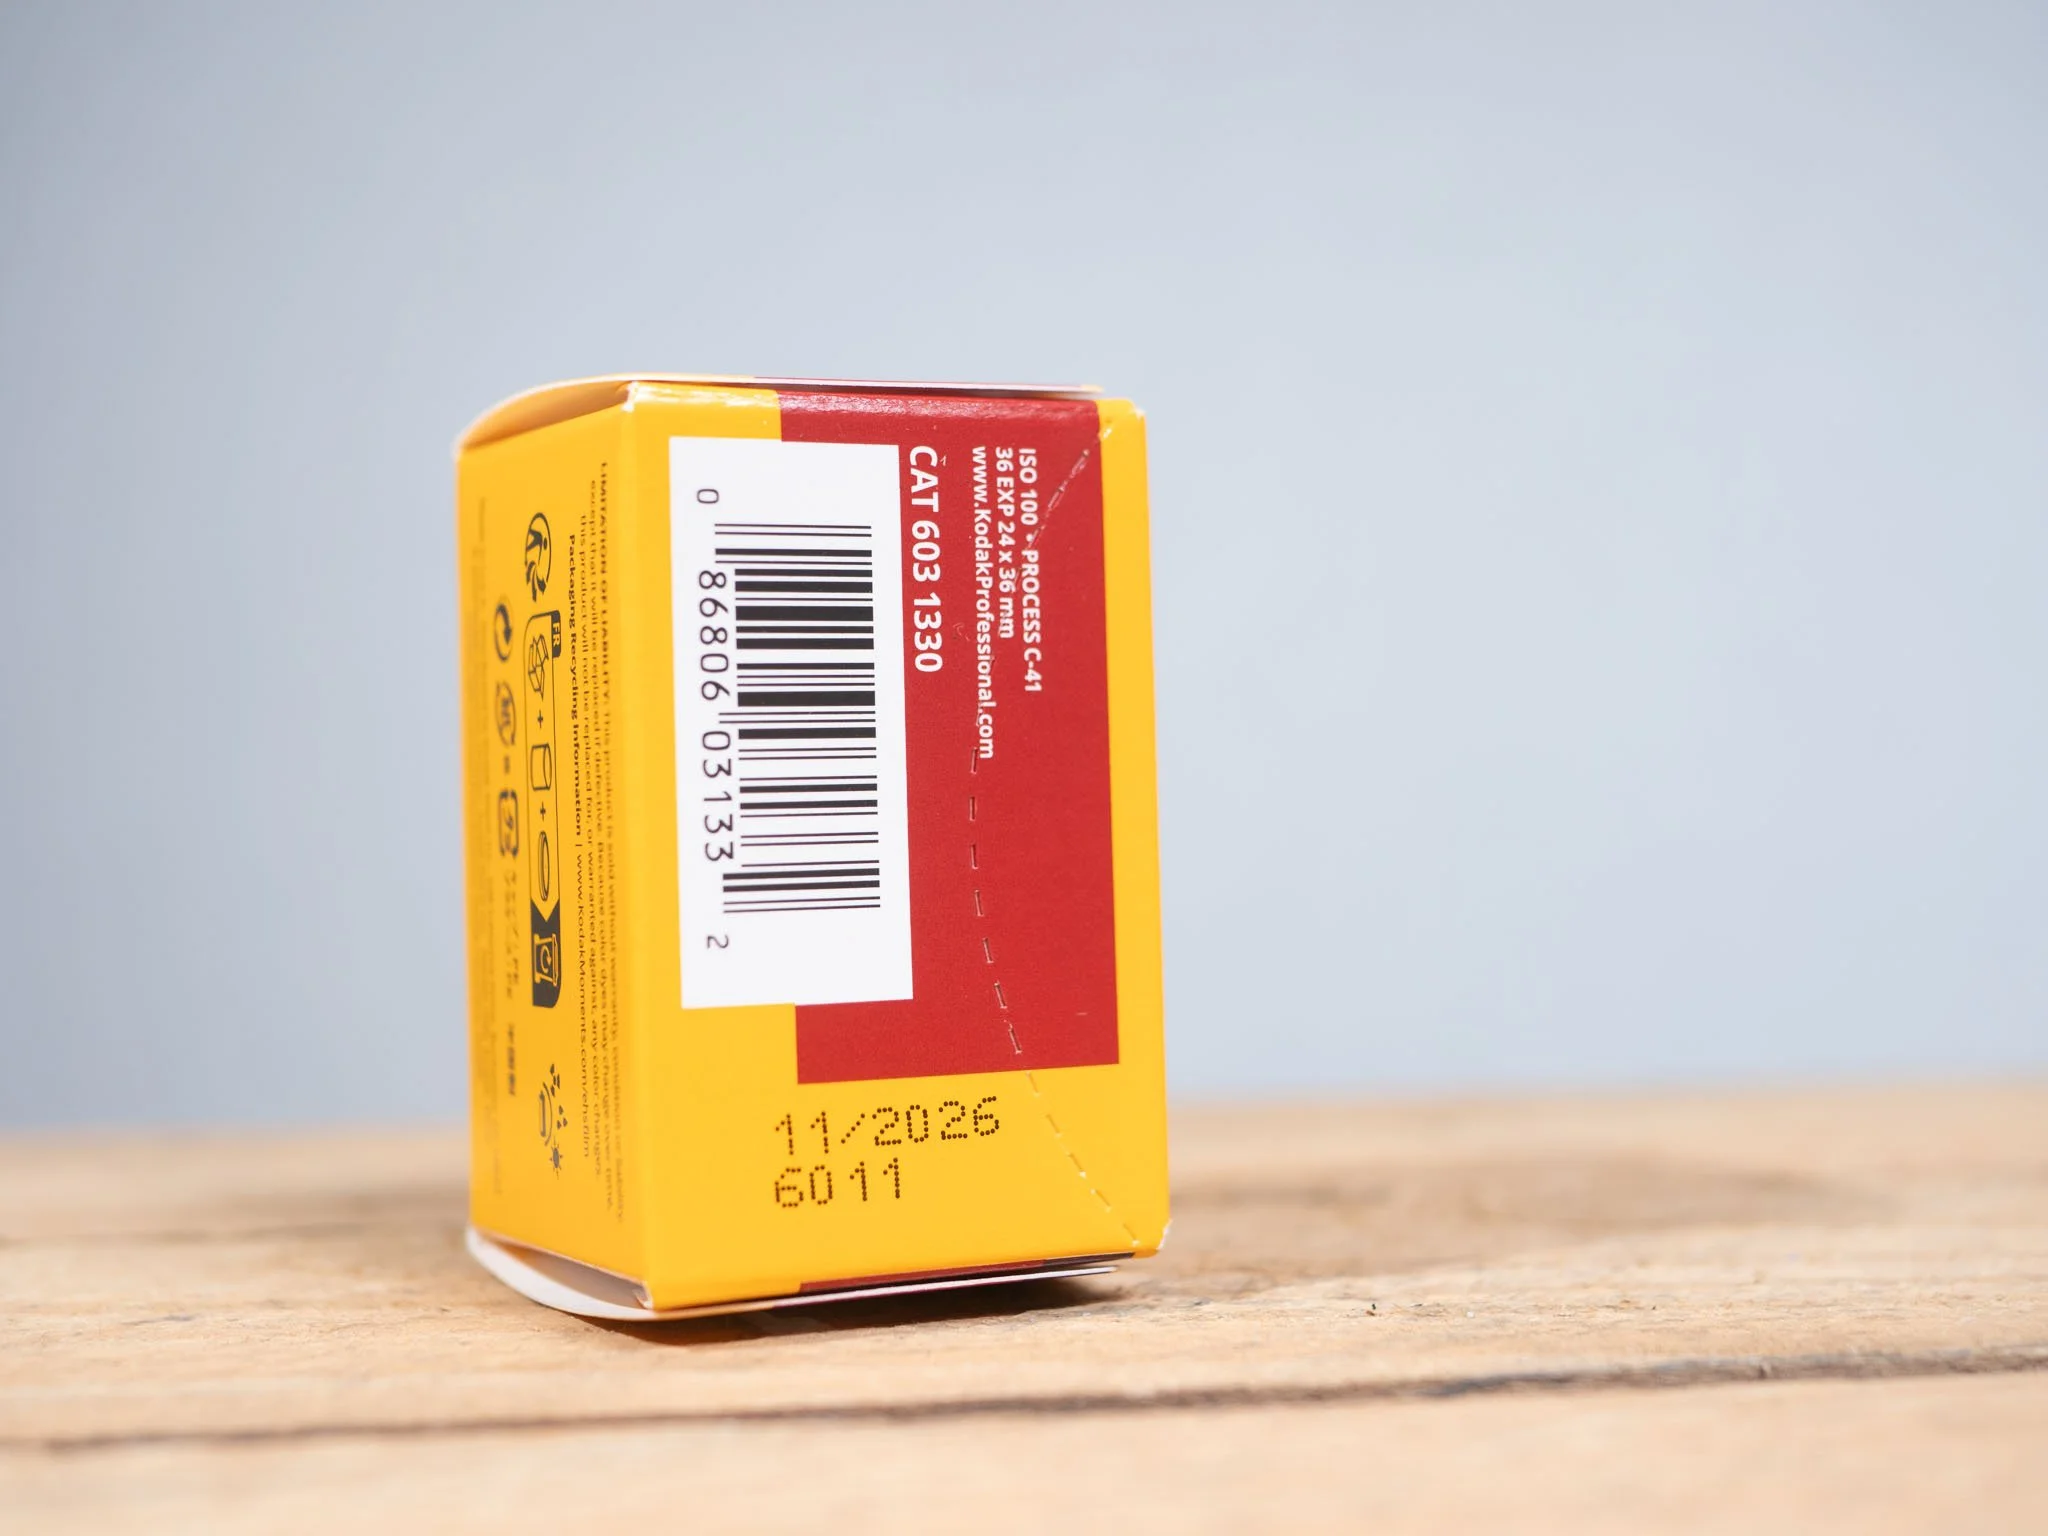
Colour Negative
Colour film introduces colour to our images. Colour film is made up of multiple layers, each records information about one colour, blue, green and red. These are combined to give a full colour image.
Colour film tends to be markedly more expensive than black and white film, but the development tends to be a little cheaper from a lab.
Not cheaper enough to offset the initial cost however, but home development isn’t especially difficult, although it does take a little more equipment than black and white home development.
Colour film tends to have less exposure latitude, and you will be a little bit more limited in available film speeds.
Almost all of the colour film you will encounter is C-41.
This is the standard type, and dictates the specific chemicals needed to develop it. The other option that you will occasionally come across is ECN-2.
There are minor differences in the final image, but the important difference is the chemistry.
If you are putting an ECN-2 film into a lab, you need to make sure they can actually process it as such, and if you’re doing it at home, you will need different development chemicals.

Film
Film is arguably the most important part of the equation. It will dictate the feel of the image, the colour palette, and the range of light levels you can shoot in.
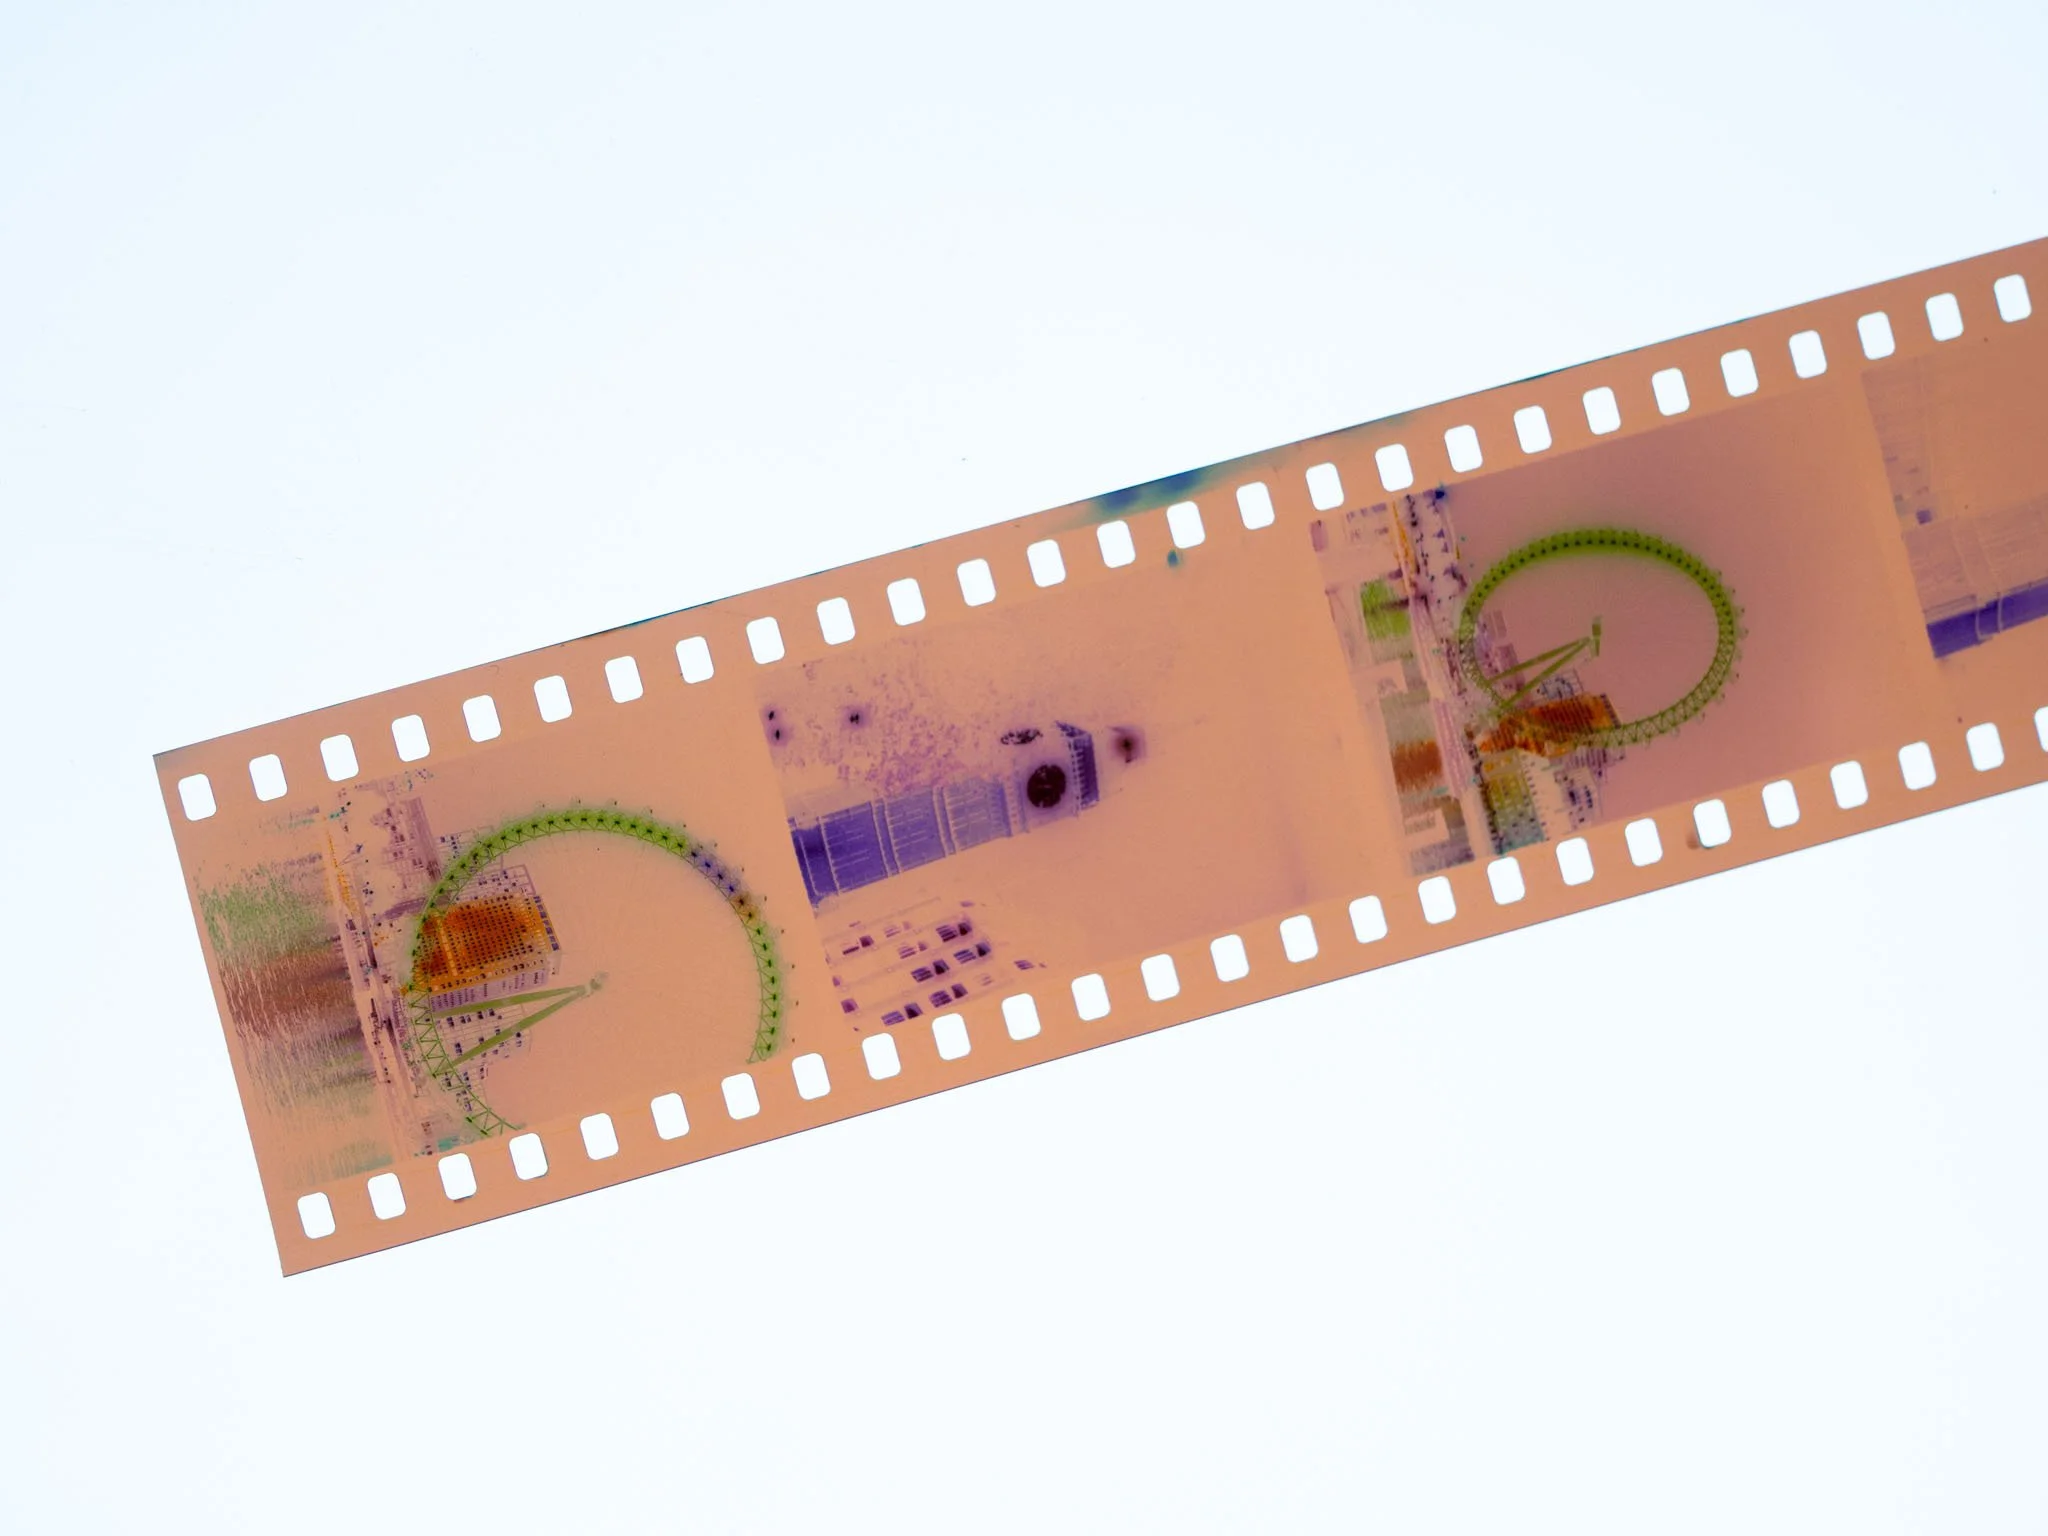
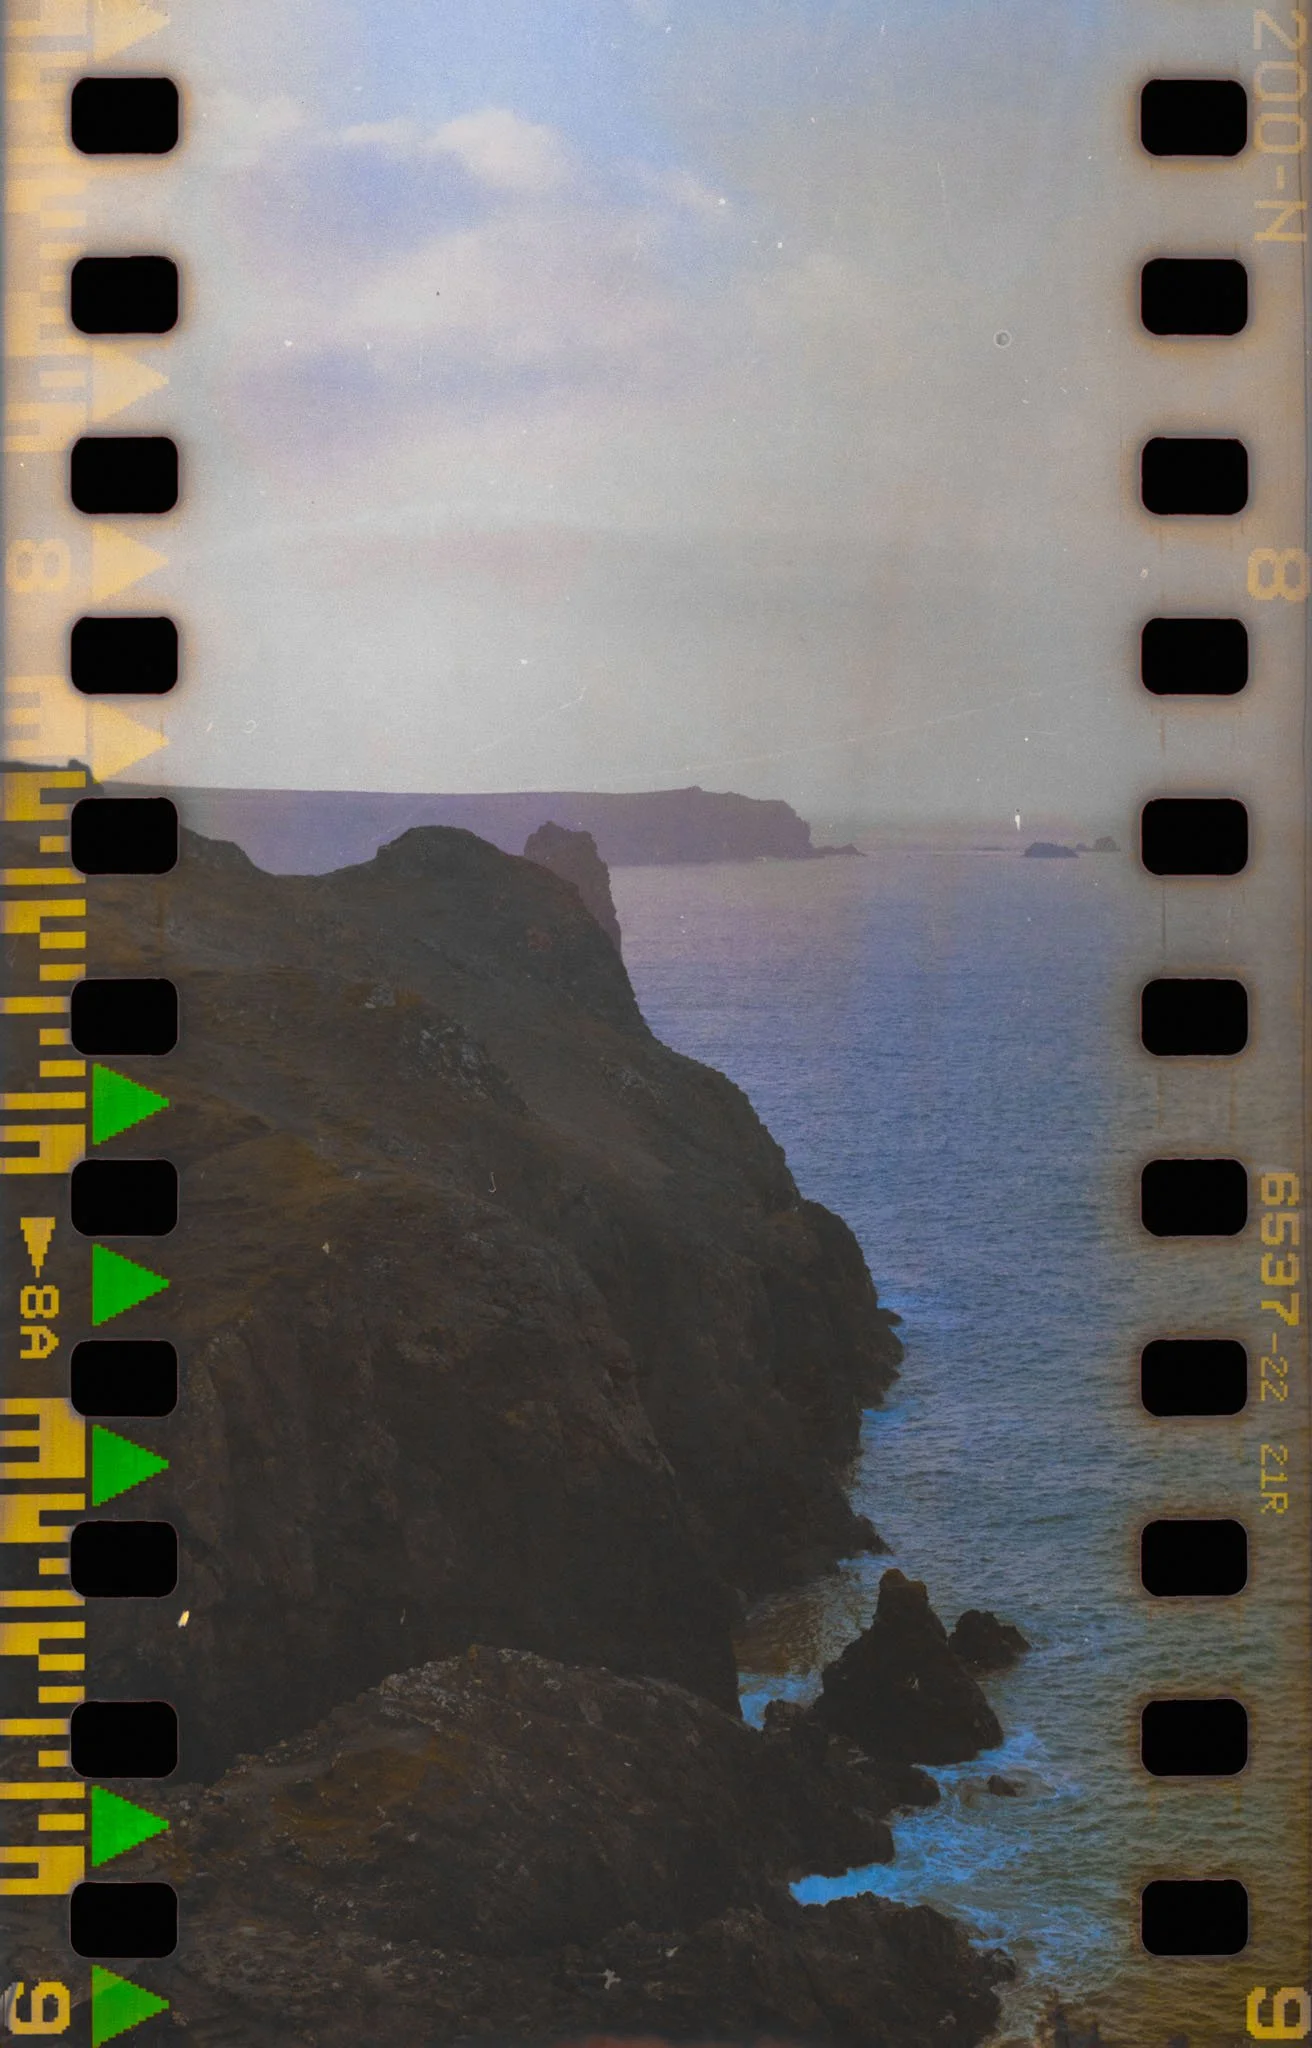
Film is the light sensitive material that captures an image. If you expose it to light, in a very precise and controlled manner, it will capture an image. This then needs to be developed, to fix that image in place. If film is exposed to light before development, it is ruined, and any images will be lost.
Formats
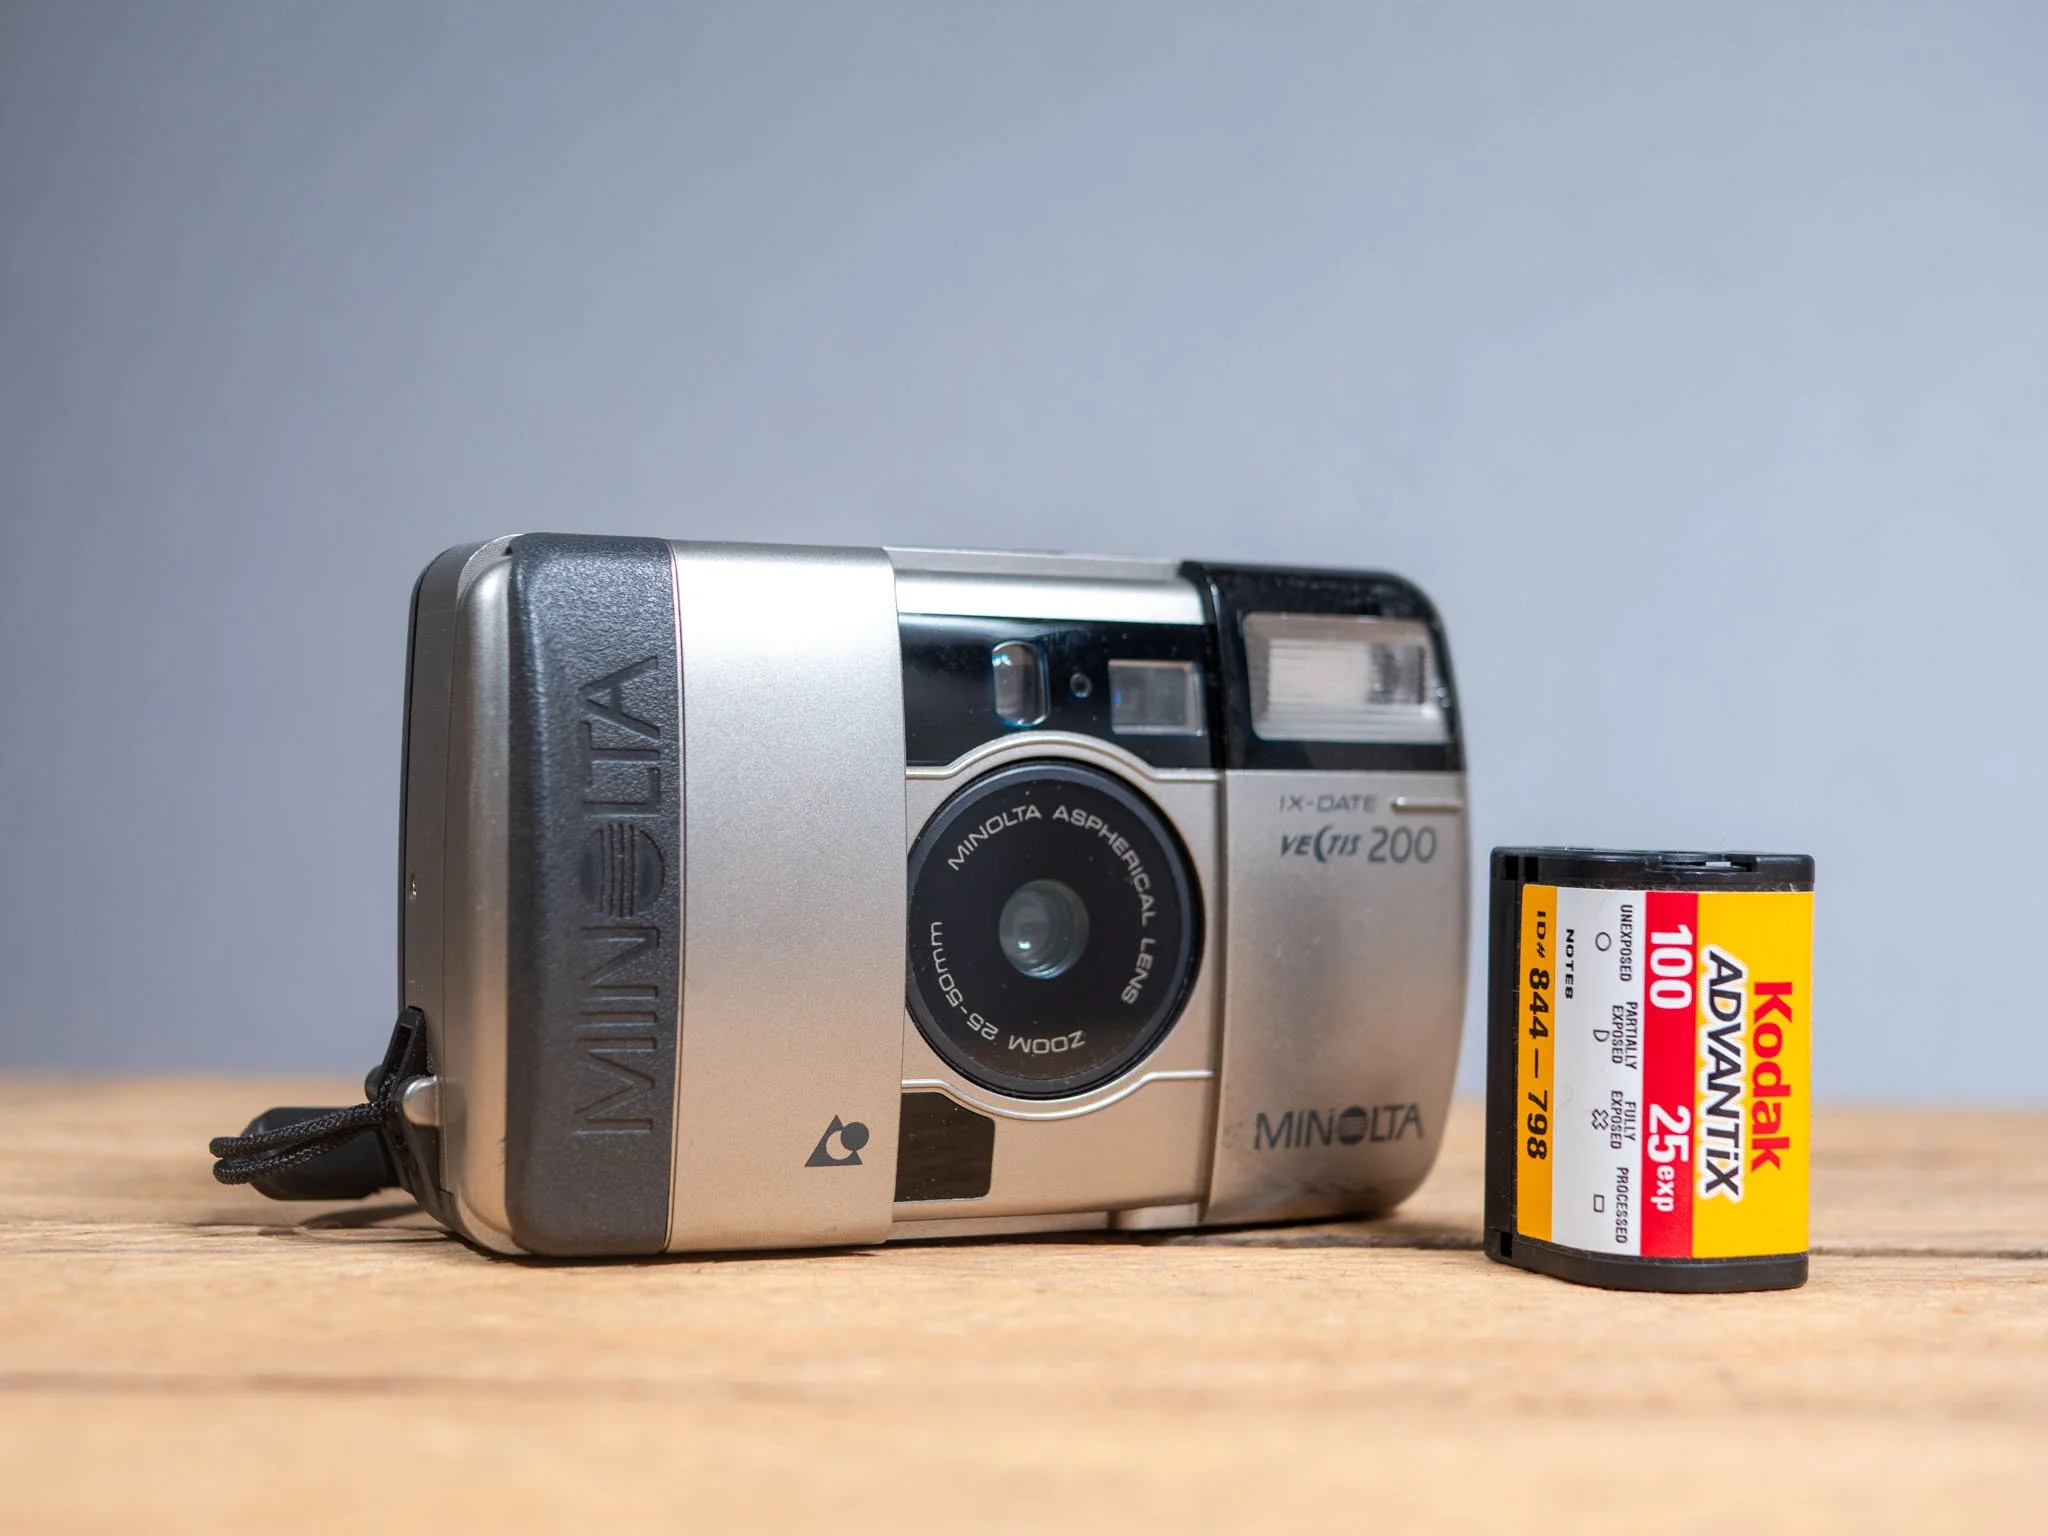
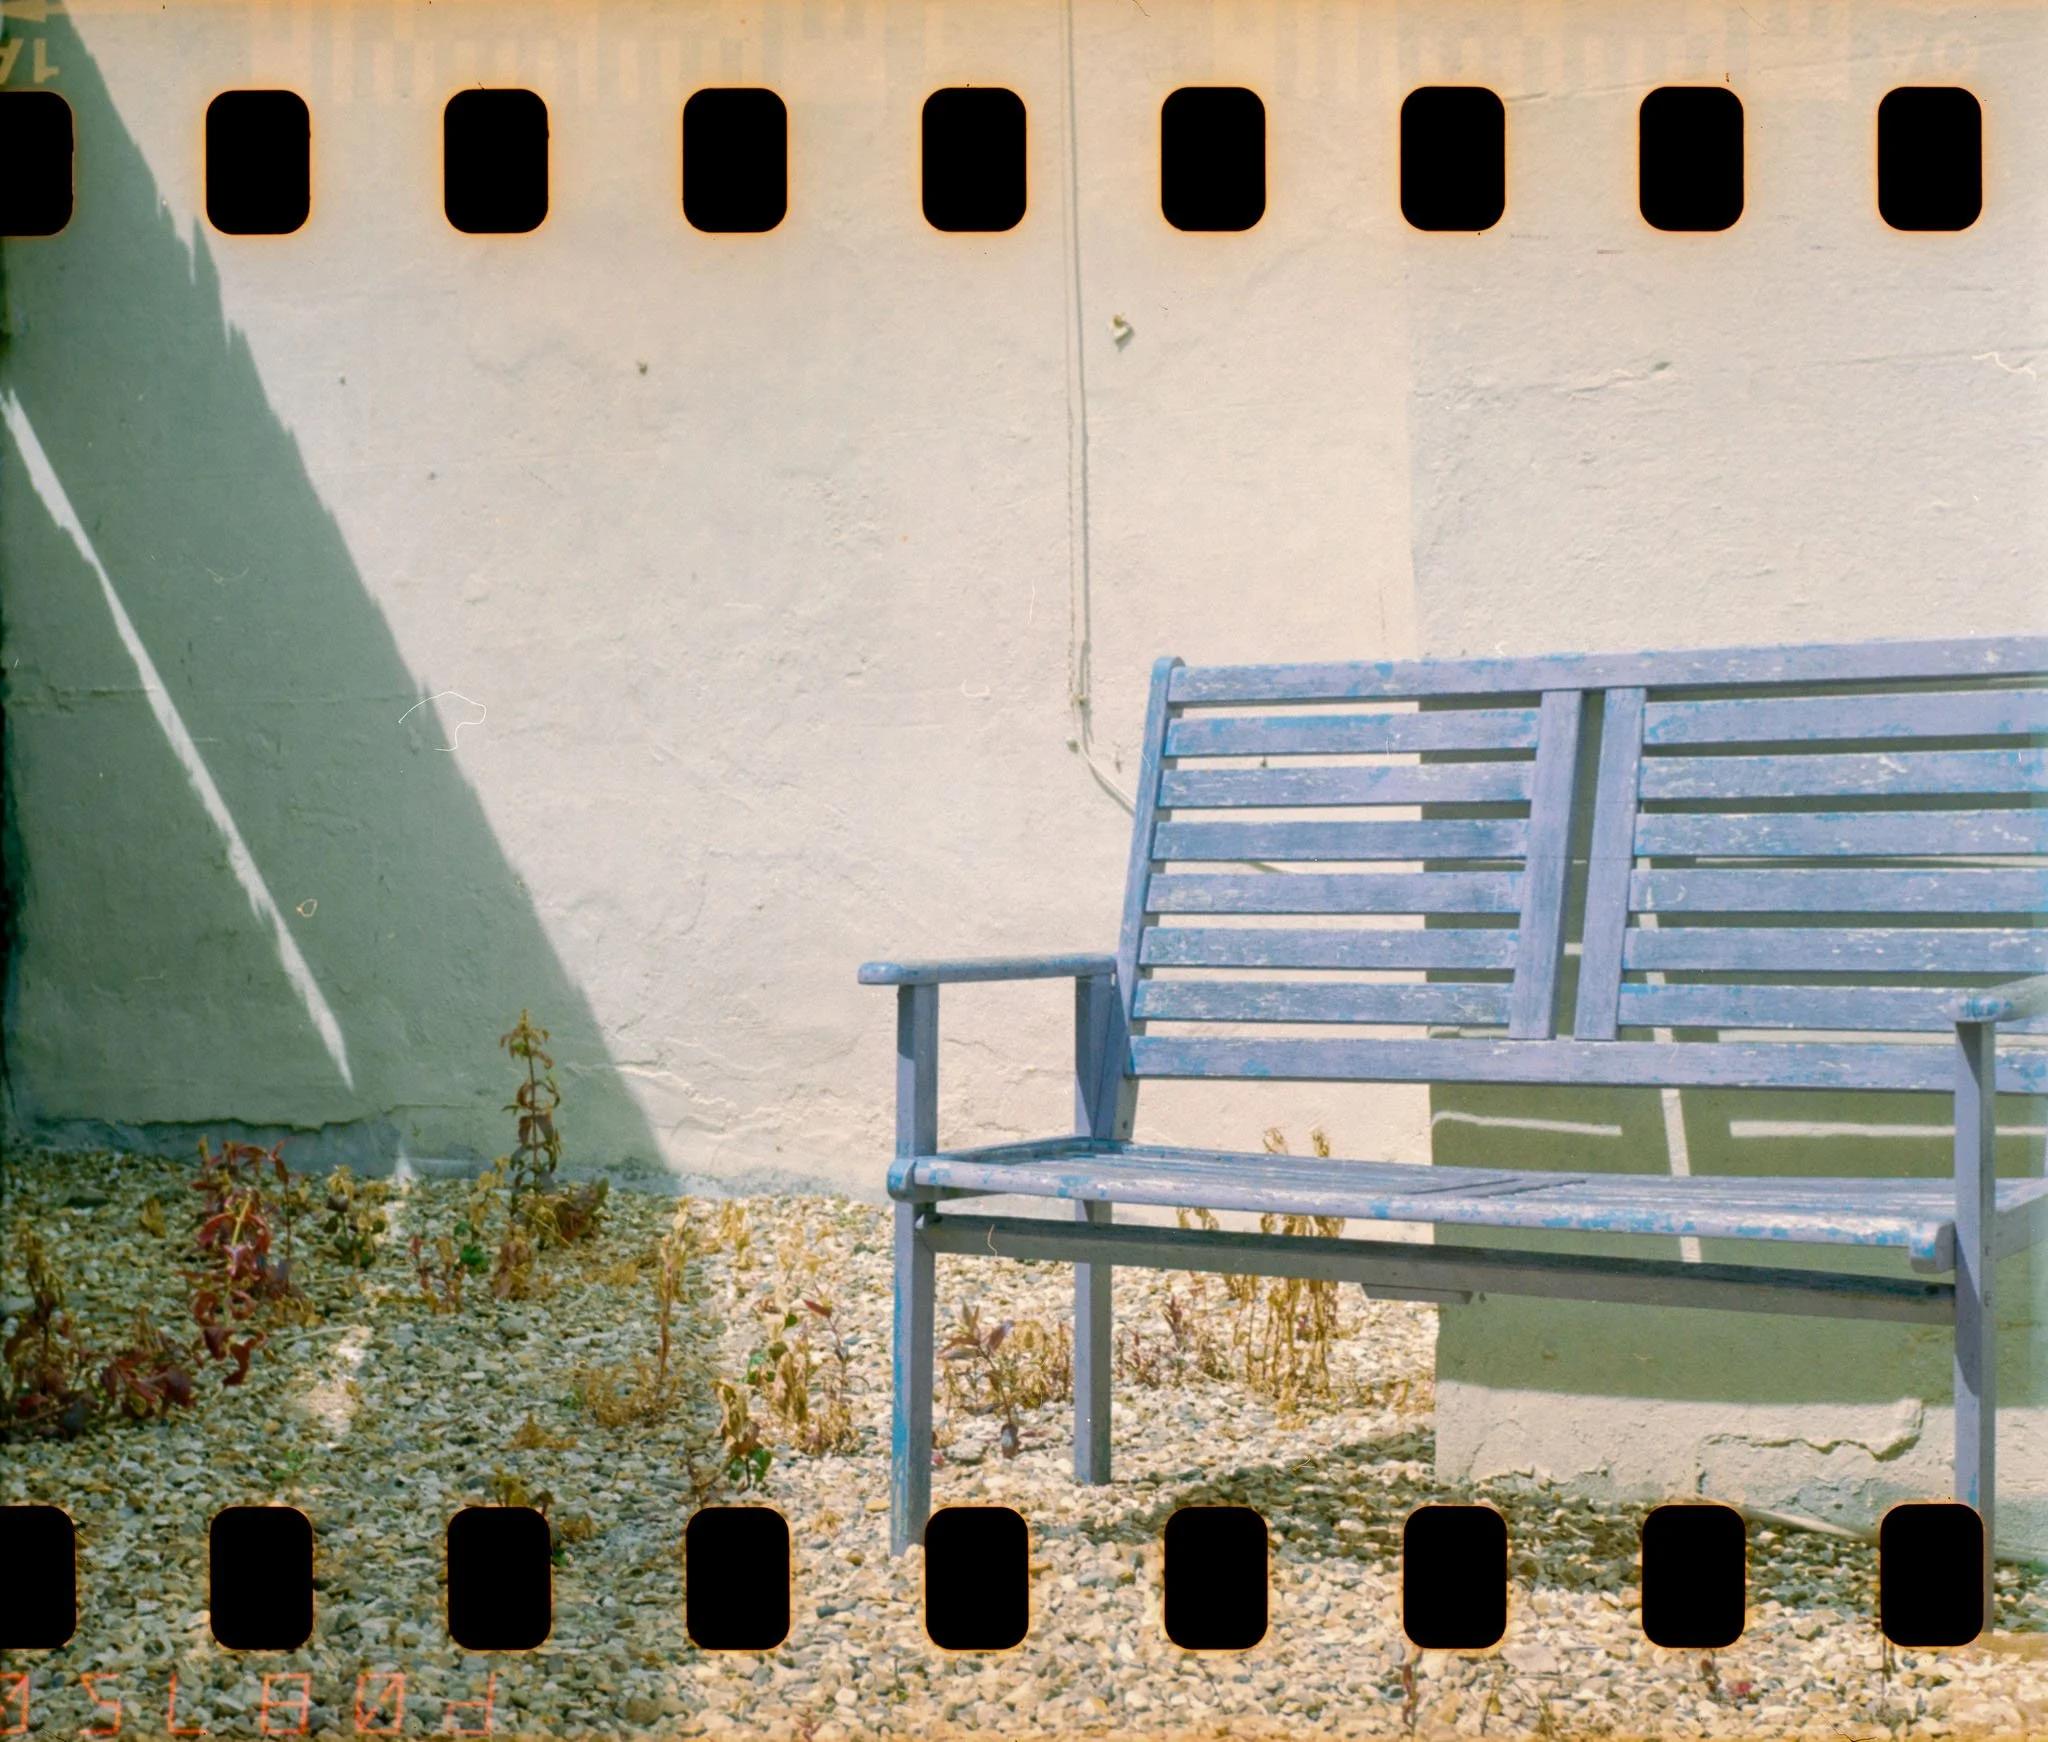
Different cameras take different size films, and you need to make sure you get the right one! Thankfully there’s been a great deal of standardisation, so in the vast majority of cases you’ll find you need 35mm film or occasionally 120.
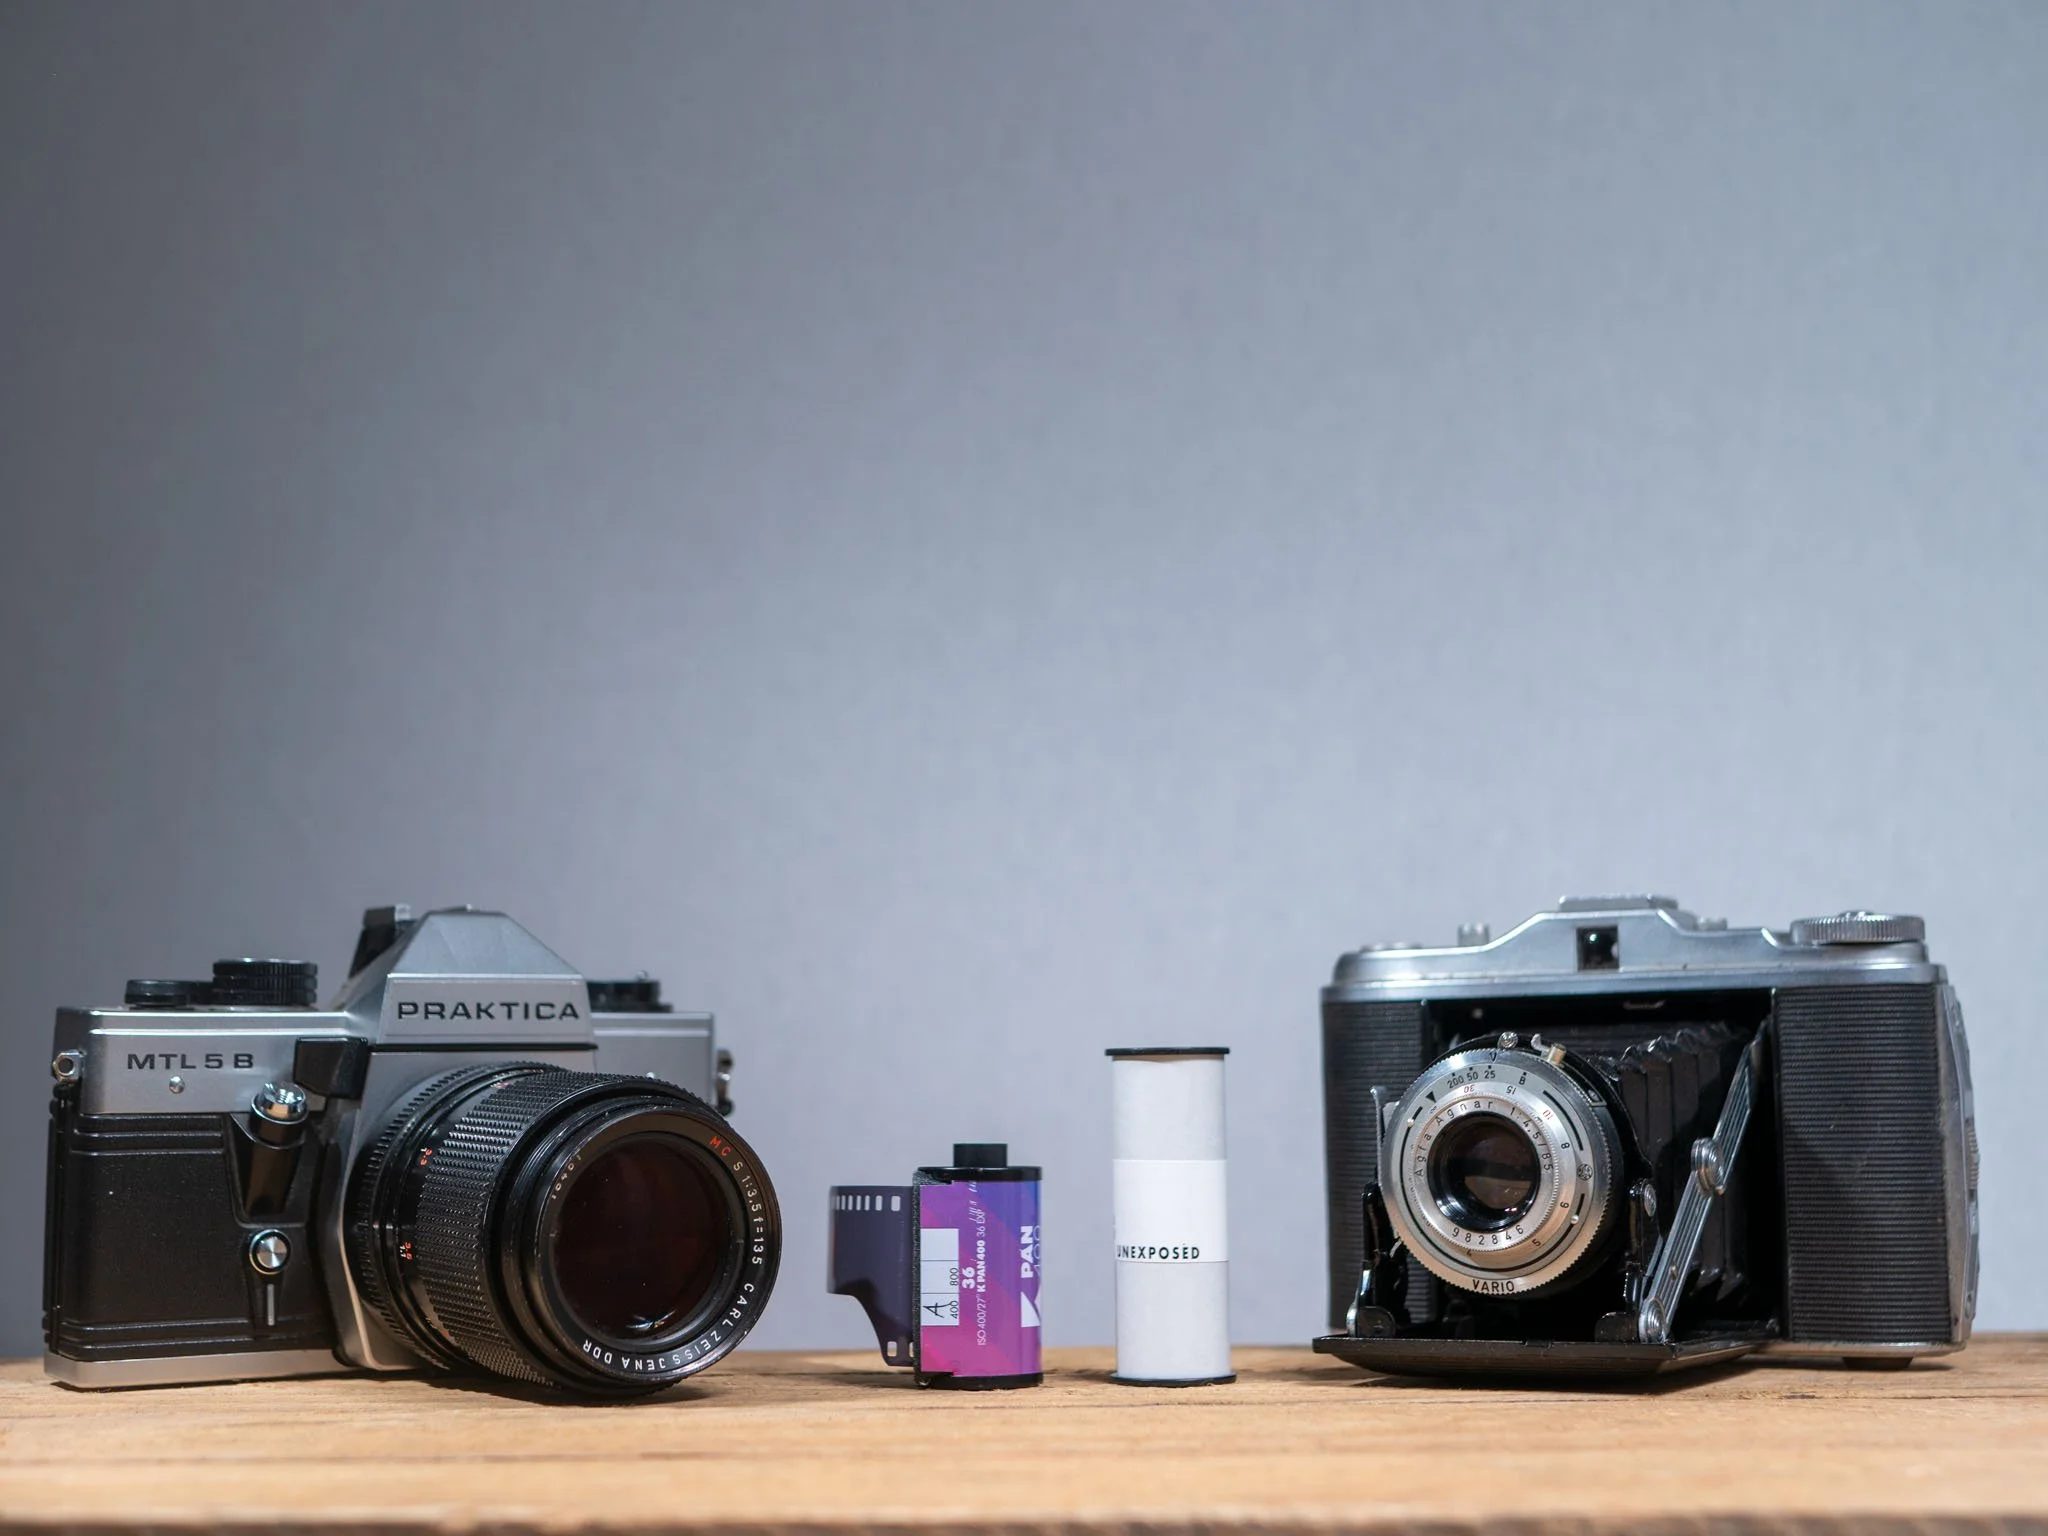
35mm
35mm is undoubtedly the standard film format by any measure you can dream of. Easy to handle due to its robust canister, a capacity of up to 36 shots, and good enough quality for the vast majority of use cases.
When the film has reached the end, you will need to either manually rewind it back into the canister, or your camera will do it for you. There are some cameras that unwind all of the film first, and slowly wind it back into the canister, but these are somewhat unusual, and generally only later model SLRs.
35mm undoubtedly has the widest range of film stocks available. If there’s an interesting film stock you wish to try, it will be available in 35mm.
120
120 is a medium format film, so it’s much larger in size than 35mm. This gives it more “resolution”, at the cost of fewer shots per roll, and bulkier cameras.
35mm frames are 24mm by 36mm, where as 120 film is 60mm wide, and the length of the shot is dictated by the camera.
Loading and using 120 film can be a little intimidating if you have only used 35mm, but it isn’t too difficult after a little practice.
120 film comes wrapped on a spool, with lightproof backing paper printed with frame numbers on it.
The loading & unloading process for 120 is a little different to 35mm and is detailed in our film basics guide.
Film Photography – The Basics
You are going to be a little more limited in choice of film stocks with 120, but not by a lot. All of the big manufactures carry their popular stocks in 120, and a good percentage of exotic stocks will also support the format.
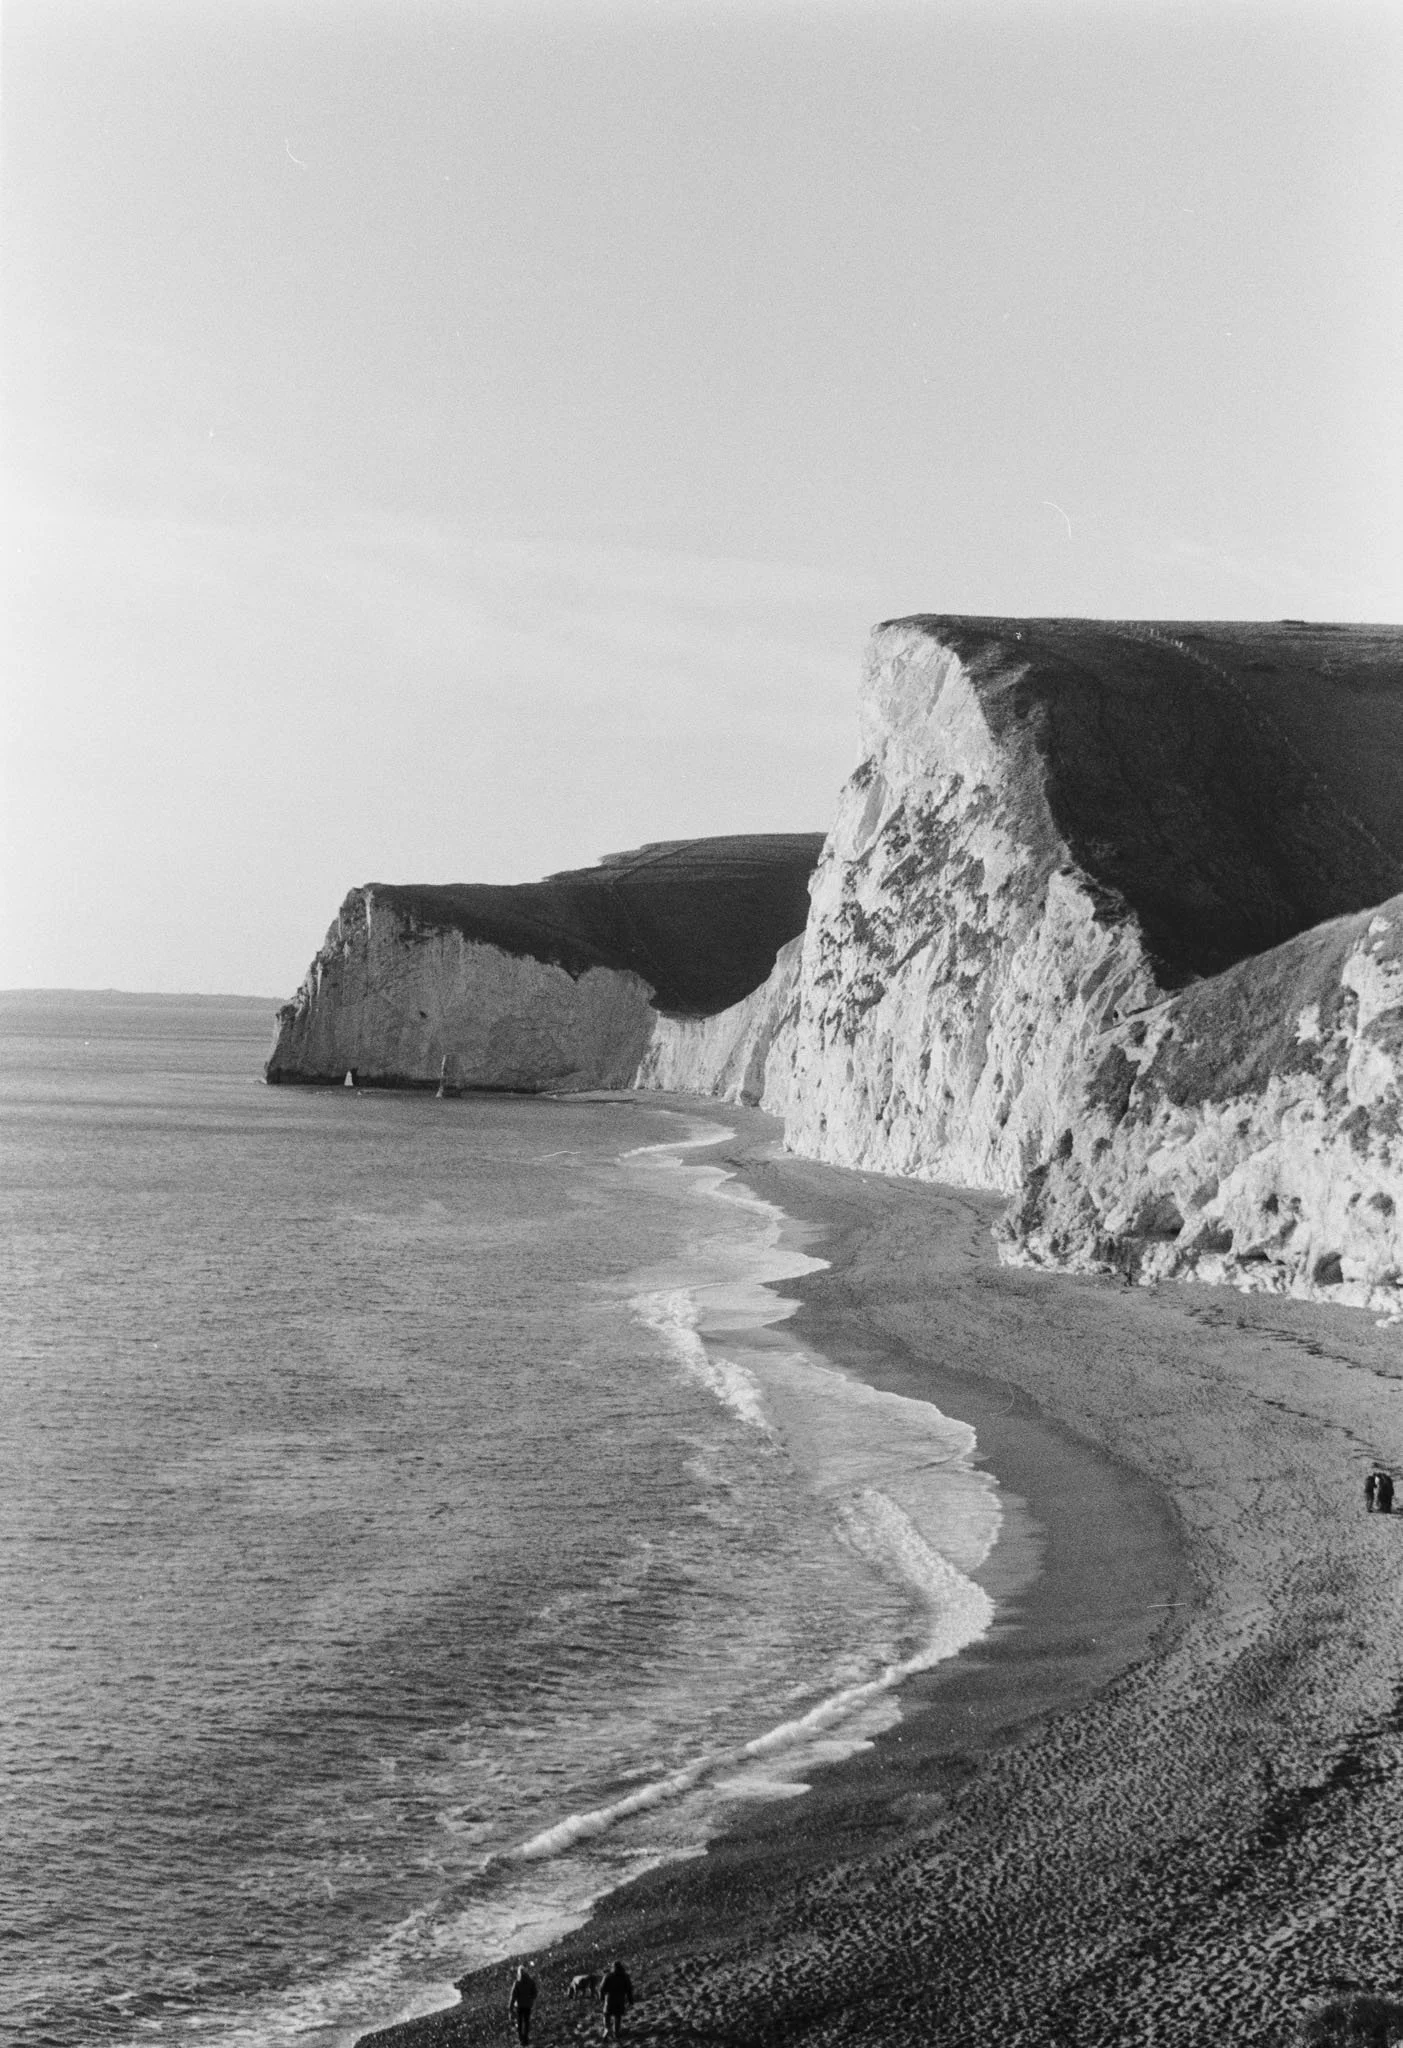
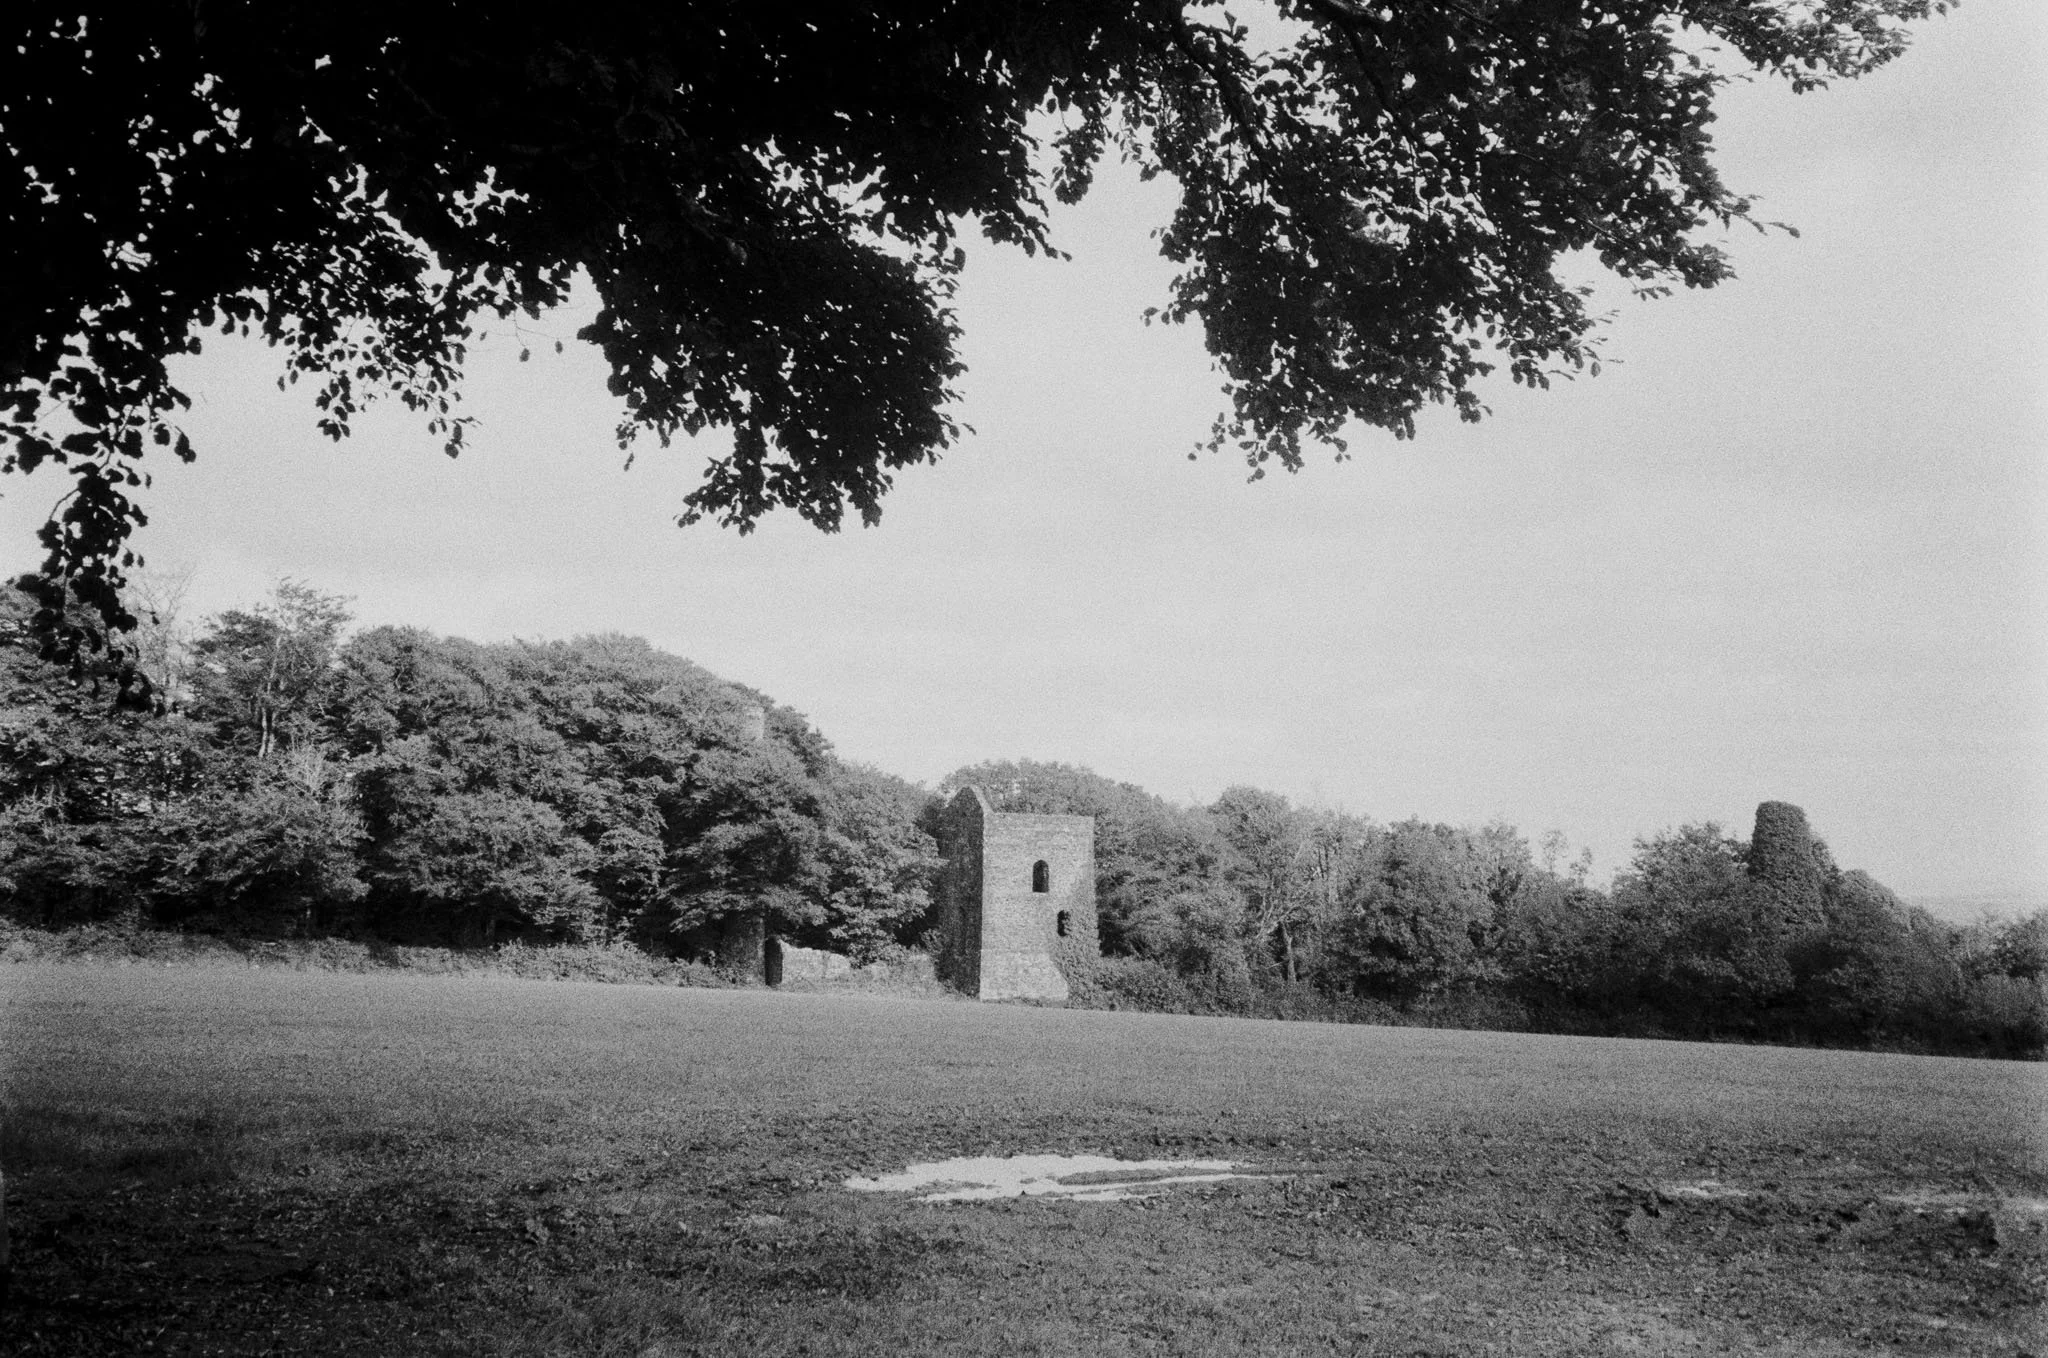
Medium format is prized for its increased “resolution”. As you’re exposing a larger area of film, you can get more detail from the image, and in turn, print it at larger scale.
Series of shots, wide to macro of medium format
A more in depth look at the different formats, in regard to cameras, is included in the film camera guide:
Film Photography – Cameras
The Rest of the Pack
120 and 35mm are common formats, the rest are very much not.
Micro Format
110 film is probably the next most common, in that you can often get it in person at most camera shops.
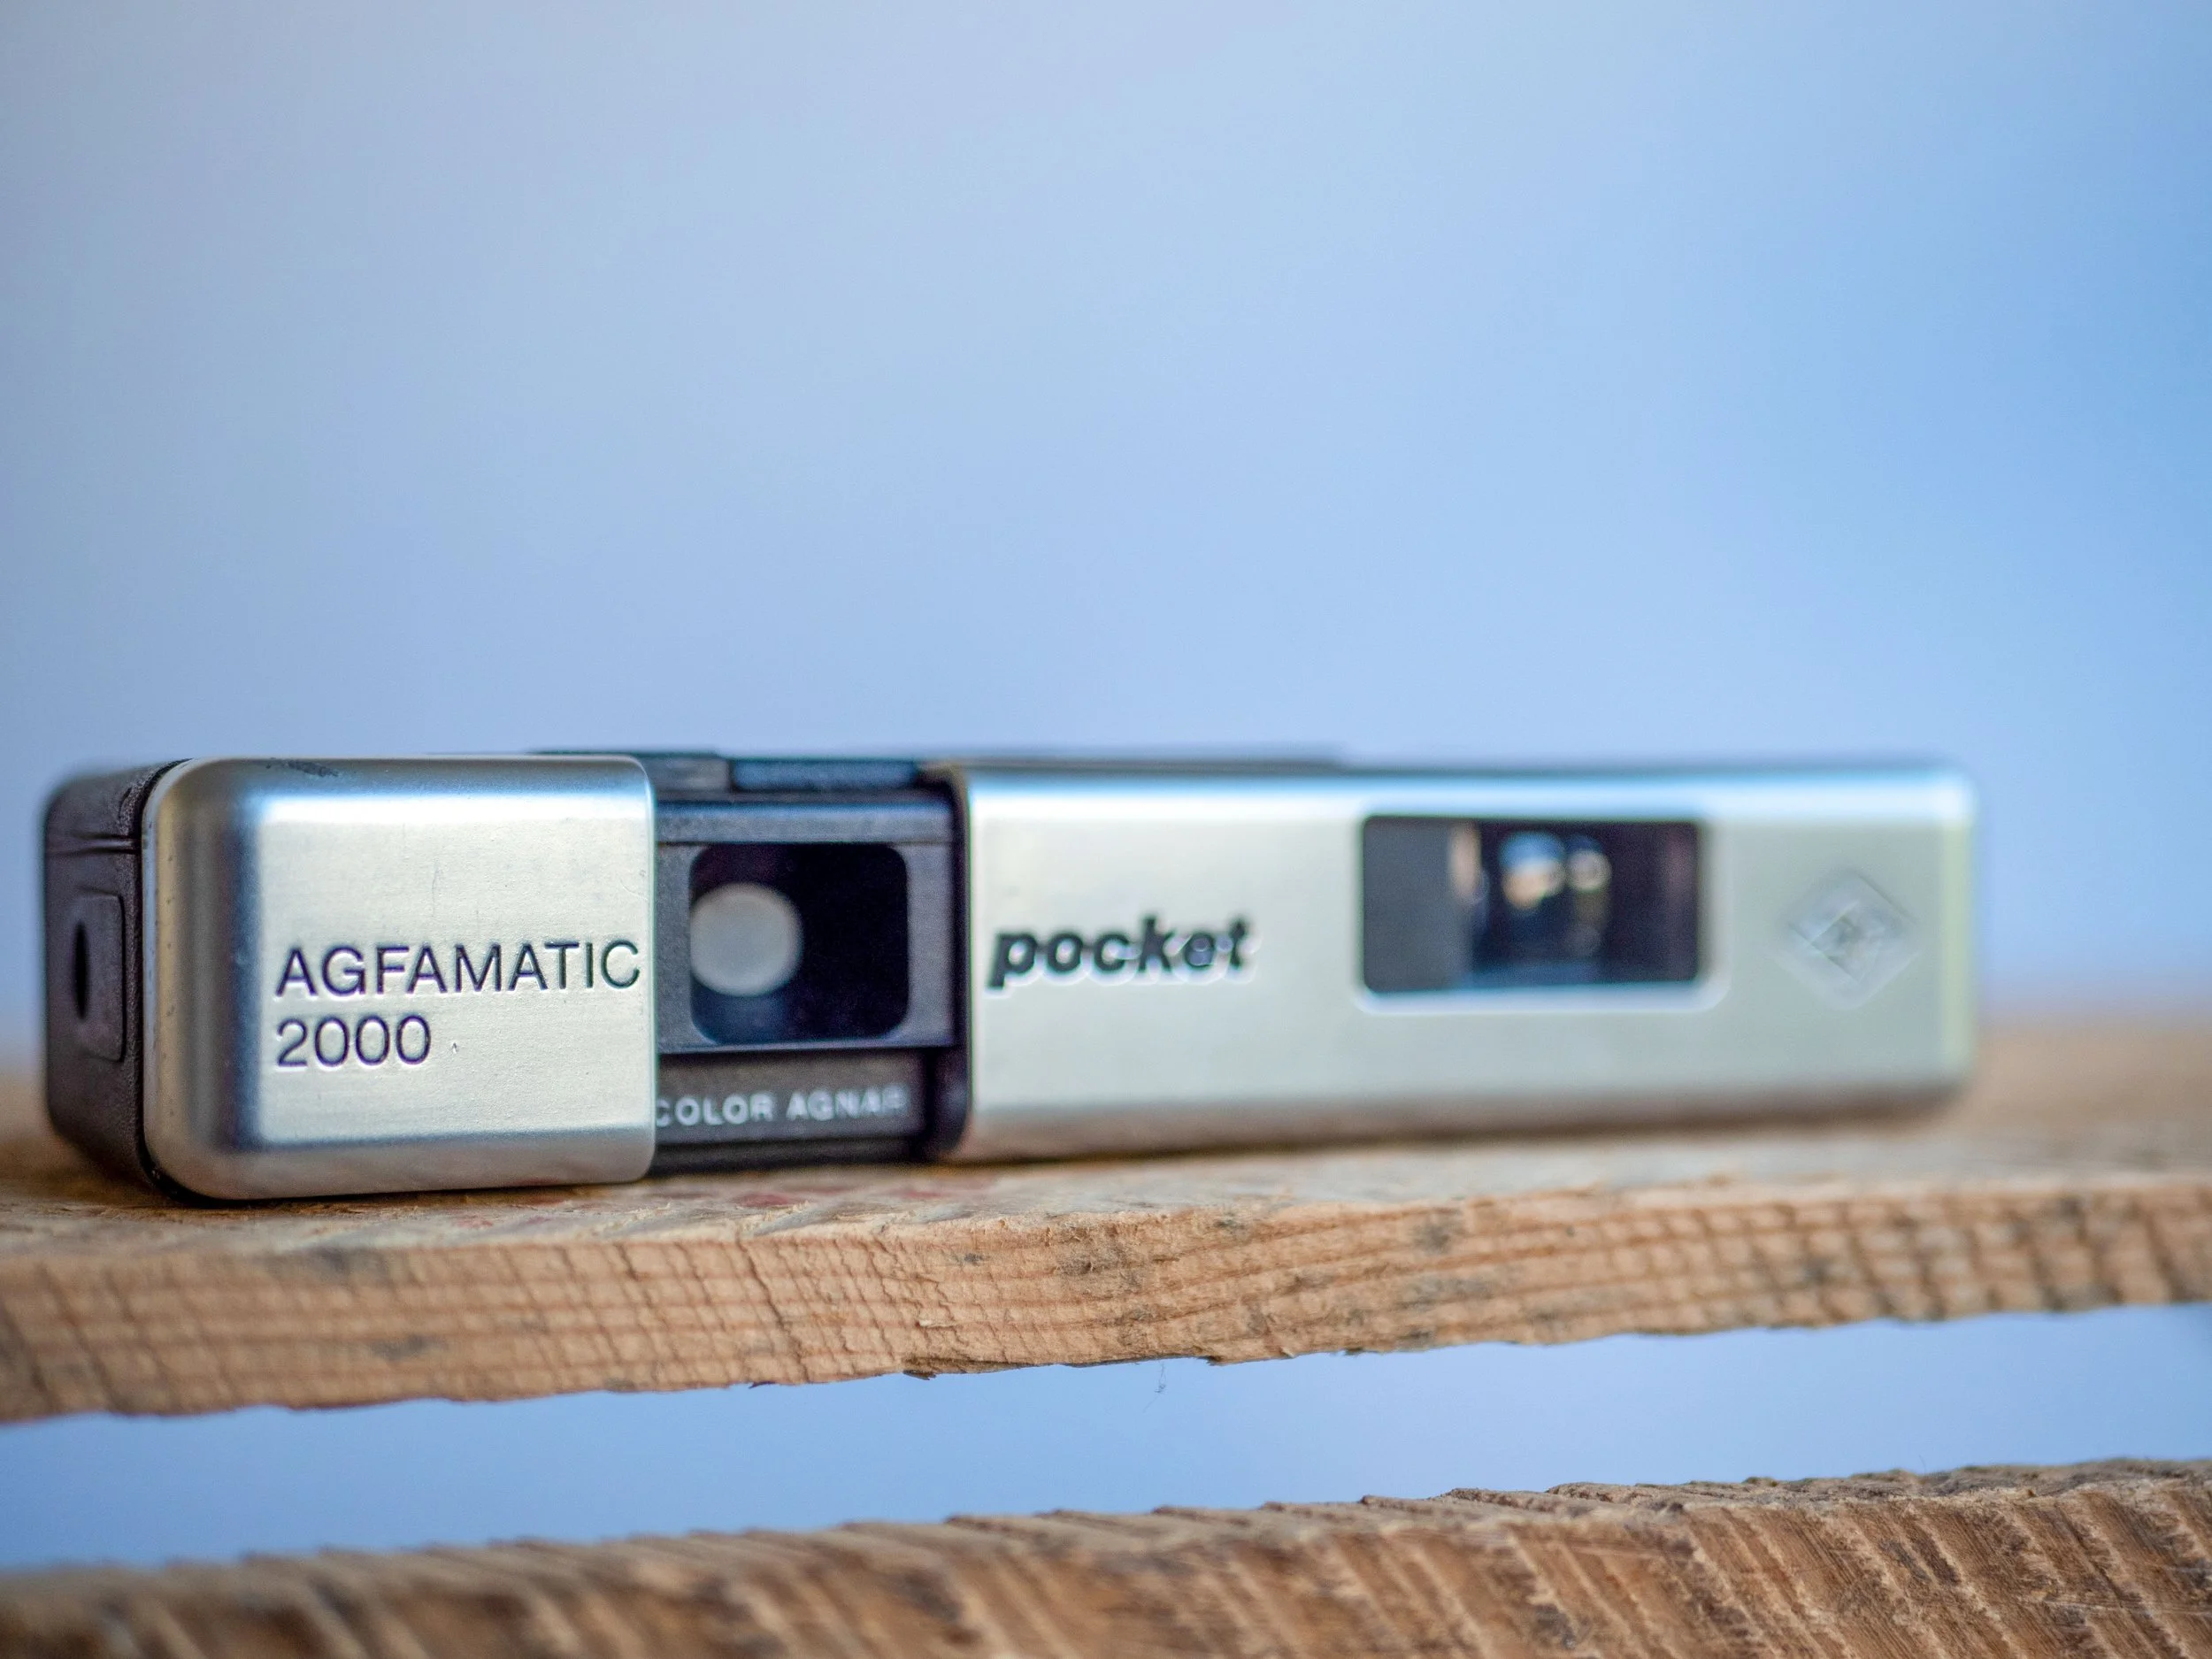
110 cameras are often very small, truly pocket sized. They use cartridges, not dissimilar in function to 35mm, but they look rather different. The film is wound through the cartridge, but you do not rewind them at the end like you do with 35mm. Image quality isn’t the best, due to a rather small frame size of 13 x 17mm, but it’s good enough for snapshots and small prints.
There are a fair number of cartridge-based film formats that operate in similar way to 110 but are far less available. 126 and Minolta 16 being the more common ones. 126 is essentially a larger form of 110, and Minolta 16 is all but identical to 110 film, just in a different cartridge. You can shoot both, by reusing an old film cartridge and respooling and cutting similar sized film, but that is reserved for people who are truly passionate about that particular film format, and to be frank, it’s quite a pain.
Medium Format
127 and 620 film operate in the same way as 120 film and look very similar. They are spooled onto a reel, use a light proof paper backing, and have number markings. The differences are in the size and the spools. 120 film is 60mm wide, 127 is 46mm and 620 is 60mm wide, but the spools are a slightly different form factor. It is possible to modify 120 spools to fit in a 620 camera fairly easily, by carefully trimming them down. Both can be found online from a few sellers who will do that modification or respooling for you, but you will be limited in film stocks.
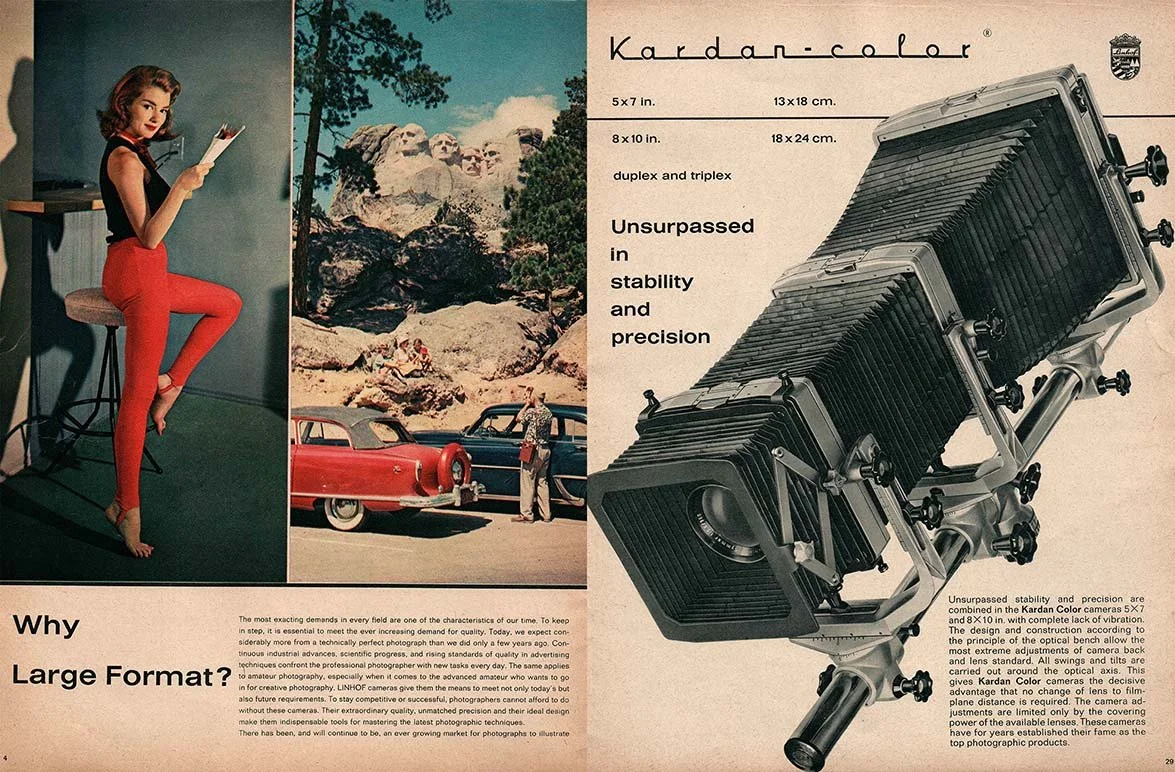
Large Format
Large format film is, well, rather large. The most common size is 4x5” (102x127mm) with 5x7” (127x178mm) and 8x10” (200x250mm) fairly common as well. Large format photography comes with a huge step up in “resolution”, at the cost of the cameras being huge bellowed beasts, and a high per shot cost.
I don’t have any experience with large format photography, so I’ll link a guide from Ilford below:
The Devil's Mark: APS
If you see the dreaded APS mark on a camera, know that it is truly useless. APS was a film format designed to take on the juggernaut of 35mm. The small cartridge size meant that cameras could be very compact, whilst allowing up to 40 exposures. However, it was all too little and too late. Digital photography was coming onto the scene, and getting ever better, and the smaller size of the film led to lower quality shots, so its life was rather short.
It is not possible to get newly produced APS film; the last batches being made in 2011. You can try your luck with expired stock on eBay, but do not expect consistent or even workable results.
It’s honestly a shame, because some of the APS cameras I have come across have been truly funky little things, but there is not a practical way to use them.
Black and white, colour, and chemistry.
We’ve discussed film formats, and now we move onto chemistry, and colour vs black and white.
Film Speed
The next consideration is film speed, or how sensitive the film is to light. Measured in ISO, you’ll often see speeds such as 100, 200 & 400.
Slow Film
Slow speed films, say under 200 iso, are film stocks that are not overly sensitive to light. They are best used in brighter environments such as the outdoors.
The primary benefit to slower films is they tend to have less grain, and a cleaner look to them.
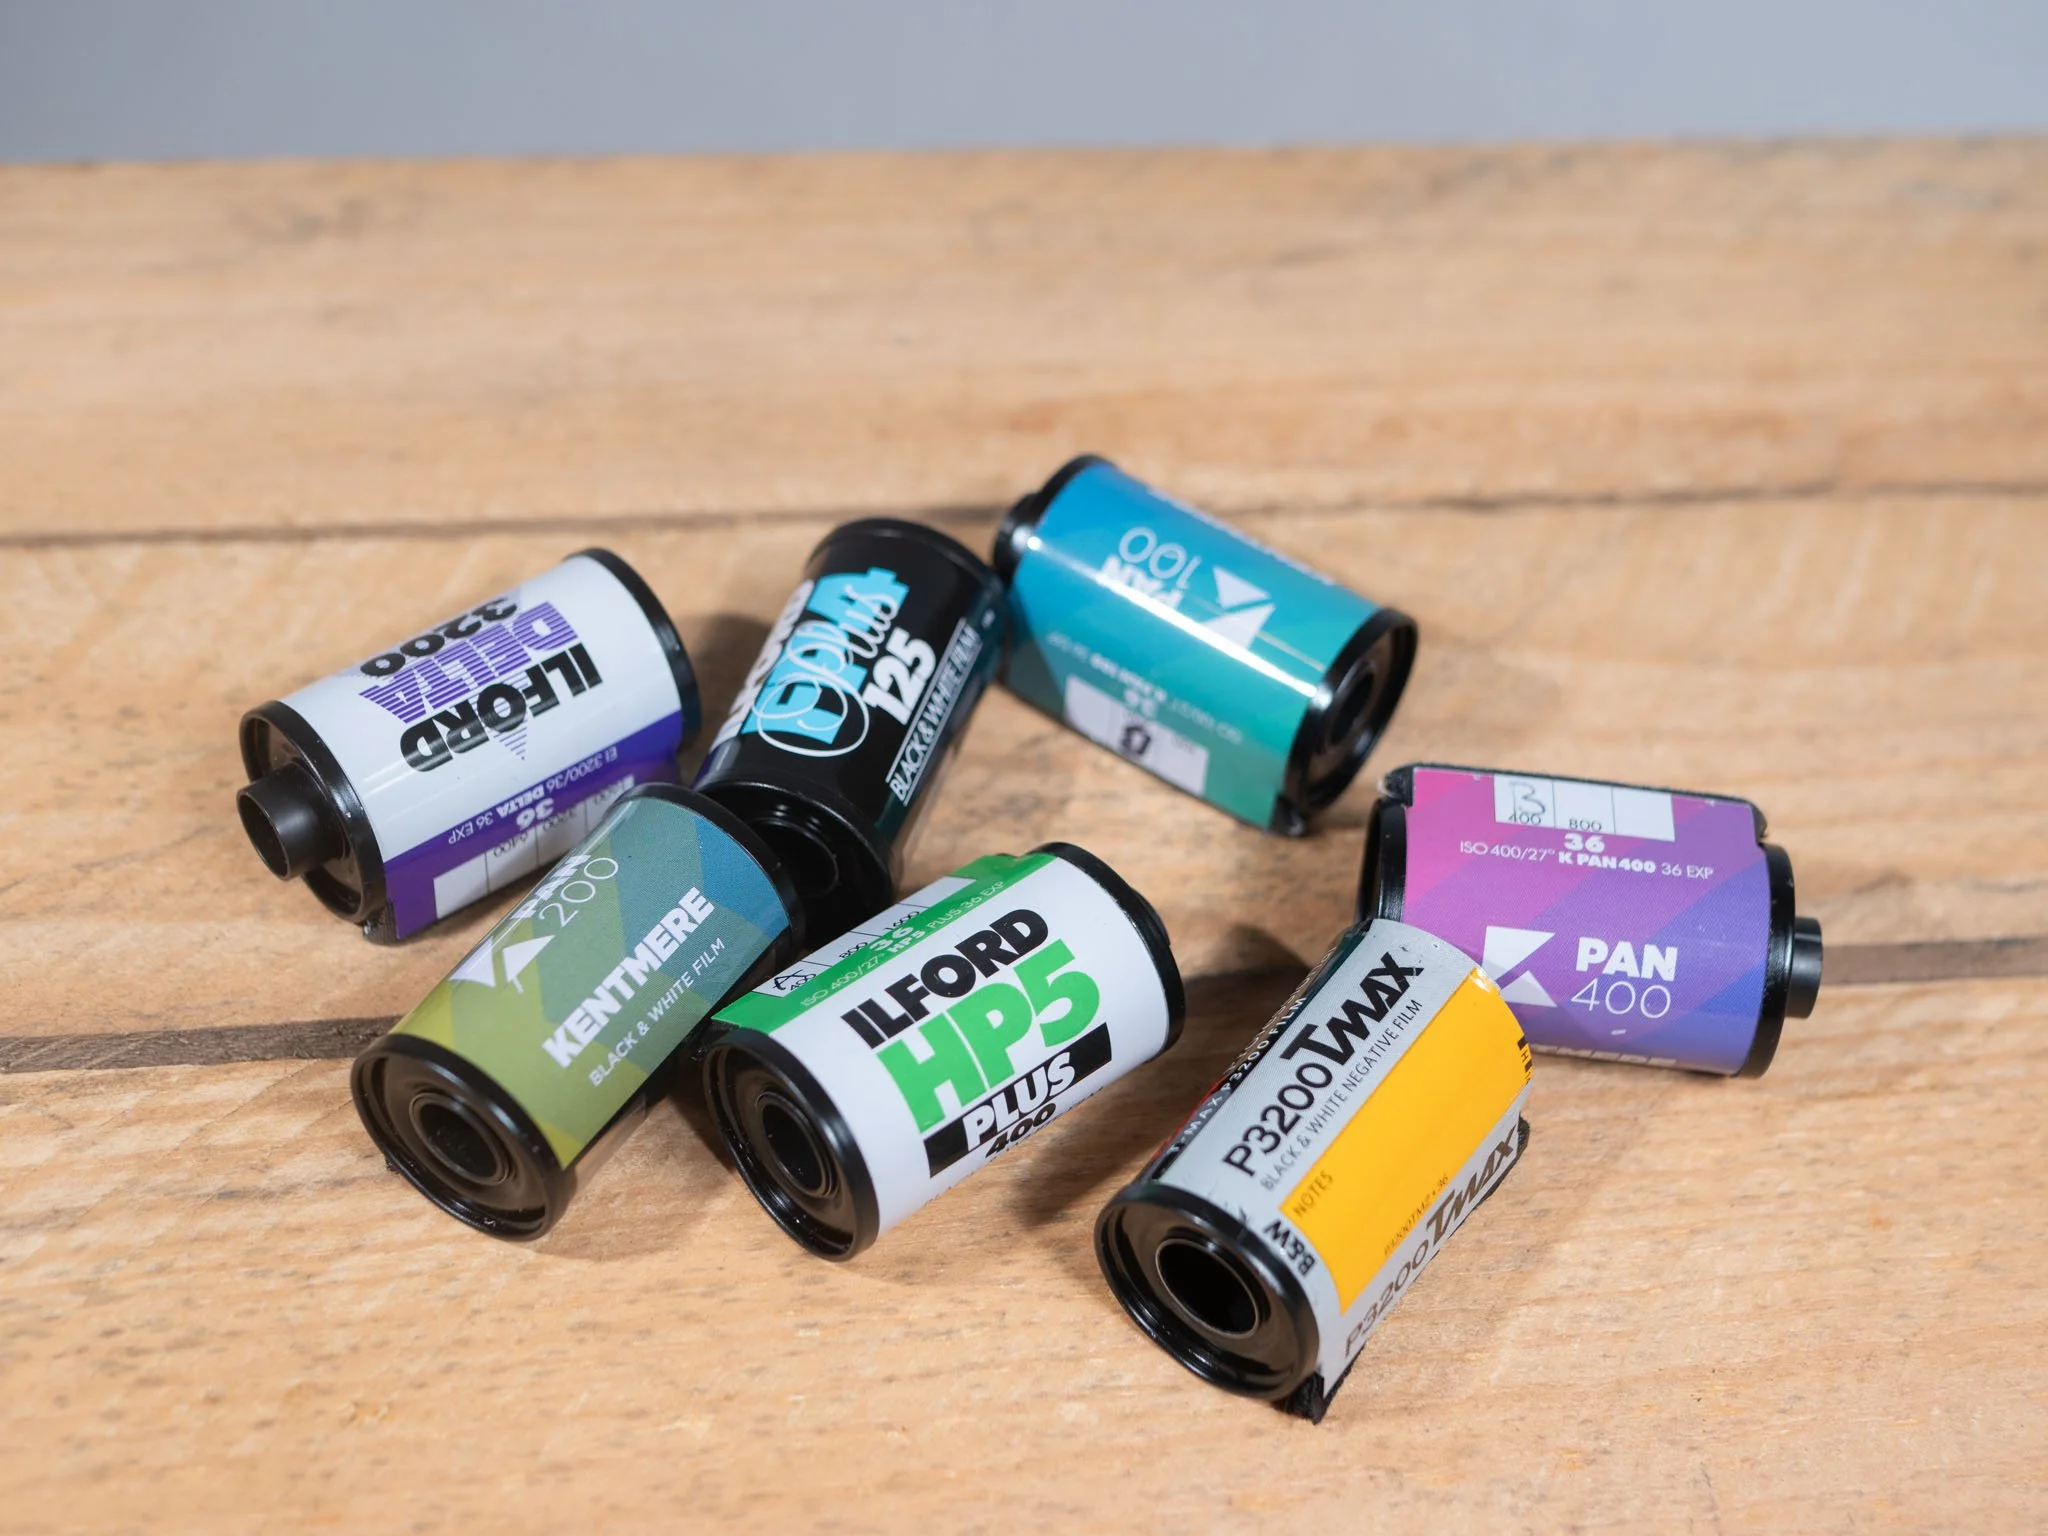
Kentmere 100 - ISO 100
DX Encoding
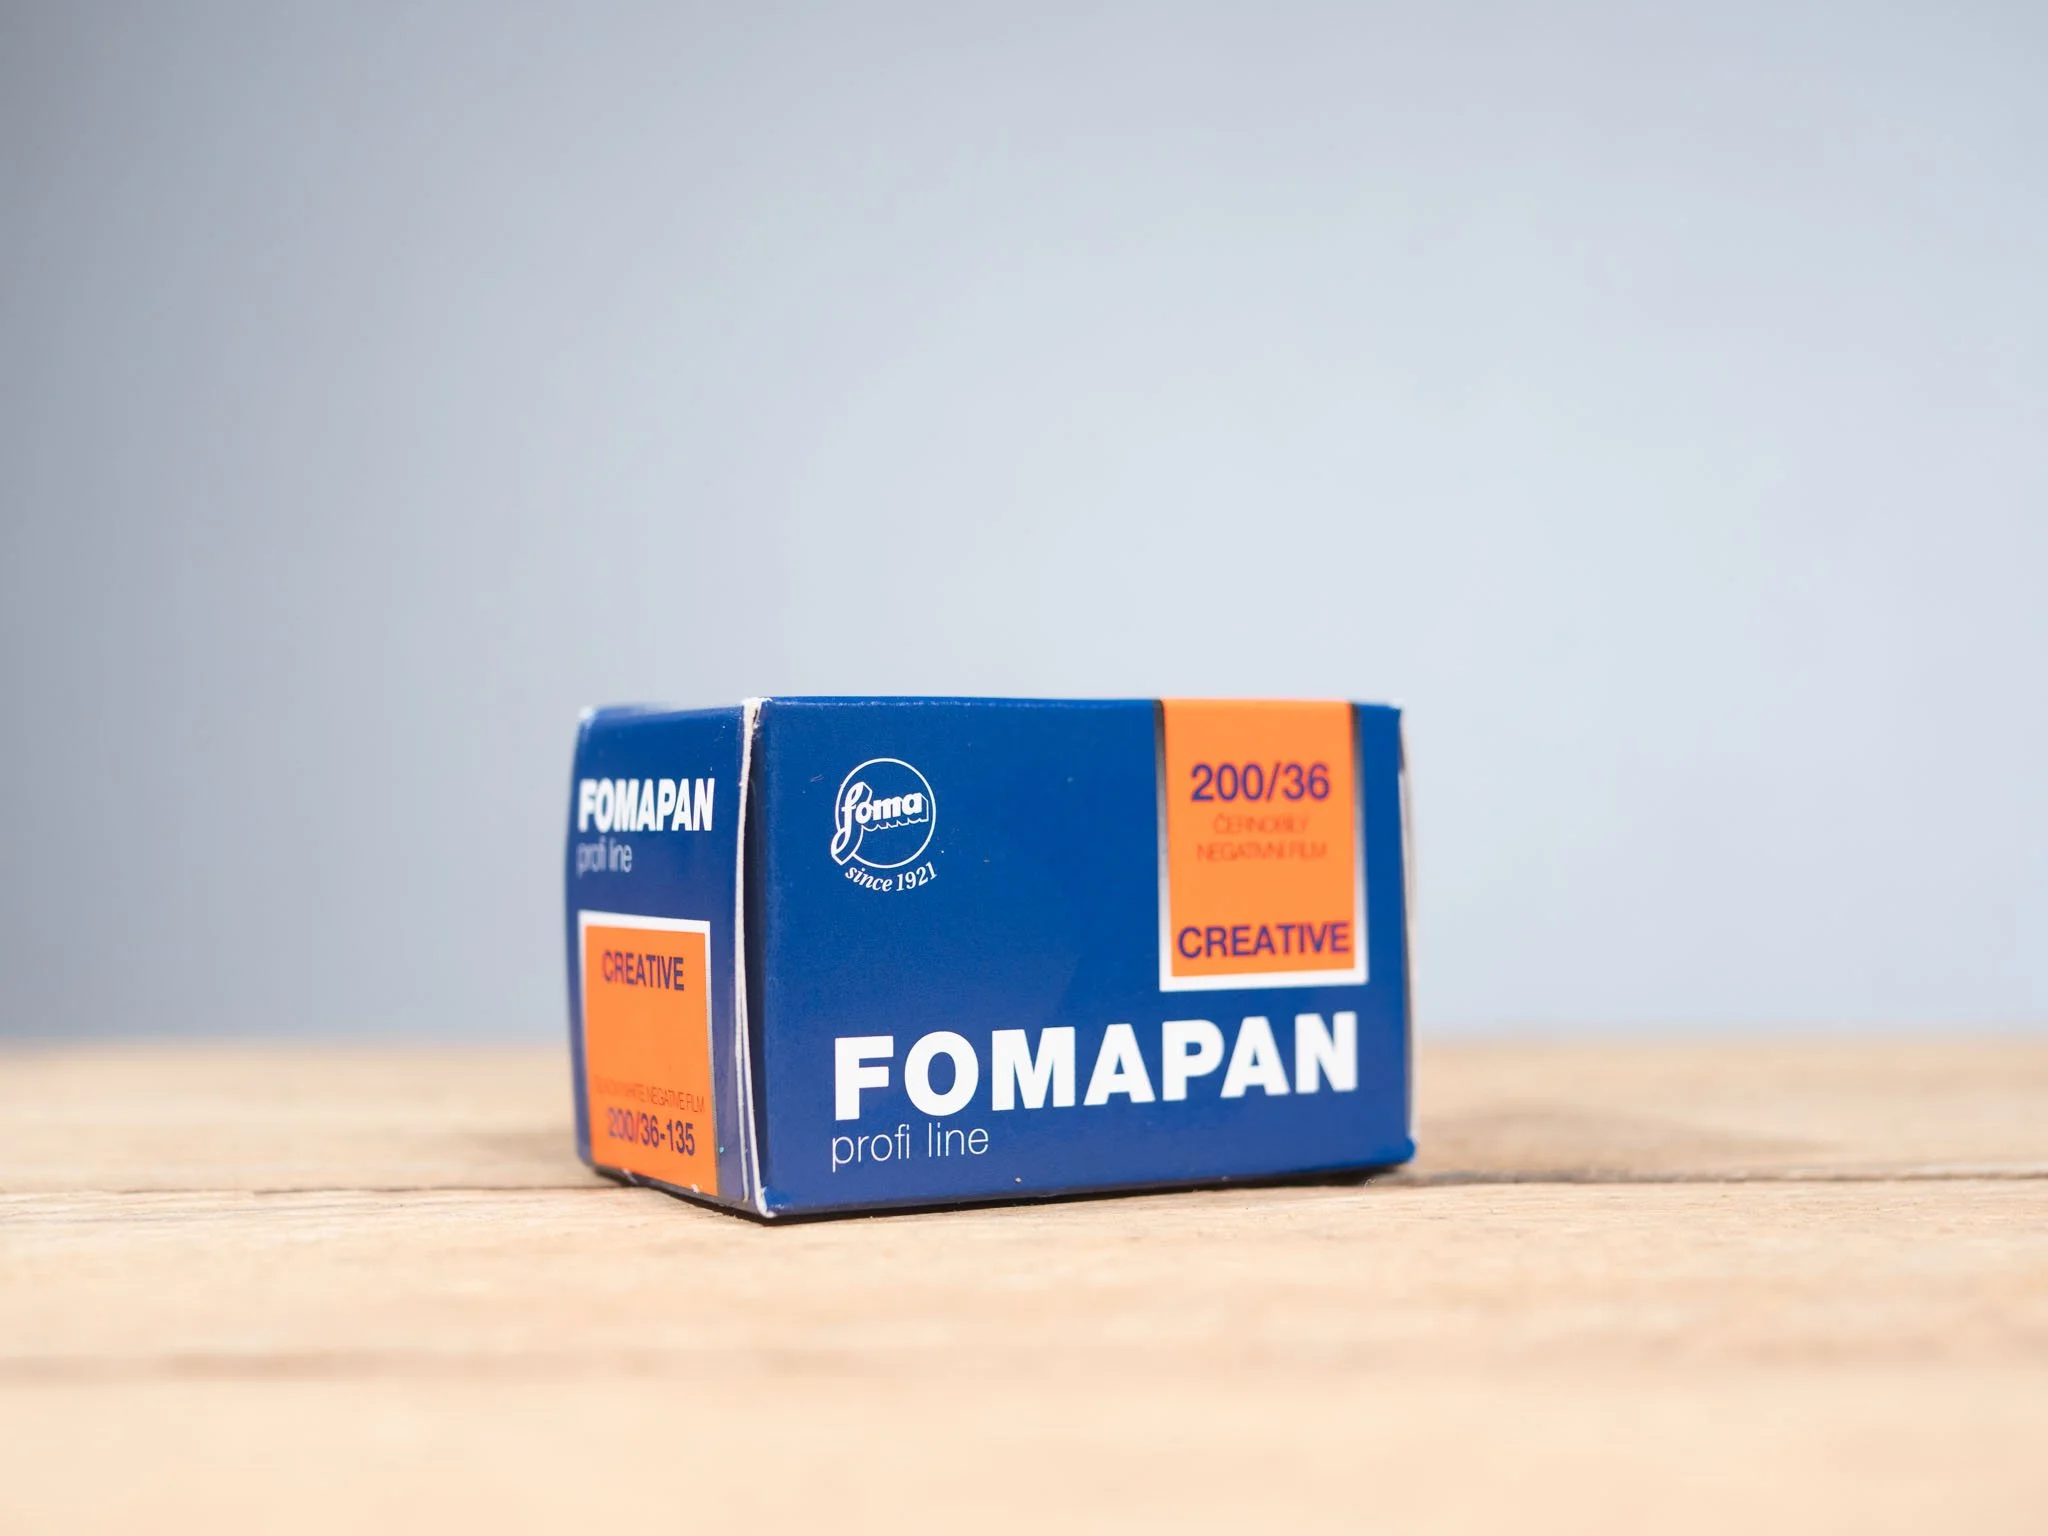
Starting cheap is the way to go, but there is one potential pitfall worth noting. You’ll find a cheap black and white stock called Fomapan. It’s a great stock, but it lacks DX encoding.
This means that the more modern cameras won’t be able to automatically tell what speed the film is.
If you can manually set film speed on your camera, that isn’t an issue, but most point and shoots don’t have this feature.

Black & White
Black and white film is, as the name suggests, black and white. The creative considerations for choosing black and white are numerous, but not something I will go into here in great depth.
The film itself tends to be a fair amount cheaper than colour film, but lab development tends to run a little more expensive, however home black and white development is easily accessible.
Black and white film stock tends to offer a much wider range of box speeds, and a greater exposure latitude. We will get into speed a little bit later, but the gist is that speed = sensitivity to light. Exposure latitude is how forgiving the film is of being over or under exposed whilst still getting an acceptable result.

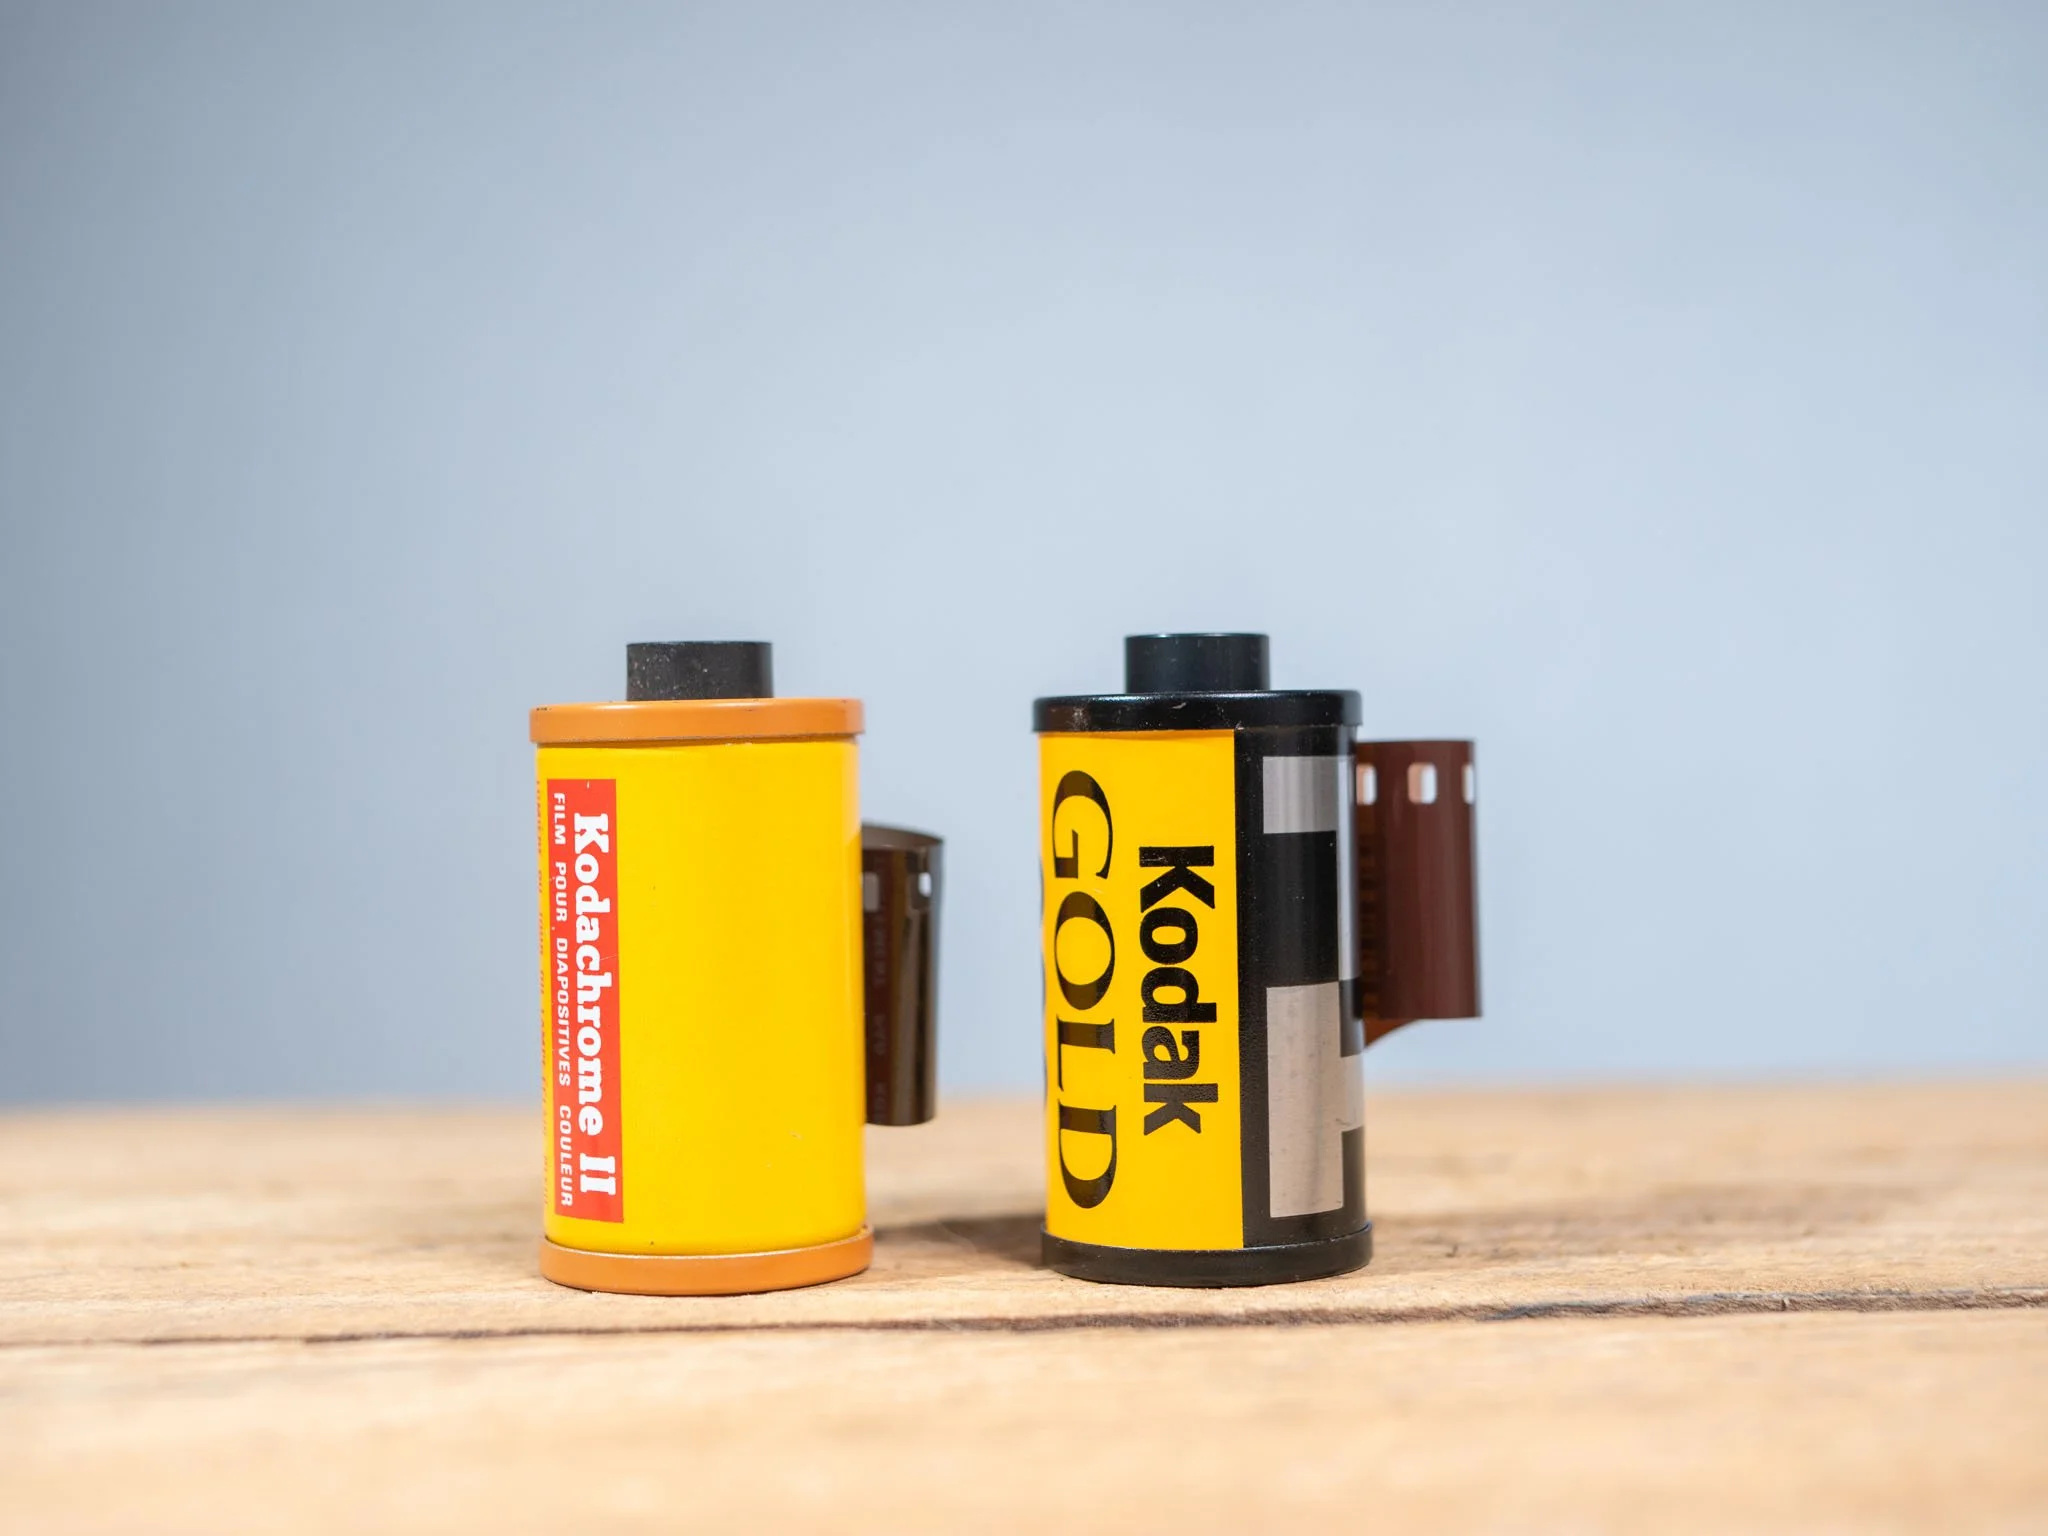
Colour Positive (E-6)
So far, we have spoken about negative films. Once they have been developed, the film shows a negative image. When you use the film for creating prints, or more commonly now, scanning into a digital file, the images have to be inverted. Colour positive film works a little differently. The developed film is already the correct colours, and can have a light shone through it to project an accurate image. This is why it is also referred to as slide film, as it can be used in slide projectors.
Slide film is rather expensive and although finding a lab to develop it isn’t too tough, many don’t process slide film.
Colour positive film is notoriously unforgiving of under and over exposure, so you need to make sure your light meter is accurate, double so as it is expensive film to waste.
That being said, you can capture some truly beautiful results. I am yet to venture into the world of slide photography, but when I do, I’ll update this guide further.
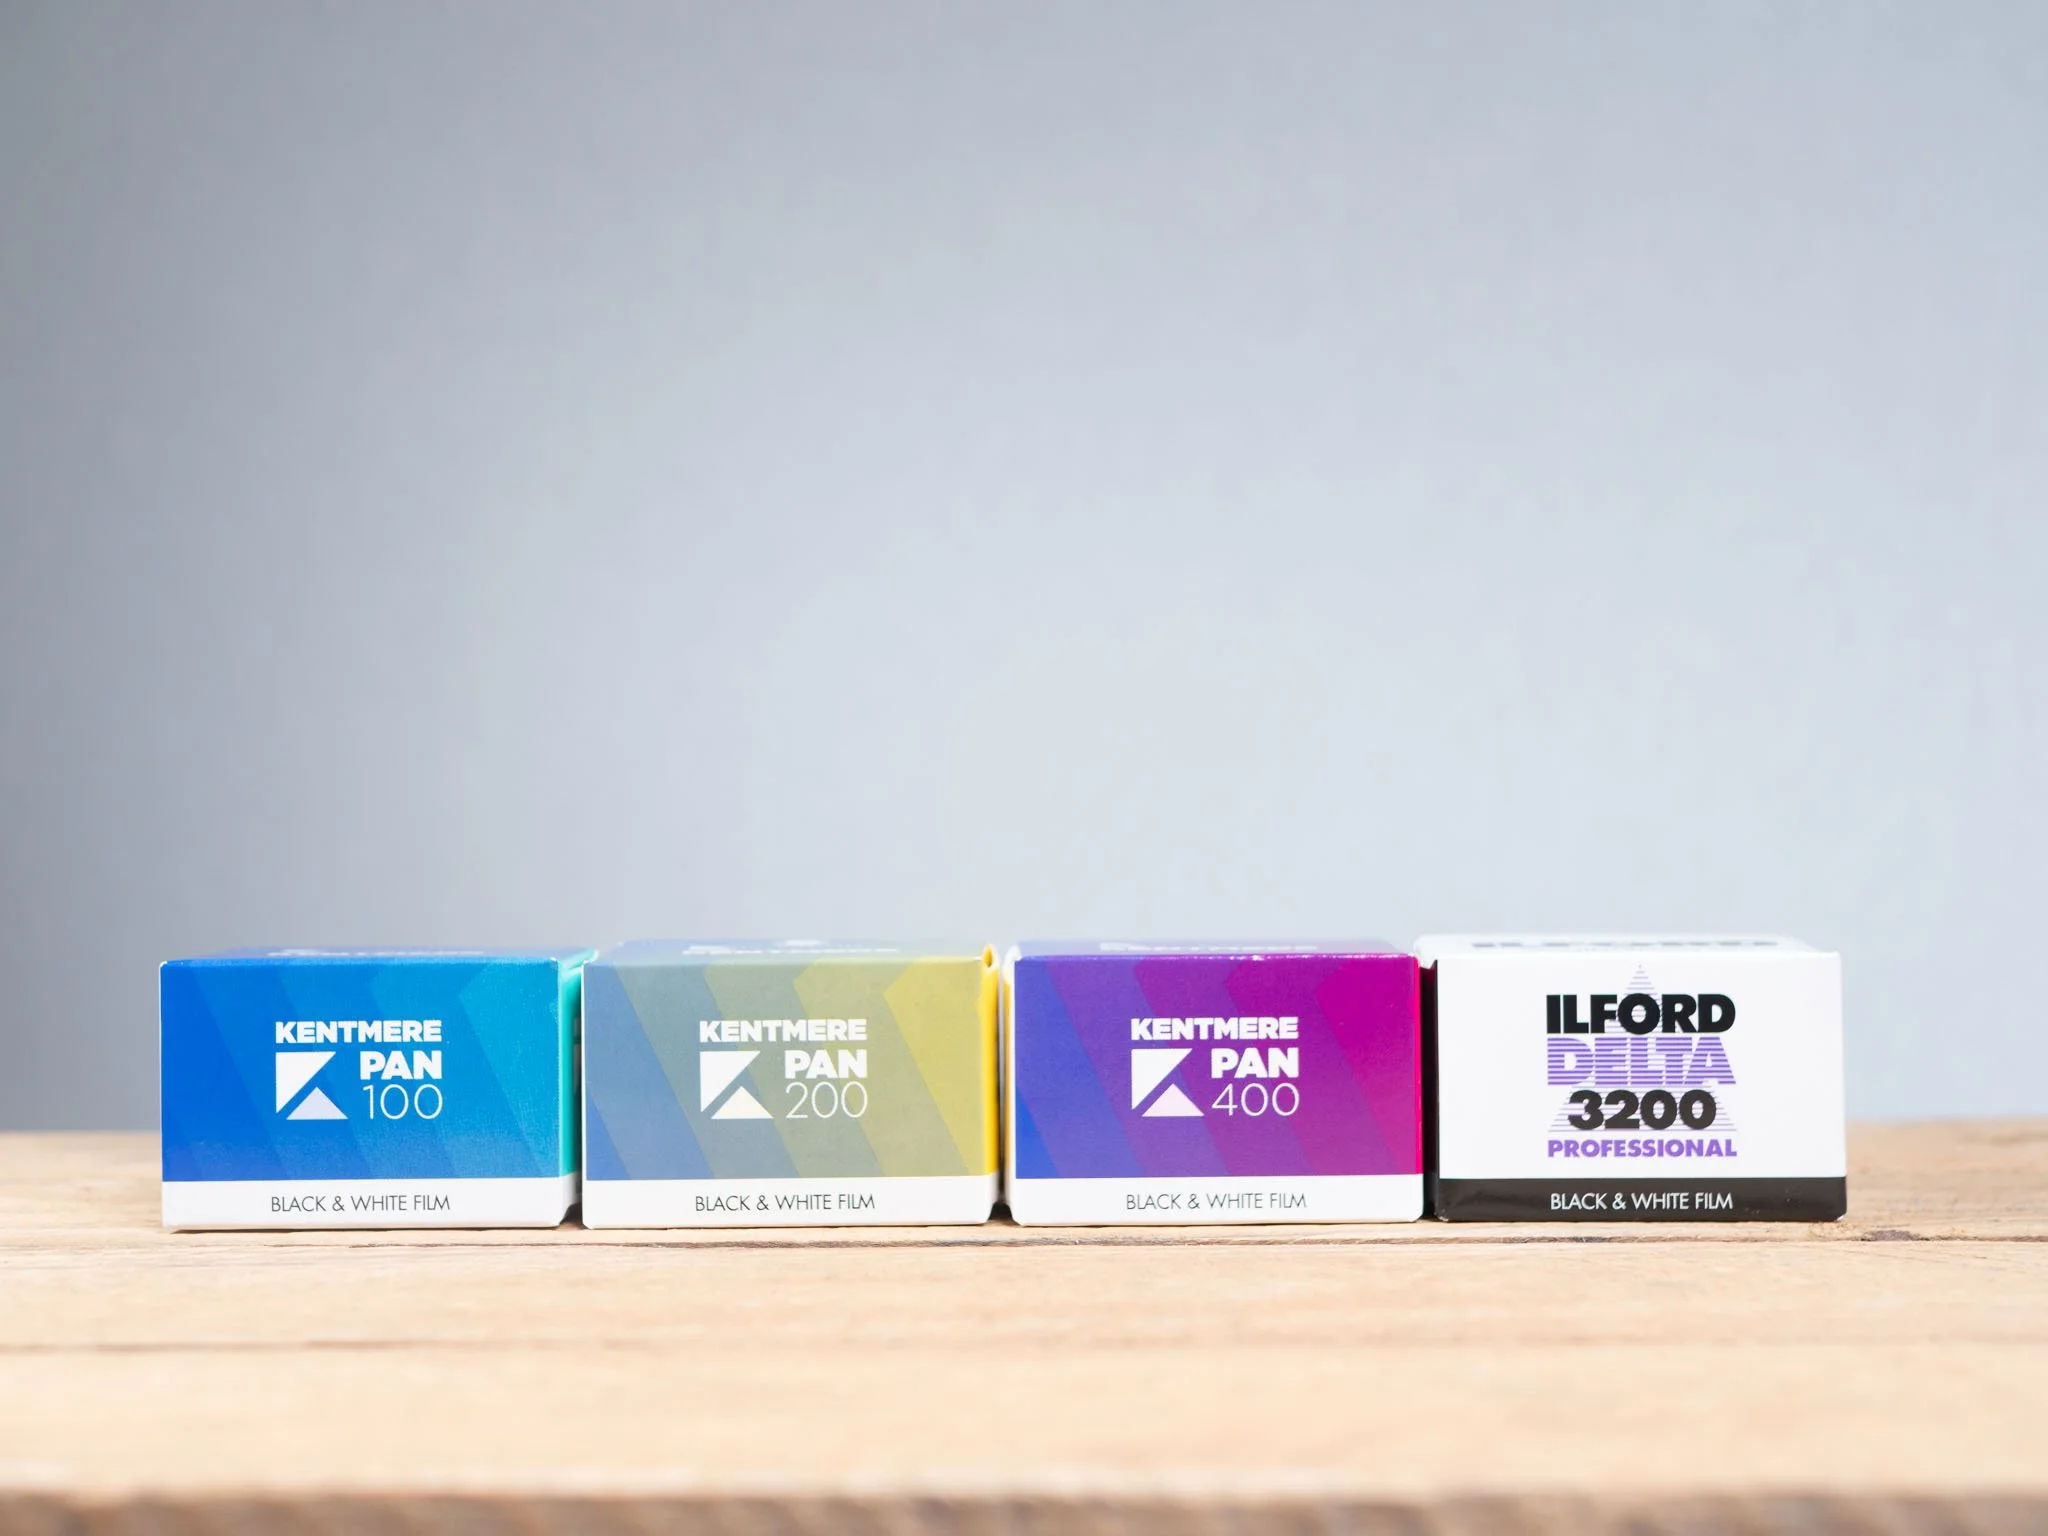
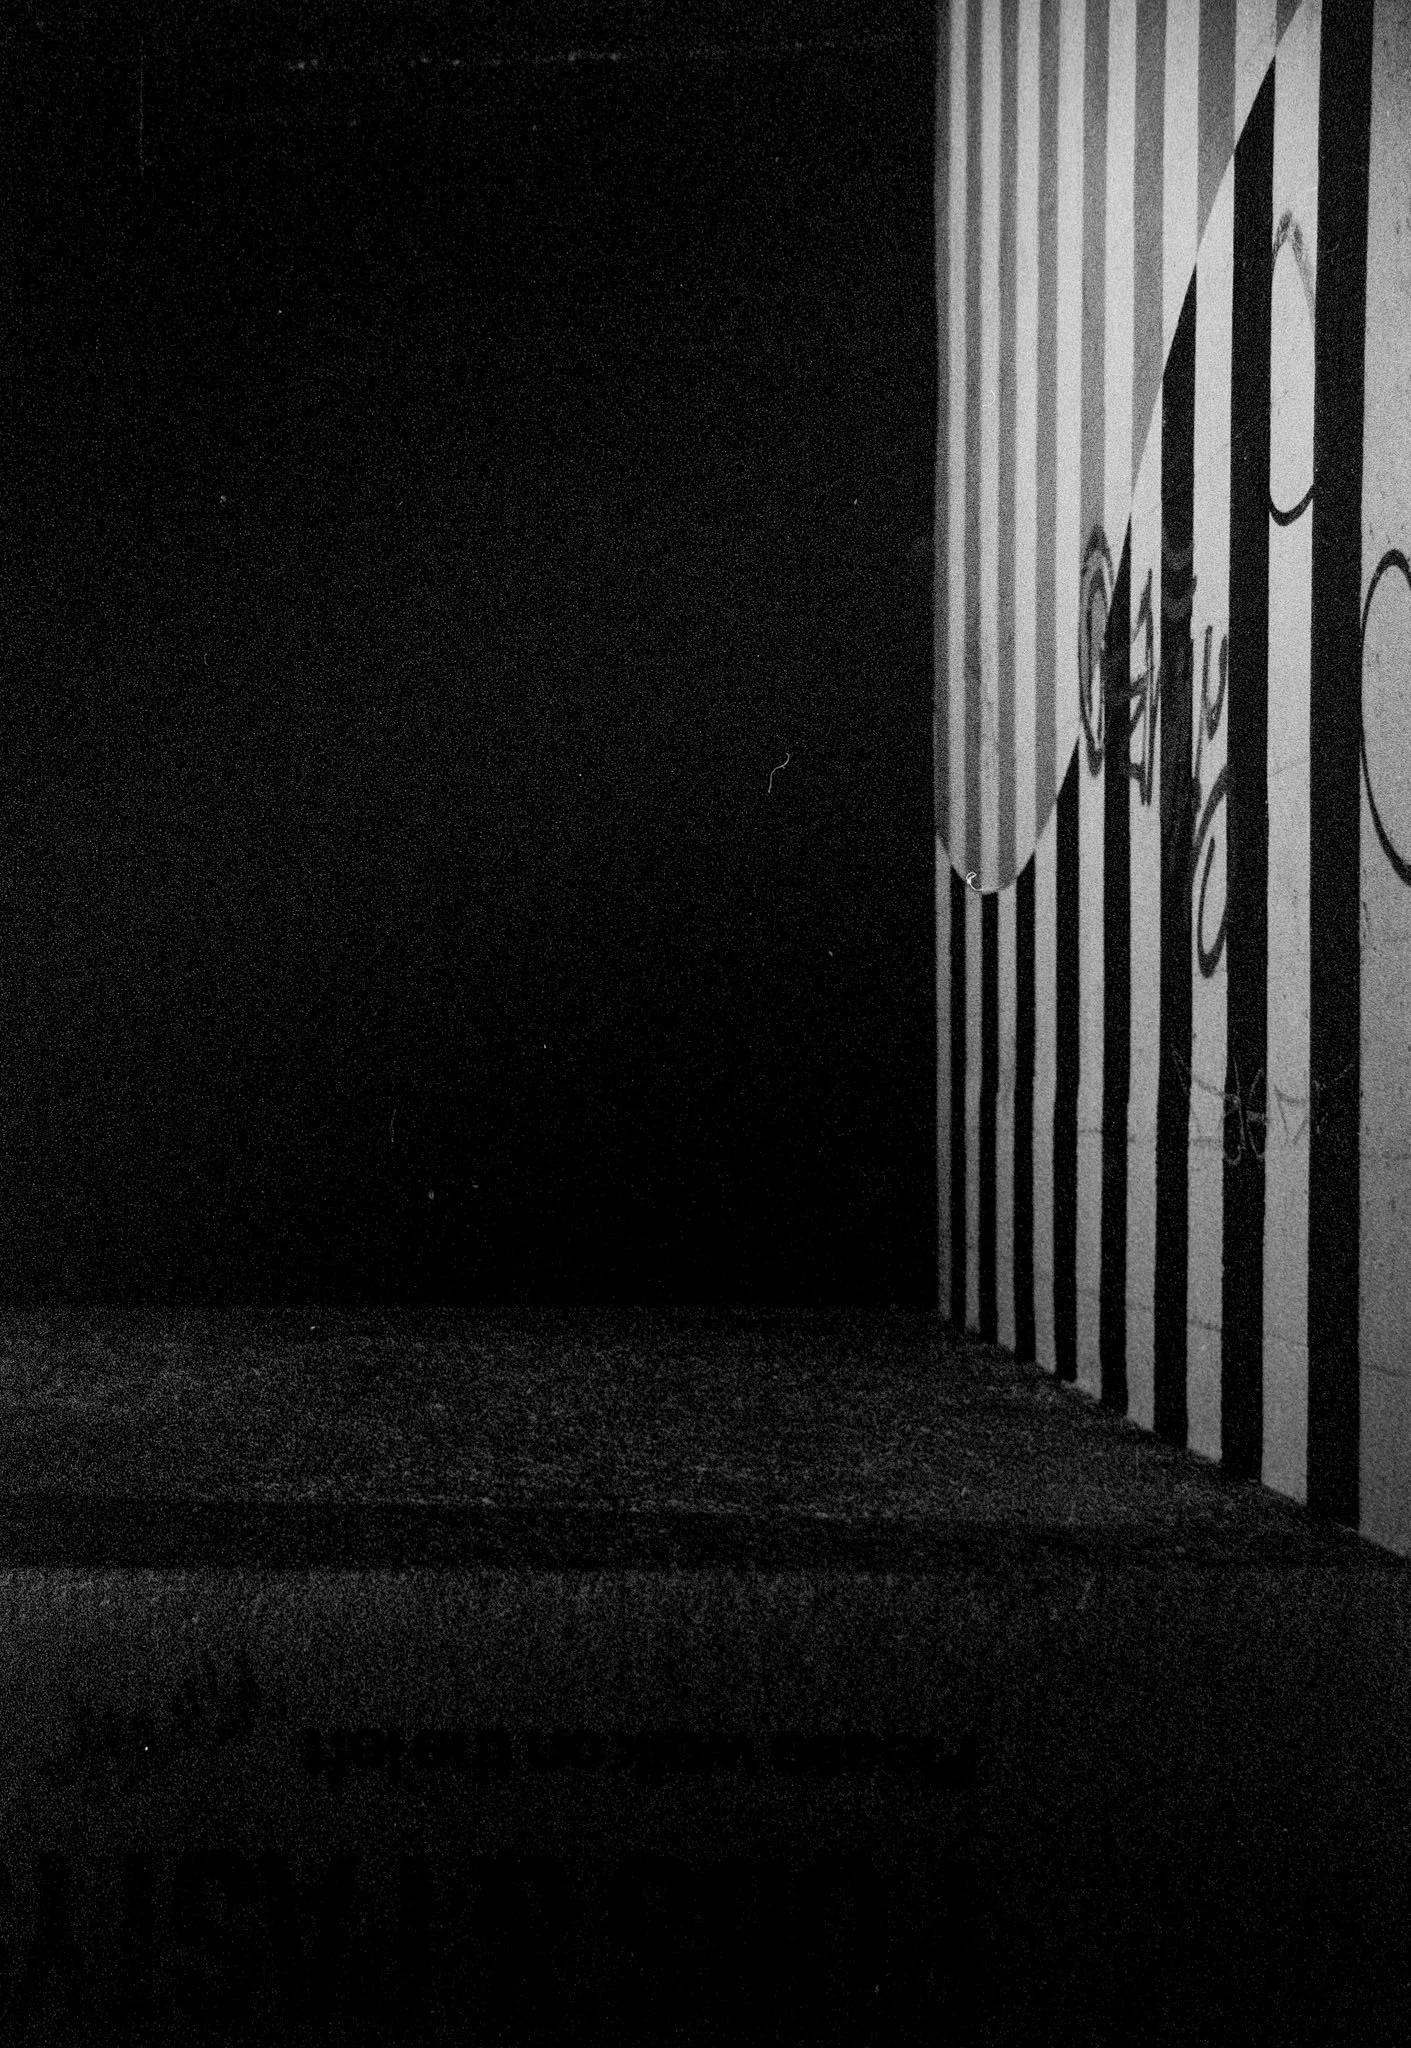
Fast Film
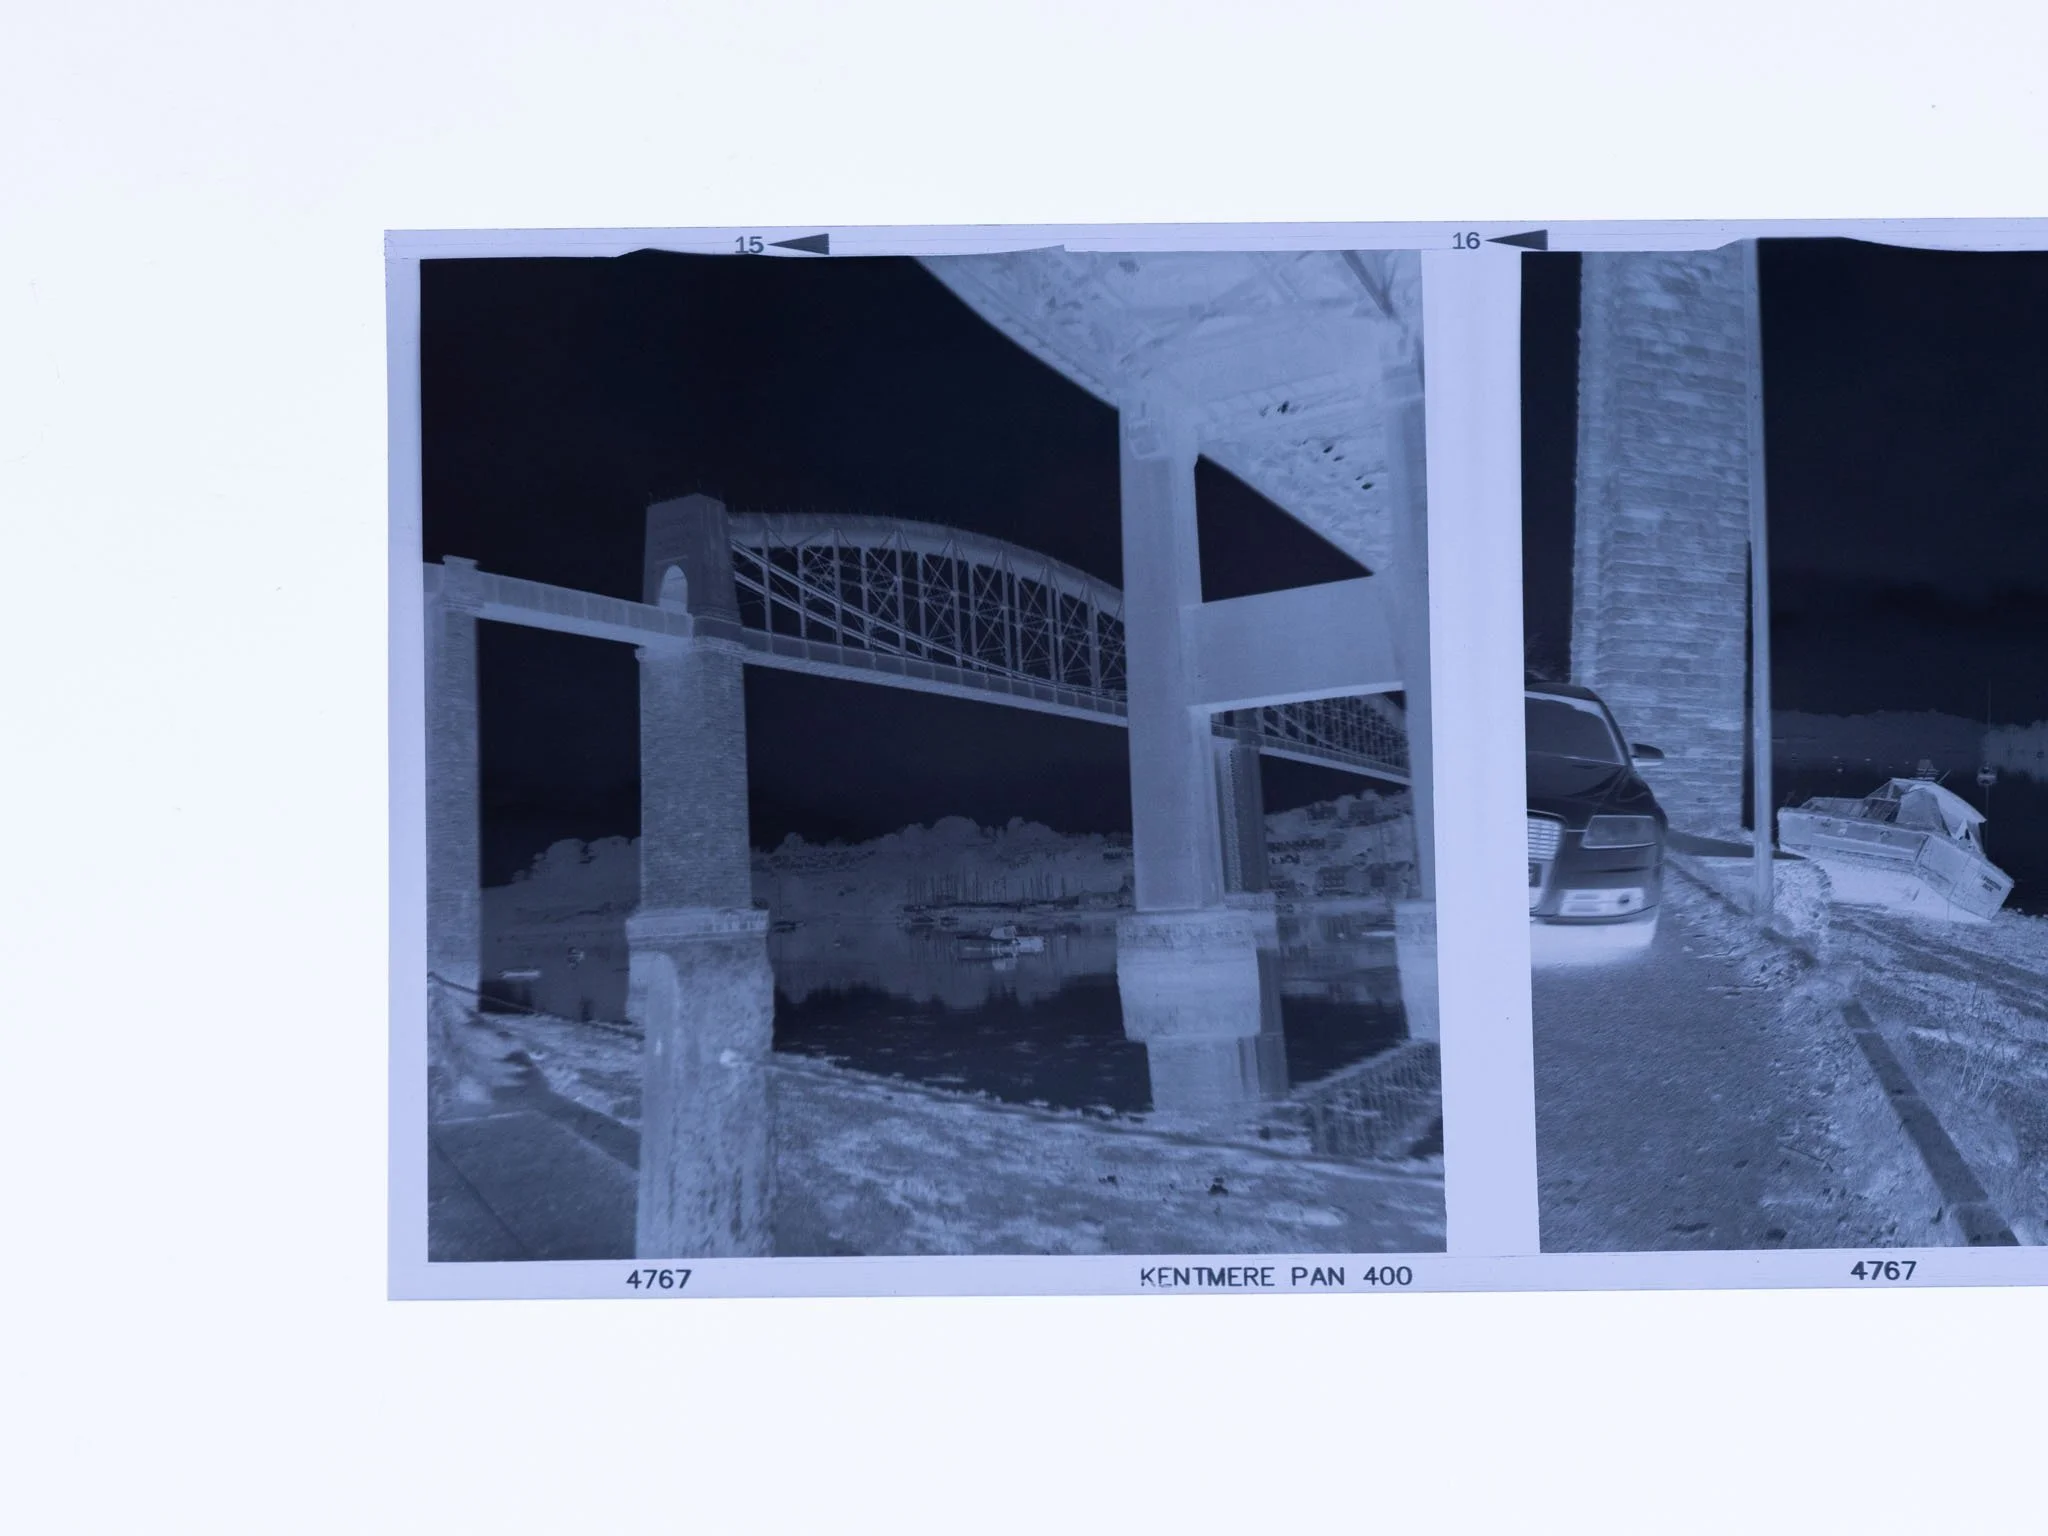
Faster films, such as Ilford’s Delta 3200 have heavy, noticeable grain, but are much more sensitive to light. These allow for photography in low light conditions, or very fast shutter speeds.
Grain is part and parcel of film photography, and a large part of the differences in feel of different film stocks. Some people like a lot of grain, some people don’t, it’s all up to you.
Kodak T-MAX P3200 - ISO 3200

Expired Film
Film has a limited shelf life, just like food. If it is stored incorrectly, or is too old, then it will begin to lose its potency. A general rule of thumb with expired film is to overexpose by one stop for each decade out of date it is. Essentially, you need to double the amount of light you let hit the film in a given time.
Expired colour film tends to have colour shifts in the final product, as the different individual colour layers will lose potency at different rates.
Expired film is in vogue at the moment. It certainly adds some new and interesting diversity to your shots, but it also adds unpredictability to your shots, so it’s probably not ideal for your first adventures in film photography.
Pushing & Pulling
We spoke earlier about film speed, how sensitive to light your film is. Box speed is the speed that the manufacturers rate their film at, but that doesn't mean you have to listen to them.
Pushing
You can take ISO 100 film and shoot it as if it were ISO 400 film. If you were to develop these images normally, they would be about a quarter as bright as you would want, but if you develop them for longer, then you get images which are functionally exposed as if they were shot on ISO 400 film.
Now, it is important to note that that’s not the full story.
It’s true enough, that if you think of pushing like just increasing the sensitivity of your film, then you’ll get by just fine, but in truth it’s more complicated than that.
Pushed film tends to have increased contrast (the difference between the darker and lighter parts of the image), and increased grain. Aside from the better low light performance these creative considerations can be another motivator to push your film.
Ilford HP5 (ISO 400) pushed to ISO 3200
Pulling
Pulling is the other end of the scale. Let’s say you have a 400 iso film but shoot it at ISO 100.
You would overexpose it by 2 stops (increase the exposure by four times) The advantage of pulling is that it tends to minimise grain even further, which is great if you are after a clean look.
Sometimes you can accidently select the wrong speed for your camera. Sometimes this will mean that your shots are ruined, but sometimes, if you explain your mistake to a lab, they might be able to treat the film as intentionally pushed or pulled, and recover your images.
Whilst it is perfectly possible to push or pull colour film, it is certainly a lot less common.
The different colour layers in the film's emulsion will react differently to the process, meaning you are likely to get colour shifts, which may or may not be desirable.
Styles & Quality
Your chosen film stock is one of the greatest contributors to the feel of your final images. Choosing between the warm hues of Kodak Gold, the prominent greens of Fuji, the simplicity of a black and white stock, or the other worldly colour shifts of the Lomography range has a huge impact on your final images.
You’ll notice a wide variance in price when it comes to film stock. Colour is more expensive than black and white, and higher quality tends to cost more than lower quality.
However, quality is a subjective thing.


Variety
I shoot plenty of Kentmere 400, as well Ilford HP5. Both are black and white 400 ISO films. Both are made by Ilford, but HP5 is currently £8.50 per roll, and Kentmere 400 is £5.50.
Side by side, differences can be seen, but it’s not a huge difference. HP5 arguably responds a little better to pushing, and has a little more contrast. The biggest fundamental difference is HP5 has an anti halation layer, and Kentmere does not.
Anti halation layers stop the bouncing back of light from the rear of the camera, cutting down on the flaring you will get from bright light sources. Without it you can get a haloing effect around light sources. That’s a plus for me, but that’s all personal preference.
Kentmere 400 & Ilford HP5

Where to Start?
Two words, start cheap.
If you are brand new to film photography, then starting out with a £30 roll of Ektachrome is a fast way to fall out of love with film.
A roll of Kodak gold should be under £10, and is a pleasing medium speed colour film stock, Kentmere 400 is my go-to reasonably fast black and white stock and is currently selling for £5.50 at my local lab.
For your first outings, going for a relatively fast film is probably for the best. Spend any time in the film photography subreddit, and you’ll see a huge number of beginners accidently underexposing their images. Faster film is far from immune to underexposure, but it does give you a little more leeway.
For a full explanation of exposure visit the Film Photography Basics article.
Film is Addictive
There is a huge variety of film stocks, and experimenting with them is a very enjoyable part of film photography. You might start out cheap, as you should, but it it’ll likely not be long till your spending a lot more on some of the more exotic offers.
Be warned.
Film is addictive.